


In September 2022, I got a 2022 Giant Explore E+ 2 GTS e-bike, which has been great (a more thorough review is possibly overdue), and I have put more than 2,000 miles on it in those few months. It’s a practical bike for my purposes: okay for road riding, gravel/dirt and light off-road, and of course has pretty robust electric assistance for Seattle’s hills and just general riding comfort. I’ve made a point to ride every day “rain or shine” so have put a lot of miles on it in the rain and snow, and I often tow a trailer full of tools for community cleanup projects.
One of my main complaints with the bike, though, has been the gearing. It comes with a 1×9 derailleur arrangement, using a microSHIFT CS-H093 11-42T cassette and a 42T chainring. In my experience, the 1st gear isn’t quite low enough for such a heavy bike in a hilly place (especially with a heavy rider and a trailer), and simultaneously, the 9th gear isn’t quite high enough for long slight descents or flats. I also don’t love having 9 gears on a derailleur with only a single chainring gear, with some of the most common gears I use (1-2 for hill climbing and 7-8-9 for cruising and descents) necessarily at fairly extreme chain angles.
For those practical reasons as well as for technical fun and aesthetic reasons, I thought it would be fun to upgrade the bike to an internal gear hub. After some research and especially checking compatibility as much as I could in advance, I settled on the Rohloff Speedhub 500/14.
Compatibility of the Speedhub
There are a few variations of the Speedhub, but most of them are not compatible due to one or more reasons. Once you work through the dizzying array of variations there are really only a few choices to be made for this upgrade:
- Axle style: quick release or threaded
- Number of spokes: 32 or 36
- Color: silver, black, or red
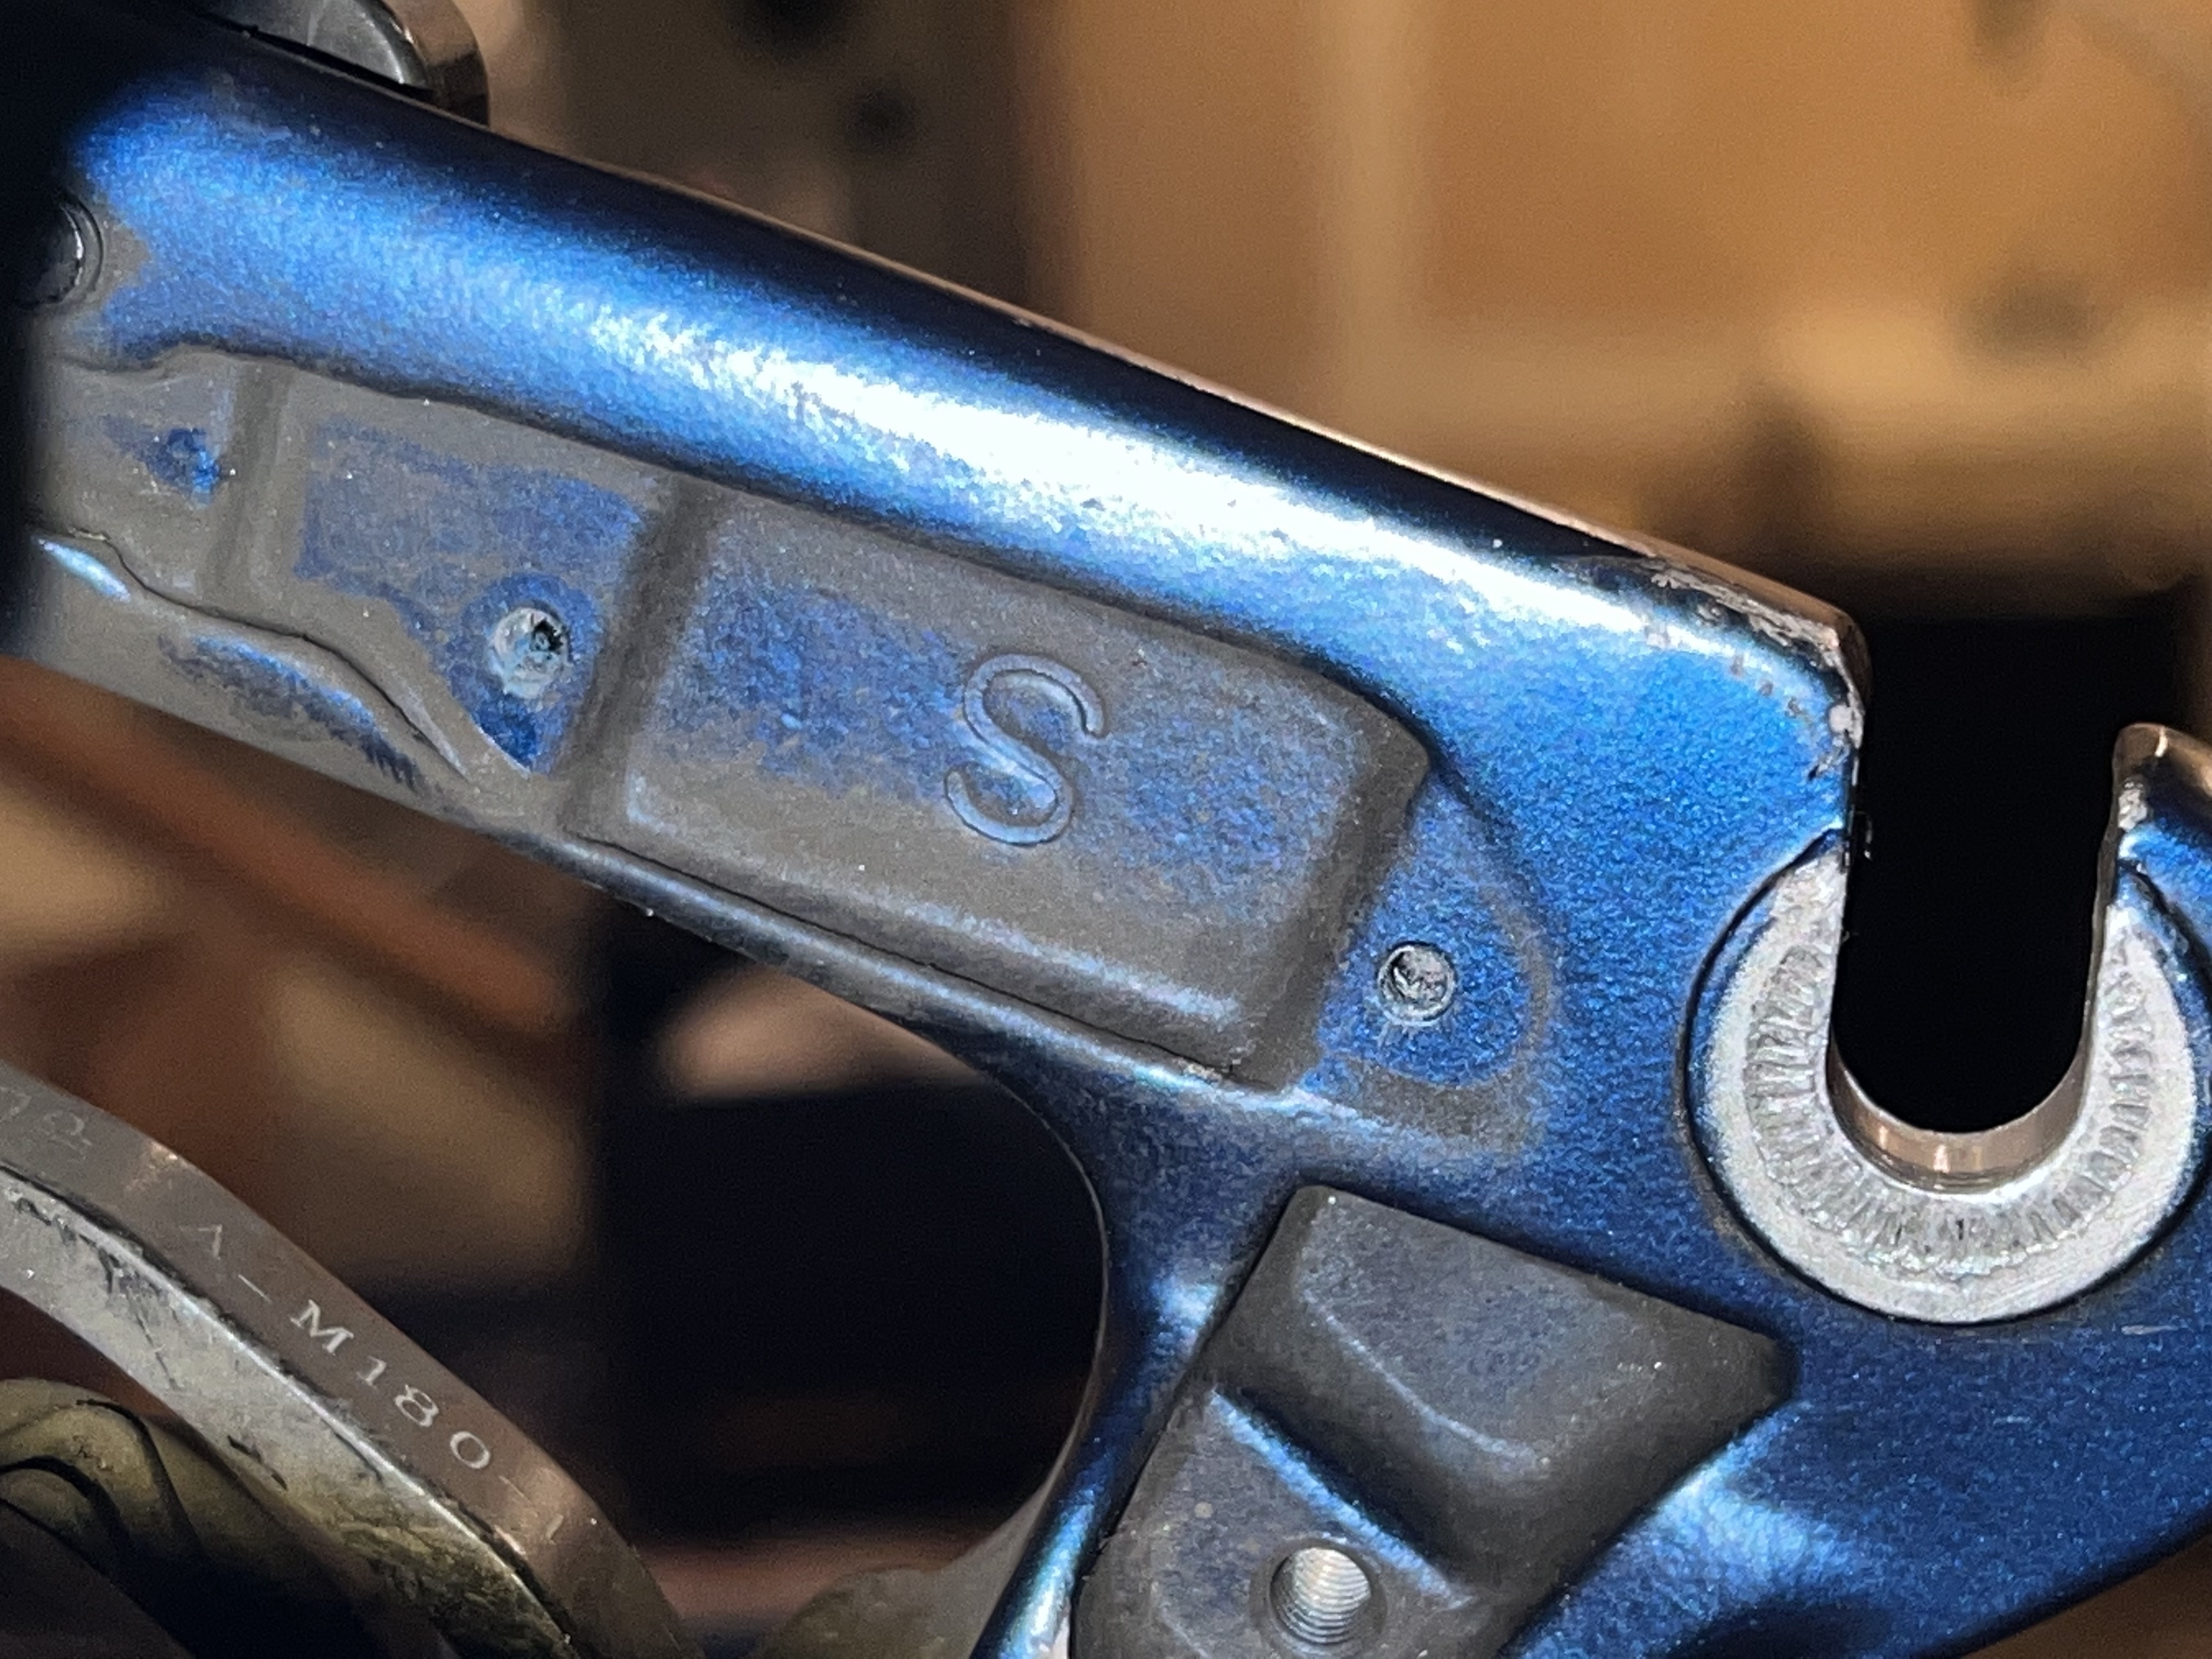
I opted for quick release for drop-in compatibility with my current setup with trailer hitch, a 36-spoke wheel (more below), and given the dark blue and black color theme of the Giant Explore E+ 2, I went with black color to match. You’ll of course need the disc brake style, since the bike has disc brakes.
Choices in gearing
The bike comes stock with a 42T chainring, which I ended up keeping. The Speedhub allows you to easily change the input sprocket, and they sell sprockets from 13T to 21T, with the default being 16T. Between the choice of chainring and the Speedhub’s input sprocket, a lot of different gear ratios are possible.
Since I had already put a couple thousand miles on the bike with its stock gearing, I understood its current performance pretty well. I started by calculating the gear ratios of the stock bike with its 42T chainring and 11-42T cassette: 1.00 in 1st gear up to 3.82 in 9th gear. Since I was hoping to get one lower gear and one higher gear, I’d be aiming for the new 1st gear to be around maybe 0.9 or lower, and the new 14th gear around 4.2 or higher (at least 10% change for each).
With the default 16T input sprocket, the ratio of 1st gear would be 0.73 (27% lower than the old 1st) and 14th gear would be 3.85 (basically the same as the old 9th). After some spreadsheeting, I opted for a 14T input sprocket, which provides a new 1st gear ratio of 0.84 (16% lower than the old 1st) and the new14th gear would be 4.40 (15% higher than the old 9th). Sounds great! The remaining 12 gears also give a lot more intermediate steps than the old 7 gears.
This is what the comparison of the old vs. new gear systems looks like (graph made with R):

Note: The Speedhub documentation prohibits some gear ratios depending on bike and rider weight, to limit torque input. They provide a gear calculator which can be used to compare different chainring and sprocket combinations.
Brakes
The bike comes with disc brakes, of course, and all we’ll really need to do is get the correct disc brake rotor for the Speedhub to be compatible with the existing brake calipers. My bike was built using a Tektro HD-M275 with a 180mm rotor of 1.8mm thickness, so I used the 180mm x 1.8mm Rohloff brake rotor, and it fits and operates perfectly.
Grips
Since the Speedhub uses a twist shifter it can’t be installed with the stock grips; it needs a shorter right grip to make space. I got the Ergon GP1 based on availability, but the GP2 or GP3 would likely be a better choice for the aesthetics of the bike (and I already miss the bar ends).
One compatibility issue: wheel speed sensor
Once I received the hub I was able to do a quick compatibility check to make sure there were no major issues.

The stock bike uses a custom mounting location for the wheel speed sensor right next to the dropout on the left side of the bike, and uses a magnet mounted on the brake rotor to actuate it. Unfortunately that arrangement has two compatibility issues with the Speedhub:
- The magnet is mounted to the rotor with a small carrier that expects the rotor to use the standard 6-hole mounting pattern, but Rohloff brake rotors use a 4-hole pattern with larger bolts. I knew this before getting all parts in, so I was expecting to need to do something about that, however, it didn’t end up mattering, because…
- The sensor is mounted within range of the magnet on the mounting bolts on the brake rotor, which puts it very close to the dropout. The sensor itself has a clearance issue with the Speedhub (which is larger than most hubs), preventing the Speedhub from fitting into the dropouts at all unless the sensor is unmounted.
Not a big deal. The speed sensor is just a hall effect magnet sensor, it’s hermetically sealed, and it can pretty much go anywhere we can get a magnet to pass by it once per revolution of the wheel. There was enough slack in the sensor cable that I was able to move it back onto the chainstay, away from the dropout, and using a bit of custom shaped foam, I was able to mount it within range of a standard spoke magnet.
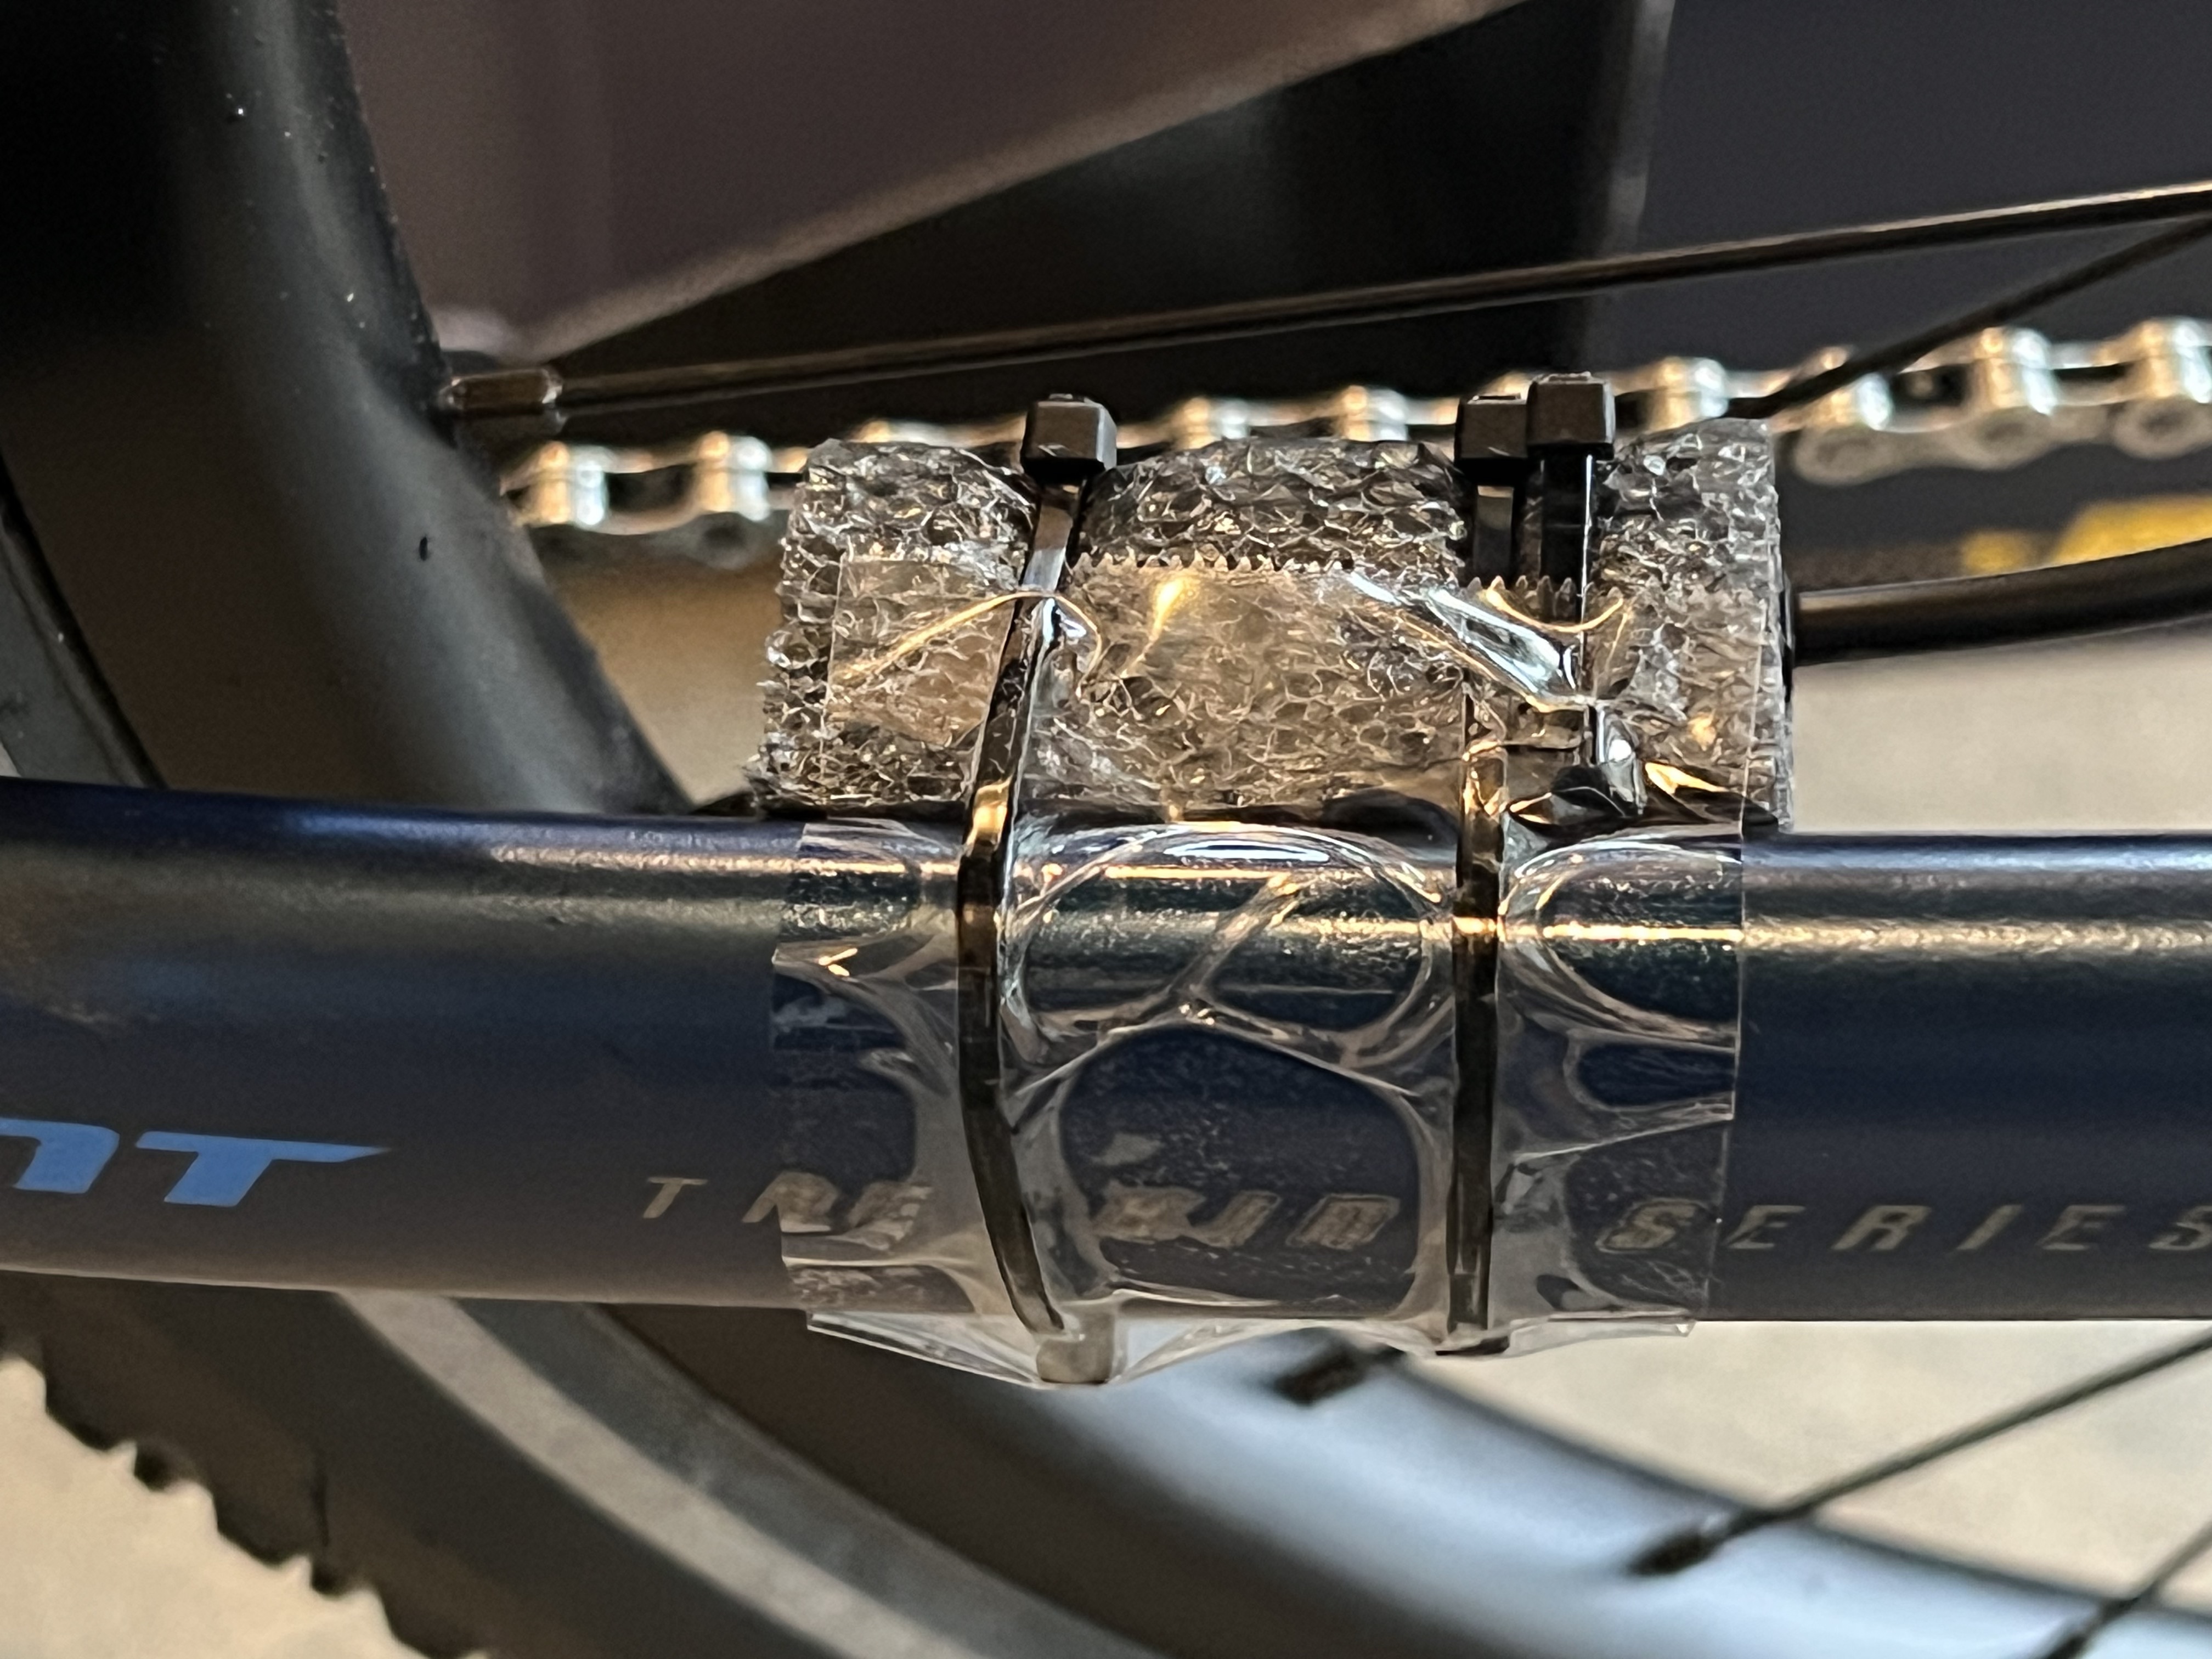
I will probably custom design and 3D print a nicer looking and more permanent carrier for the sensor, but the foam part has been working nicely for me for a few hundred miles.
Building the wheel
The stock bike comes with 32-spoke Giant eX2 700c rims. Since I did this conversion at home and it was somewhat experimental (and might fail!), and I wanted to continue riding every day, I opted to build a completely new rim rather than re-use the current one. That way I could swap parts back to the derailleur at any time.
Since I would be buying all new parts, I could choose between the 32-hole and 36-hole Speedhub. I went for the 36-hole version partly due to availability, and partly because I felt like a 36-spoke wheel would be a better fit for my use: I’m heavy, the bike is heavy, and I tow heavy trailers. More spokes, more better. I also wanted to get a very sturdy/strong rim, and weight was not really a concern at all. Aesthetically, it should be black and not look terrible mixed with the stock rim on the front in case I want to keep that one.
I went with the Velocity Cliffhanger 700c 36-hole, disc brake, in black [from Northwest Bicycle]. I got Ritchey 700x19mm rim tape [from Northwest Bicycle].
The Speedhub documentation strongly suggested using specifically Sapim Race double-butted 2.0mm/1.8mm/2.0mm spokes [from Wheelbuilding Parts] and using the Speedhub documentation’s lookup table with the rim’s ERD I determined I would need 262mm length. Black, of course. I also got Sapim 12mm brass nipples to match.
After receiving all the parts, I built, tensioned, and trued the wheel myself with the fantastic assistance of Cory (@cyclegator) at the Center for Bicycle Repair on S Jackson. Rohloff specifies that only double (2x) cross lacing should be used, so that’s what we did.

Be sure to check out Rohloff’s extensive documentation about wheel building for the Speedhub.
Chain
Since the Speedhub is technically “single gear”, you can use a single gear chain. They are supposed to be quieter and last longer due to having stiffer links since they don’t need to travel diagonally. I planned on keeping my old derailleur and its 9-speed chain ready to go in case something didn’t work, so I planned to get a new chain anyway. I chose the KMC e101, but due to a fulfillment error (which I didn’t notice until I was ready to install the chain) I received a completely different chain which was not compatible. Since everything was going well during my test fitting, I opted to shorten my old 9-speed chain instead. Although I received the new chain, I have been running just fine with the old 9-speed chain so far.
Installing everything
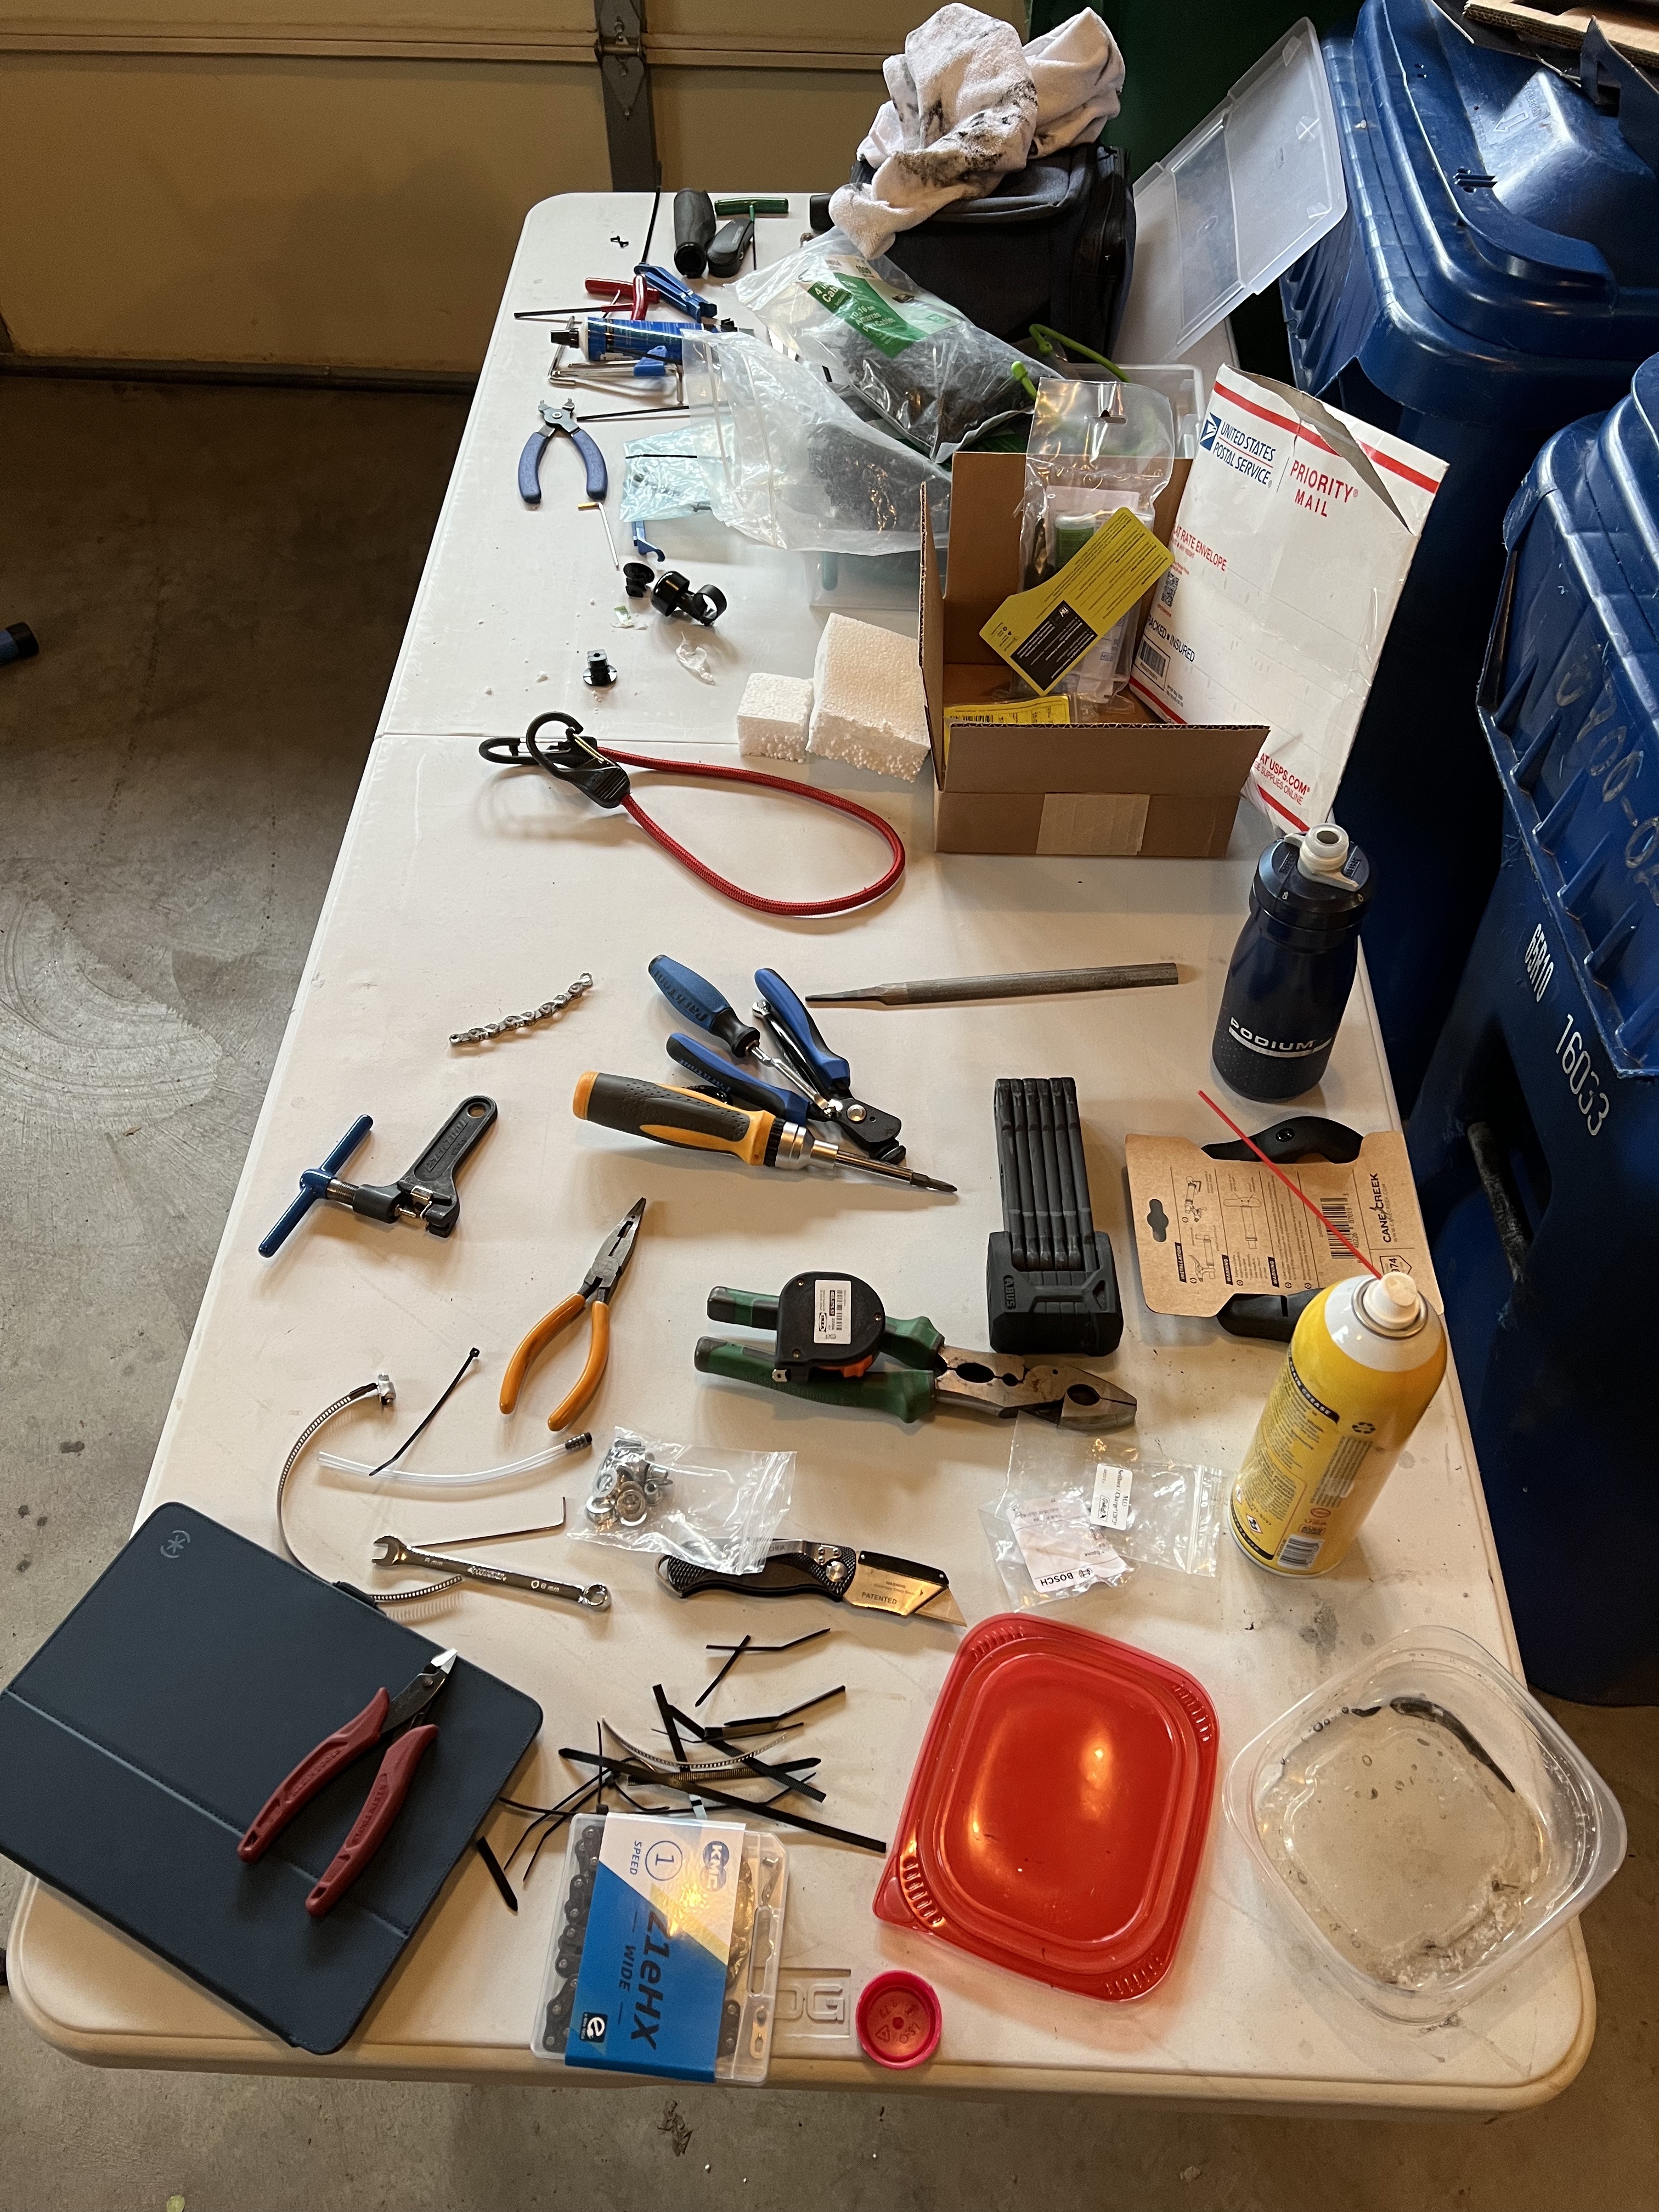
Installing the Speedhub was relatively easy for someone with moderate mechanical knowledge and ability. The instructions are excellent, although since they are generic to any bike, they are not very specific and require a bit of judgement. The build quality of everything from Rohloff is exceptional, and they provided a lot of spacers and extra hardware to ensure the installation should go well for almost any bike.
This is the installation process I followed, more or less:
- Build the wheel with the new hub.
- Install the disc brake rotor on the hub.
- Install the torque arm on the hub.
- Remove the rear wheel.
- Unmount the tire from the old wheel and mount on the new wheel.
- Remove the chain completely.
- Remove the derailleur from the derailleur hanger, cut the cable end off, and remove the derailleur from the shifter cable.
- Remove the wheel speed sensor mounting screws and sensor cable retainer (leaving the sensor free to dangle out of the way)
- Install the chain tensioner on the derailleur hanger, using spacers as necessary to get the correct chain alignment.
- Loosen the disc brake caliper mounts to account for the slightly different position of the new brake rotor.
- Install the new wheel, shifting the brake calipers as necessary to align.
- Tighten the brake caliper mounts as necessary.
- Install the torque arm quick release on the chainstay using the provided instructions.
- Remove the old grips and shifter.
- Install the twist shifter and its control cables using the provided instructions.
- Route the control cables to the rear of the bike.
- Install the new grips, being careful to leave a bit of space between the shifter and the grip.
- Install the “external mech” box on the control cables, shortening the control cables if desired.
- Install the chain, shortening as necessary to achieve the correct tension.
- Fill the Speedhub with the provided oil.
- Adjust the adjustment screws for the control cables to achieve the tension you desire and make shifting feel good.
- Install the wheel speed sensor on the chainstay using an appropriate piece of foam or other material.
- Install the spoke magnet on a spoke in range of the wheel speed sensor and test that the speed is reported correctly.
- Cable manage and zip tie everything as desired.
- Done! Put the sticker on if desired.
Really not that bad, for such an impressive upgrade.
Issues and future improvements
I didn’t run into any issues of any substantial nature, actually (surprisingly). There are a few things that could be improved or which are not ideal. I’ll list them all here concisely:
- The control cables are zip tied to the frame. I don’t mind the look, actually, and this is a work/practical bike rather than a show piece, but I may try to route them internally just for fun.
- The control cables have an extra loop at the moment so that I have some extra length in case I want to route them internally, as above. If I decide not to route them internally, I should at least cut them shorter to remove the loop, which should improve the feel.
- The wheel speed sensor is zip tied to a piece of foam. I intend to make a 3D printed part to hold it nicely and more permanently. When I do so, I’ll update to provide a link here.
- I removed the derailleur, but not the shifter or shifter cable. The shifter is currently zip tied to the handlebars and out of the way, but I can remove it to clean things up even more.
- The clearance between the 14T input sprocket and the chain tensioner mounted on the derailleur is very tight, and makes me think that with larger sprockets it actually wouldn’t be removable at all. I may look into whether it’s possible to get a slightly longer derailleur hanger to make wheel removal and installation a bit easier.
Parts list and prices
| Item | Manufacturer | Part | Total |
| Speedhub 500/14 CC DB 36h | Rohloff | 68022 | $1,409.80 |
| Speedhub rotor, 180mm x 1.8mm | Rohloff | 8287 | $89.00 |
| Speedhub splined sprocket, 14T | Rohloff | 8542 | $21.00 |
| Rim, Cliffhanger 700c, Disc, Black, 36h | Velocity | 4000-62236 | $93.60 |
| Rim Tape, 700 x 19mm | Ritchey | 48340847001 | $10.75 |
| 36 x Spoke, Race Double Butted, 262mm, Black | Sapim | $37.80 | |
| 36 x Spoke Nipple, Brass 12mm, Black | Sapim | $7.92 | |
| Spoke Magnet for BDU2XX BDU3XX | Bosch | 2100160 | $14.66 |
| Chain, e101 | KMC | CN10226 | $40.51 |
| Grips, GP1 | Ergon | 42410205 | $39.95 |
| Total | $1,764.99 |
Results
The bike runs and rides great! I have said that this is the gear system the bike should have had from the factory. Overall, I am very happy with the look and function of all aspects of the upgrade. It will be even better with a custom mount for the wheel speed sensor which would get rid of the only “bodge”. I may also attempt to route the control cables internally in the frame (and remove the shifter cable). In case I want to do that, I left an extra loop in the control cables to take up the extra slack rather than trimming them, but even so, shifting works fine and feels fine. I suspect it’ll feel even better once that loop is taken out.
The new 1st gear is especially great for towing a trailer uphill. I haven’t made much use of the new 14th gear, as often 12th or 13th is more then enough. In the future I may consider moving to a 15T or even 16T input sprocket to get an even lower 1st gear, but I am very happy with things as they are now.


If you attempt an upgrade/conversion and found this information useful, let me know!

A guide to cleaning up in Seattle (and elsewhere) – Jeremy Cole
One year on the Giant Explore E+ 2 with a Rohloff Speedhub 500/14 – Jeremy Cole