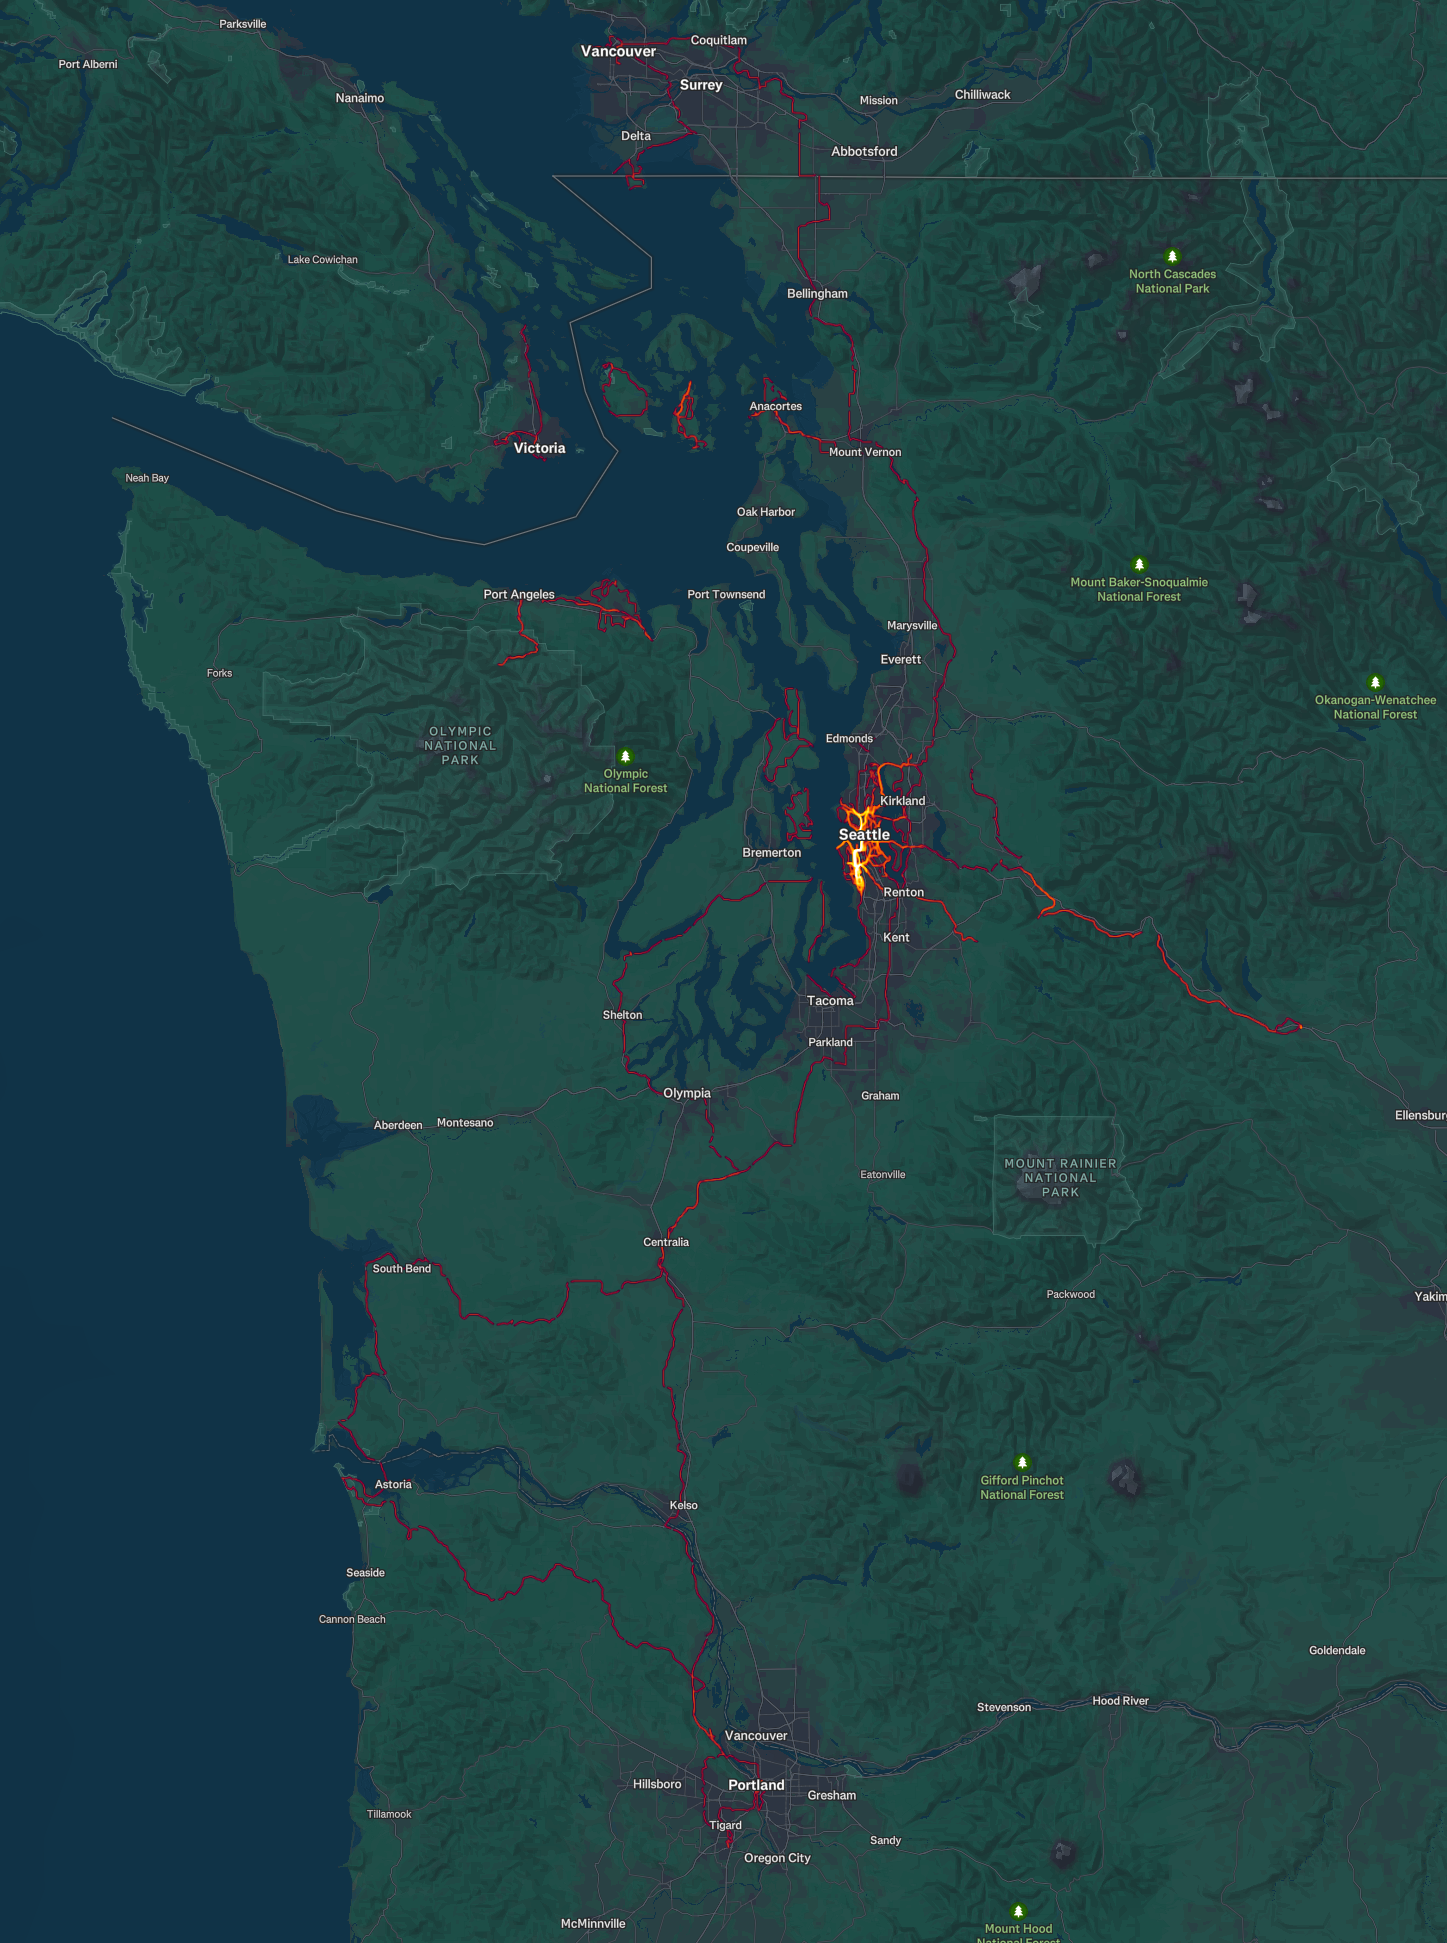
Last year I wrote up a summary of my biking for 2024, and I thought I’d continue that nascent tradition by writing a similar post for 2025, so here it is. This was another good year of biking… slightly less than last year, but with more long trips, and new for this year, a few bikepacking trips. A lot of my coverage of the PNW remains the same or similar, but I did cover some new ground, notably: more Palouse-to-Cascades Trail, around and through Olympia, some of northern Oregon and southern Washington, around Guemes and San Juan islands, and around Point Roberts.
Altogether I rode more than 6,372 miles in 2025, split between 4,585 miles on non-e-bikes (mostly my Specialized Diverge) and more than 1,787 miles on e-bikes (mostly my Urban Arrow Family cargo e-bike). My longest single ride was 109.7 miles (RSVP Day 1, taking that place for the second year in a row).
Volunteering by bike
Home delivery for White Center Food Bank
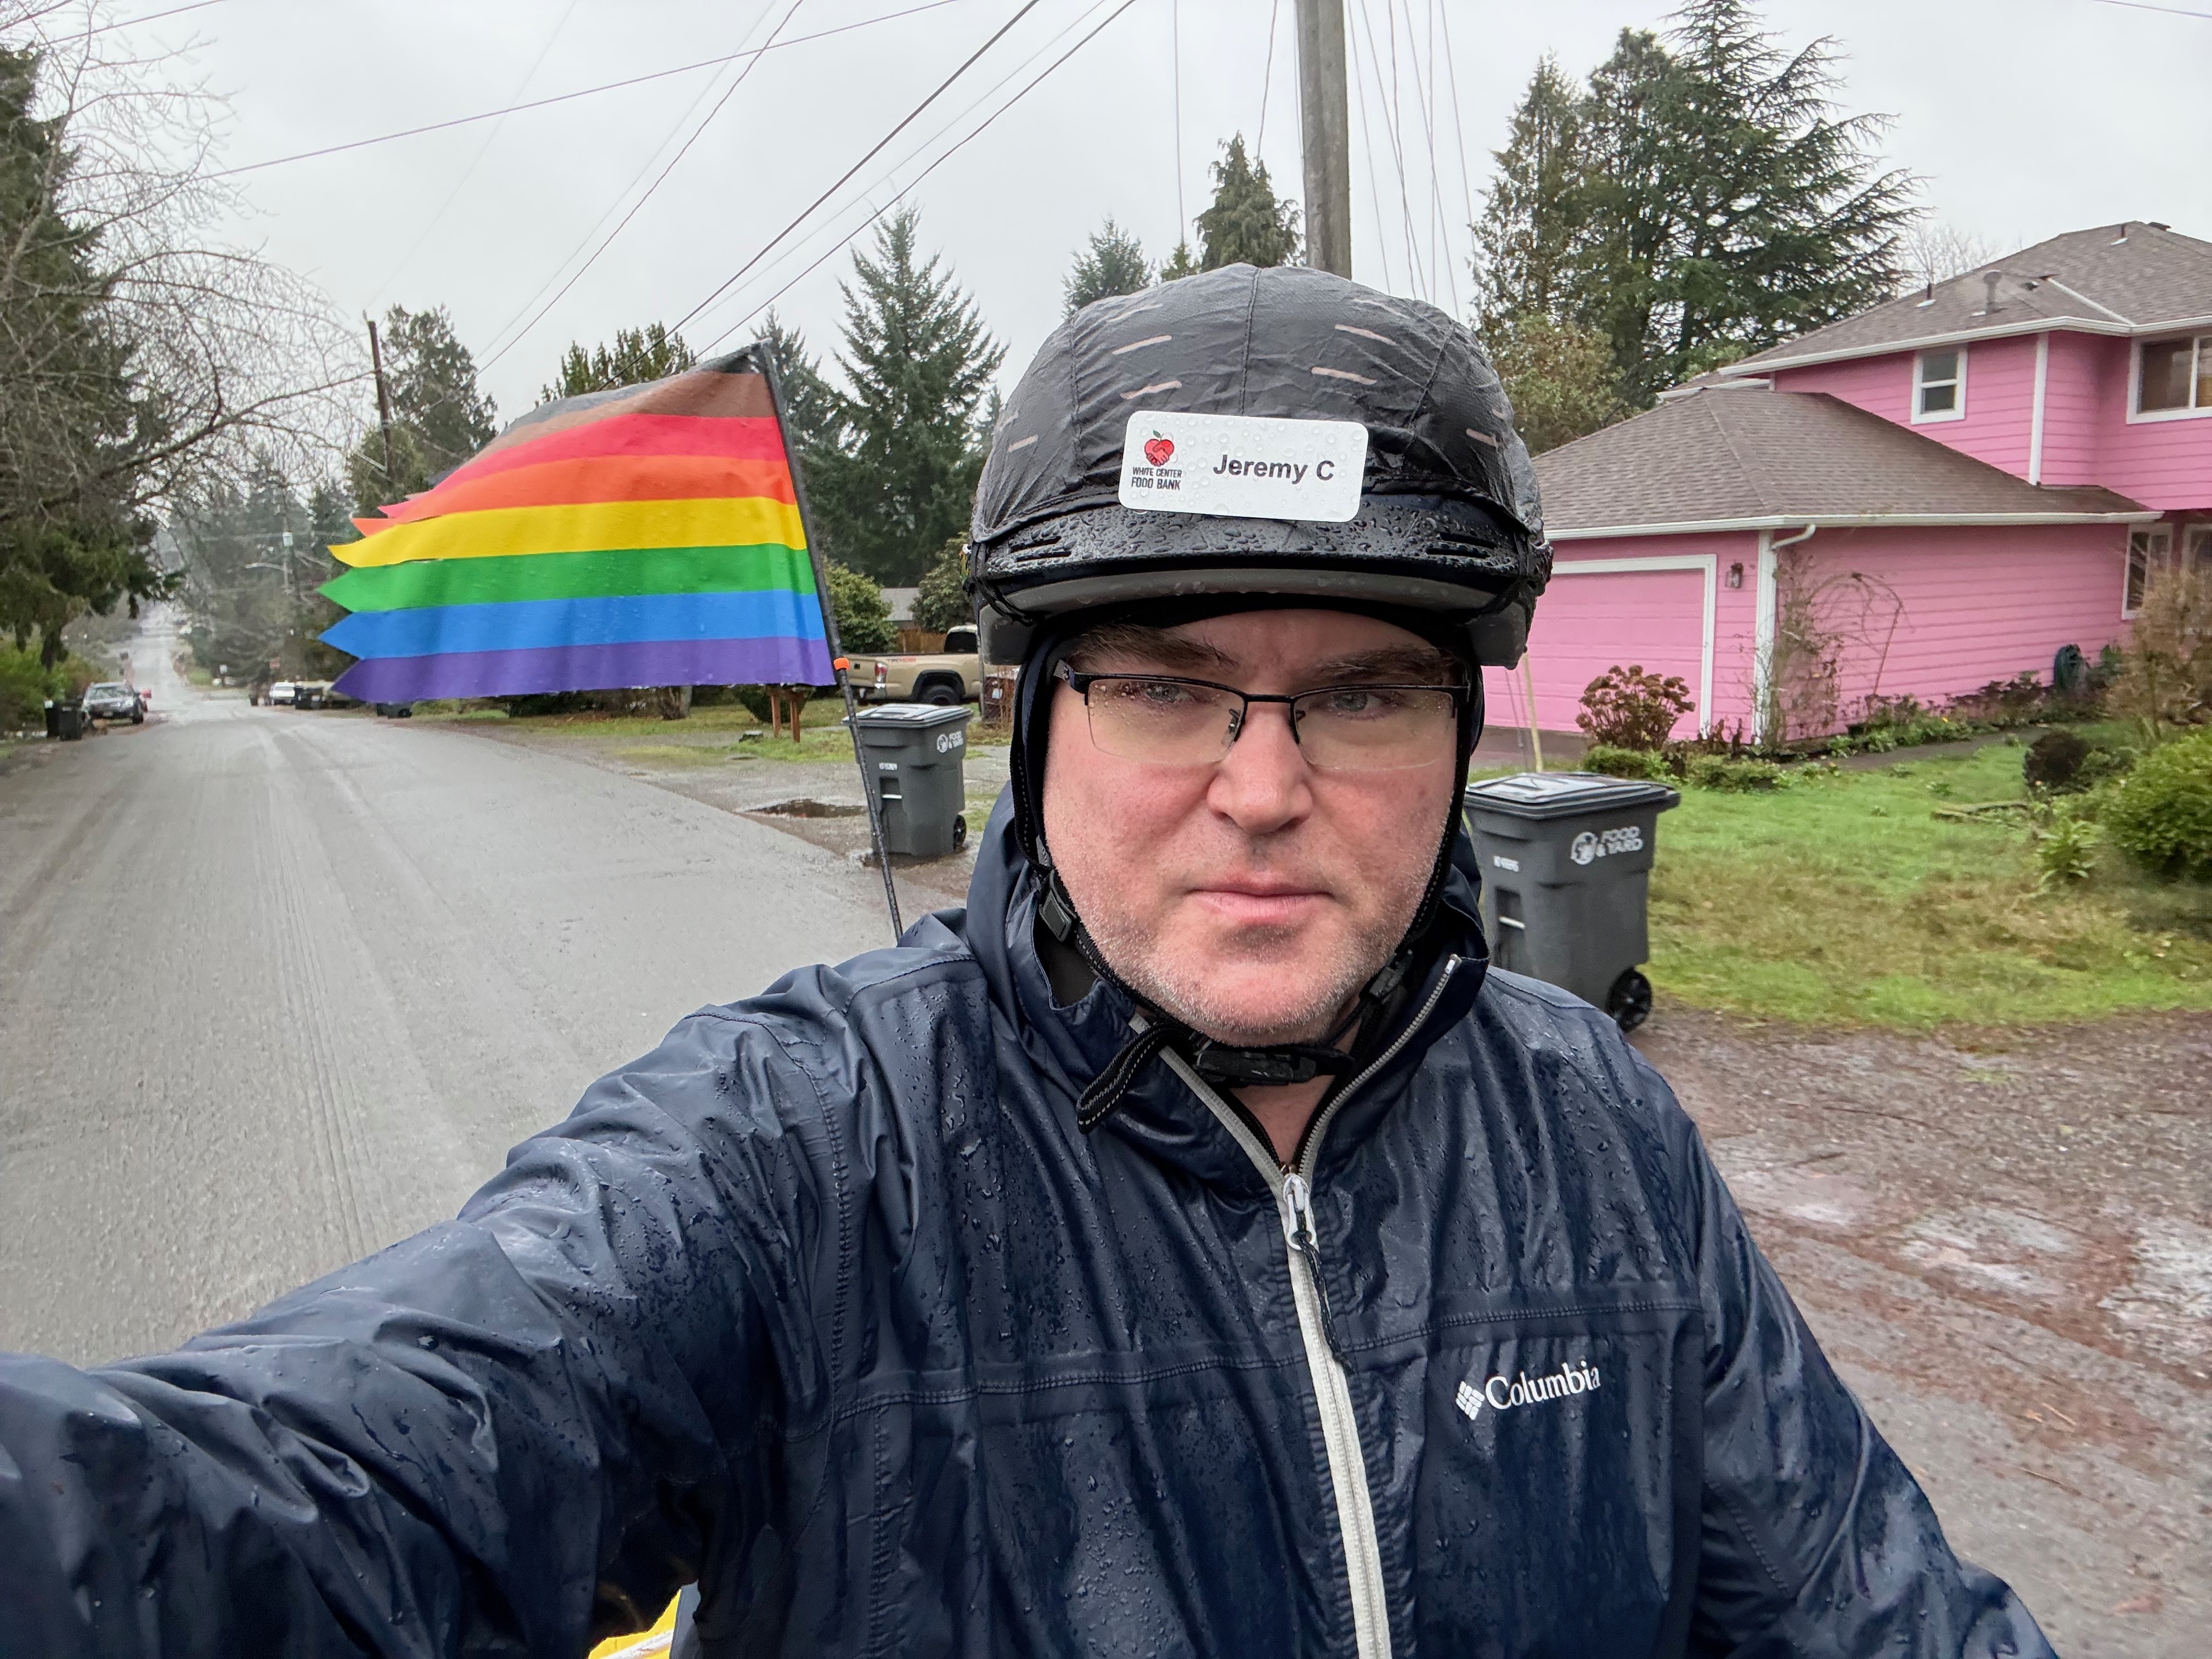
I volunteered for 36 of weekly Thursday home delivery opportunities for White Center Food Bank through the Pedaling Relief Project, delivering bags of groceries packed at the food bank to folks that can’t come into the food bank due to mobility or accessibility challenges. I delivered a total of 536 bags of groceries (268 deliveries of two bags each). Each bag weighs typically 10-15 lbs, so that is a total of 5,360-8,040 lbs of food delivered to families in White Center, Seattle, and Burien, and 444 miles ridden.
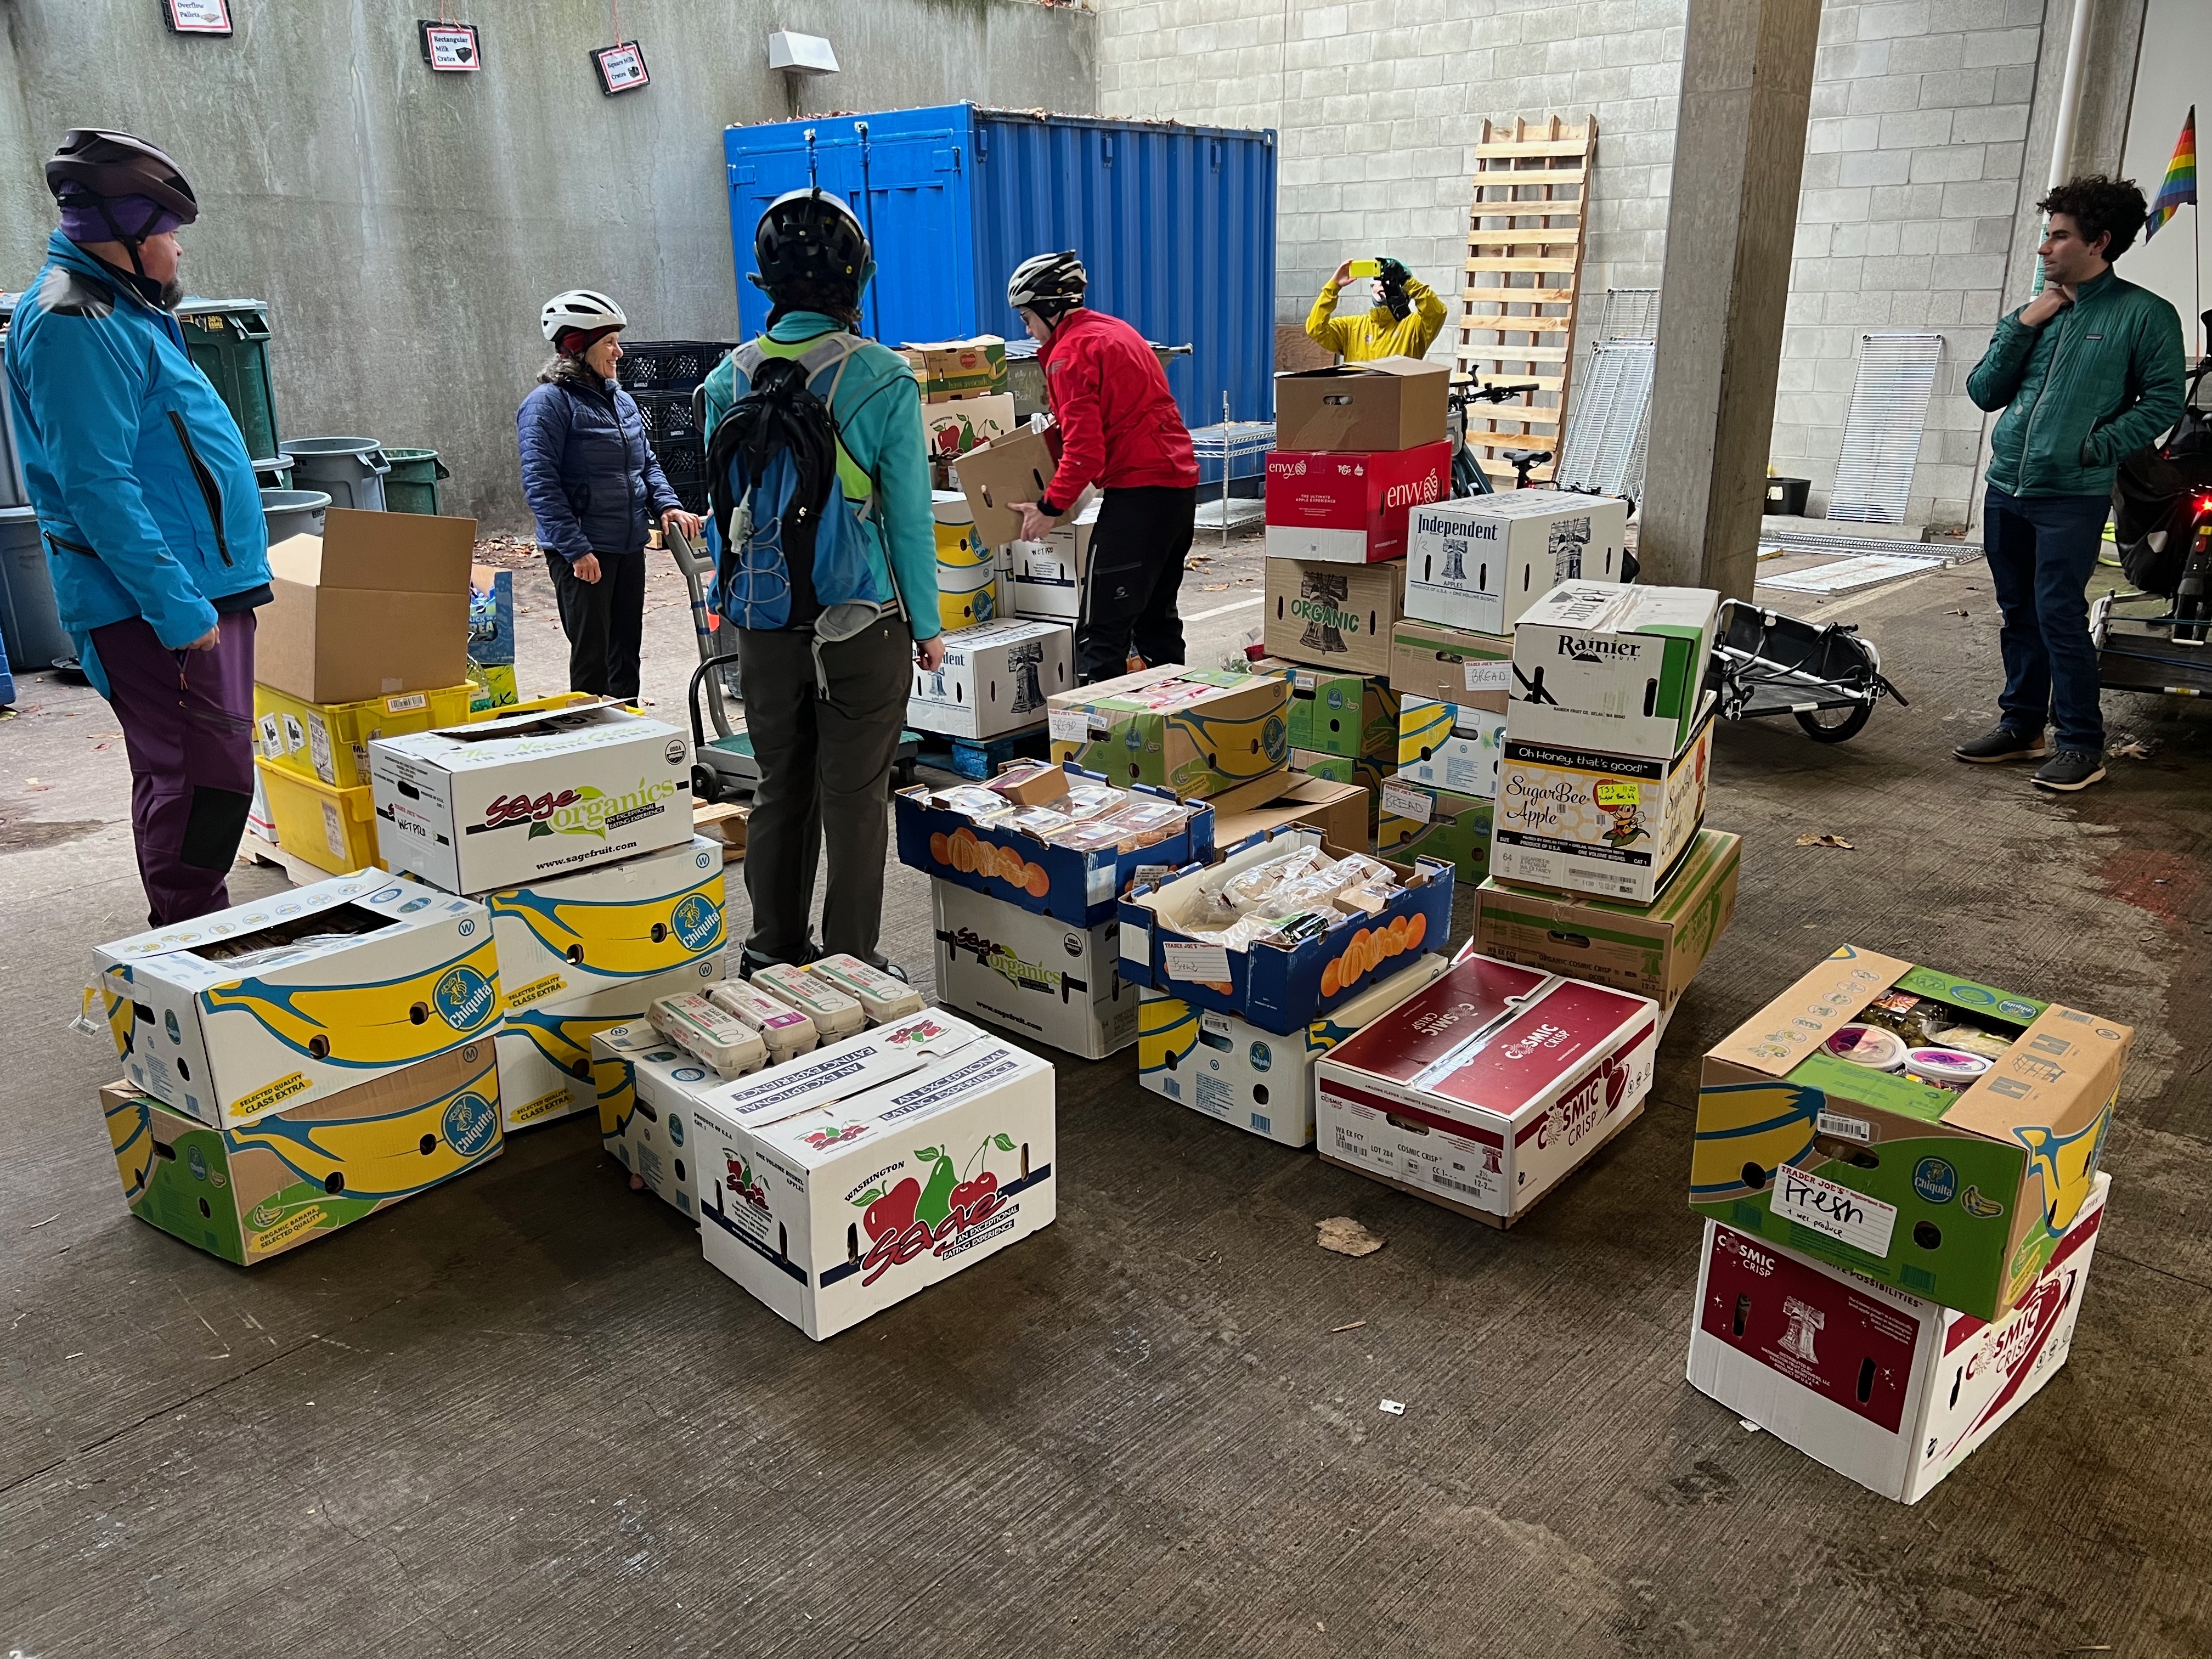
Food Rescue for Food Not Bombs
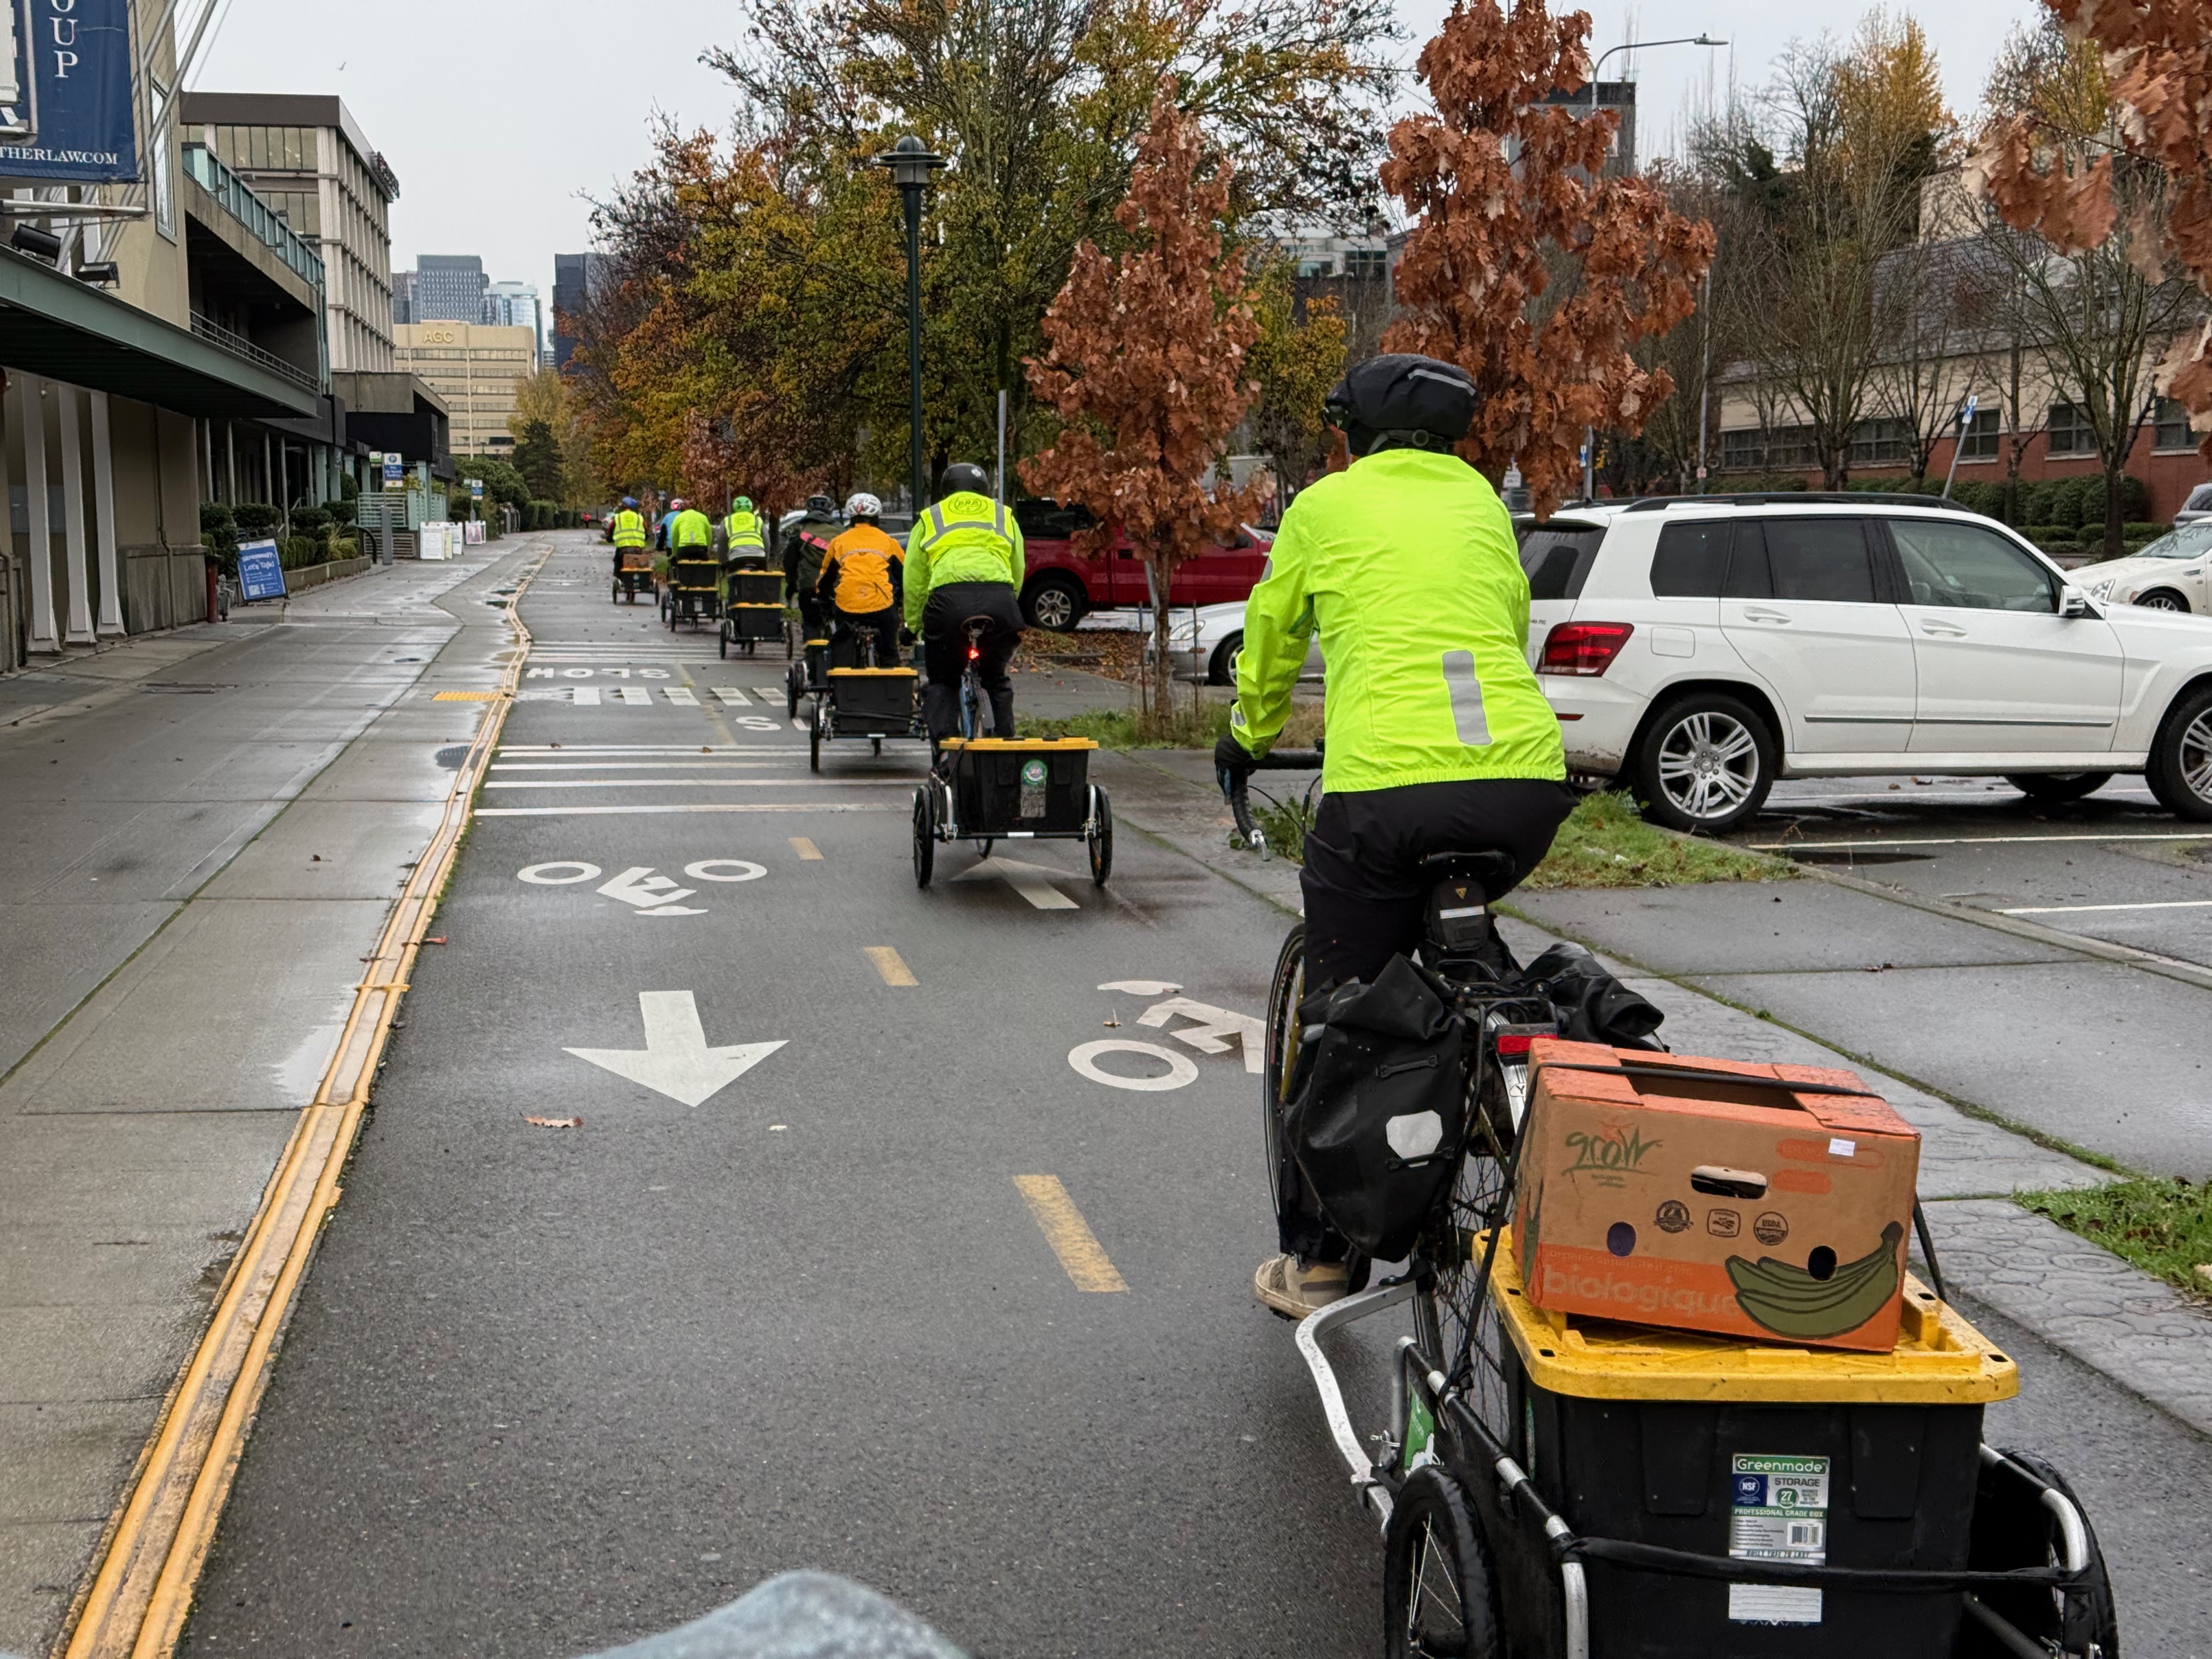
I volunteered for 8 of the weekly Sunday food rescue opportunities for Emerald Sea Food Not Bombs in collaboration with University District Food Bank through the Pedaling Relief Project. In total, that’s an estimated 820 lbs of food rescued and delivered it to the direct distribution in SODO, and 272 miles ridden.
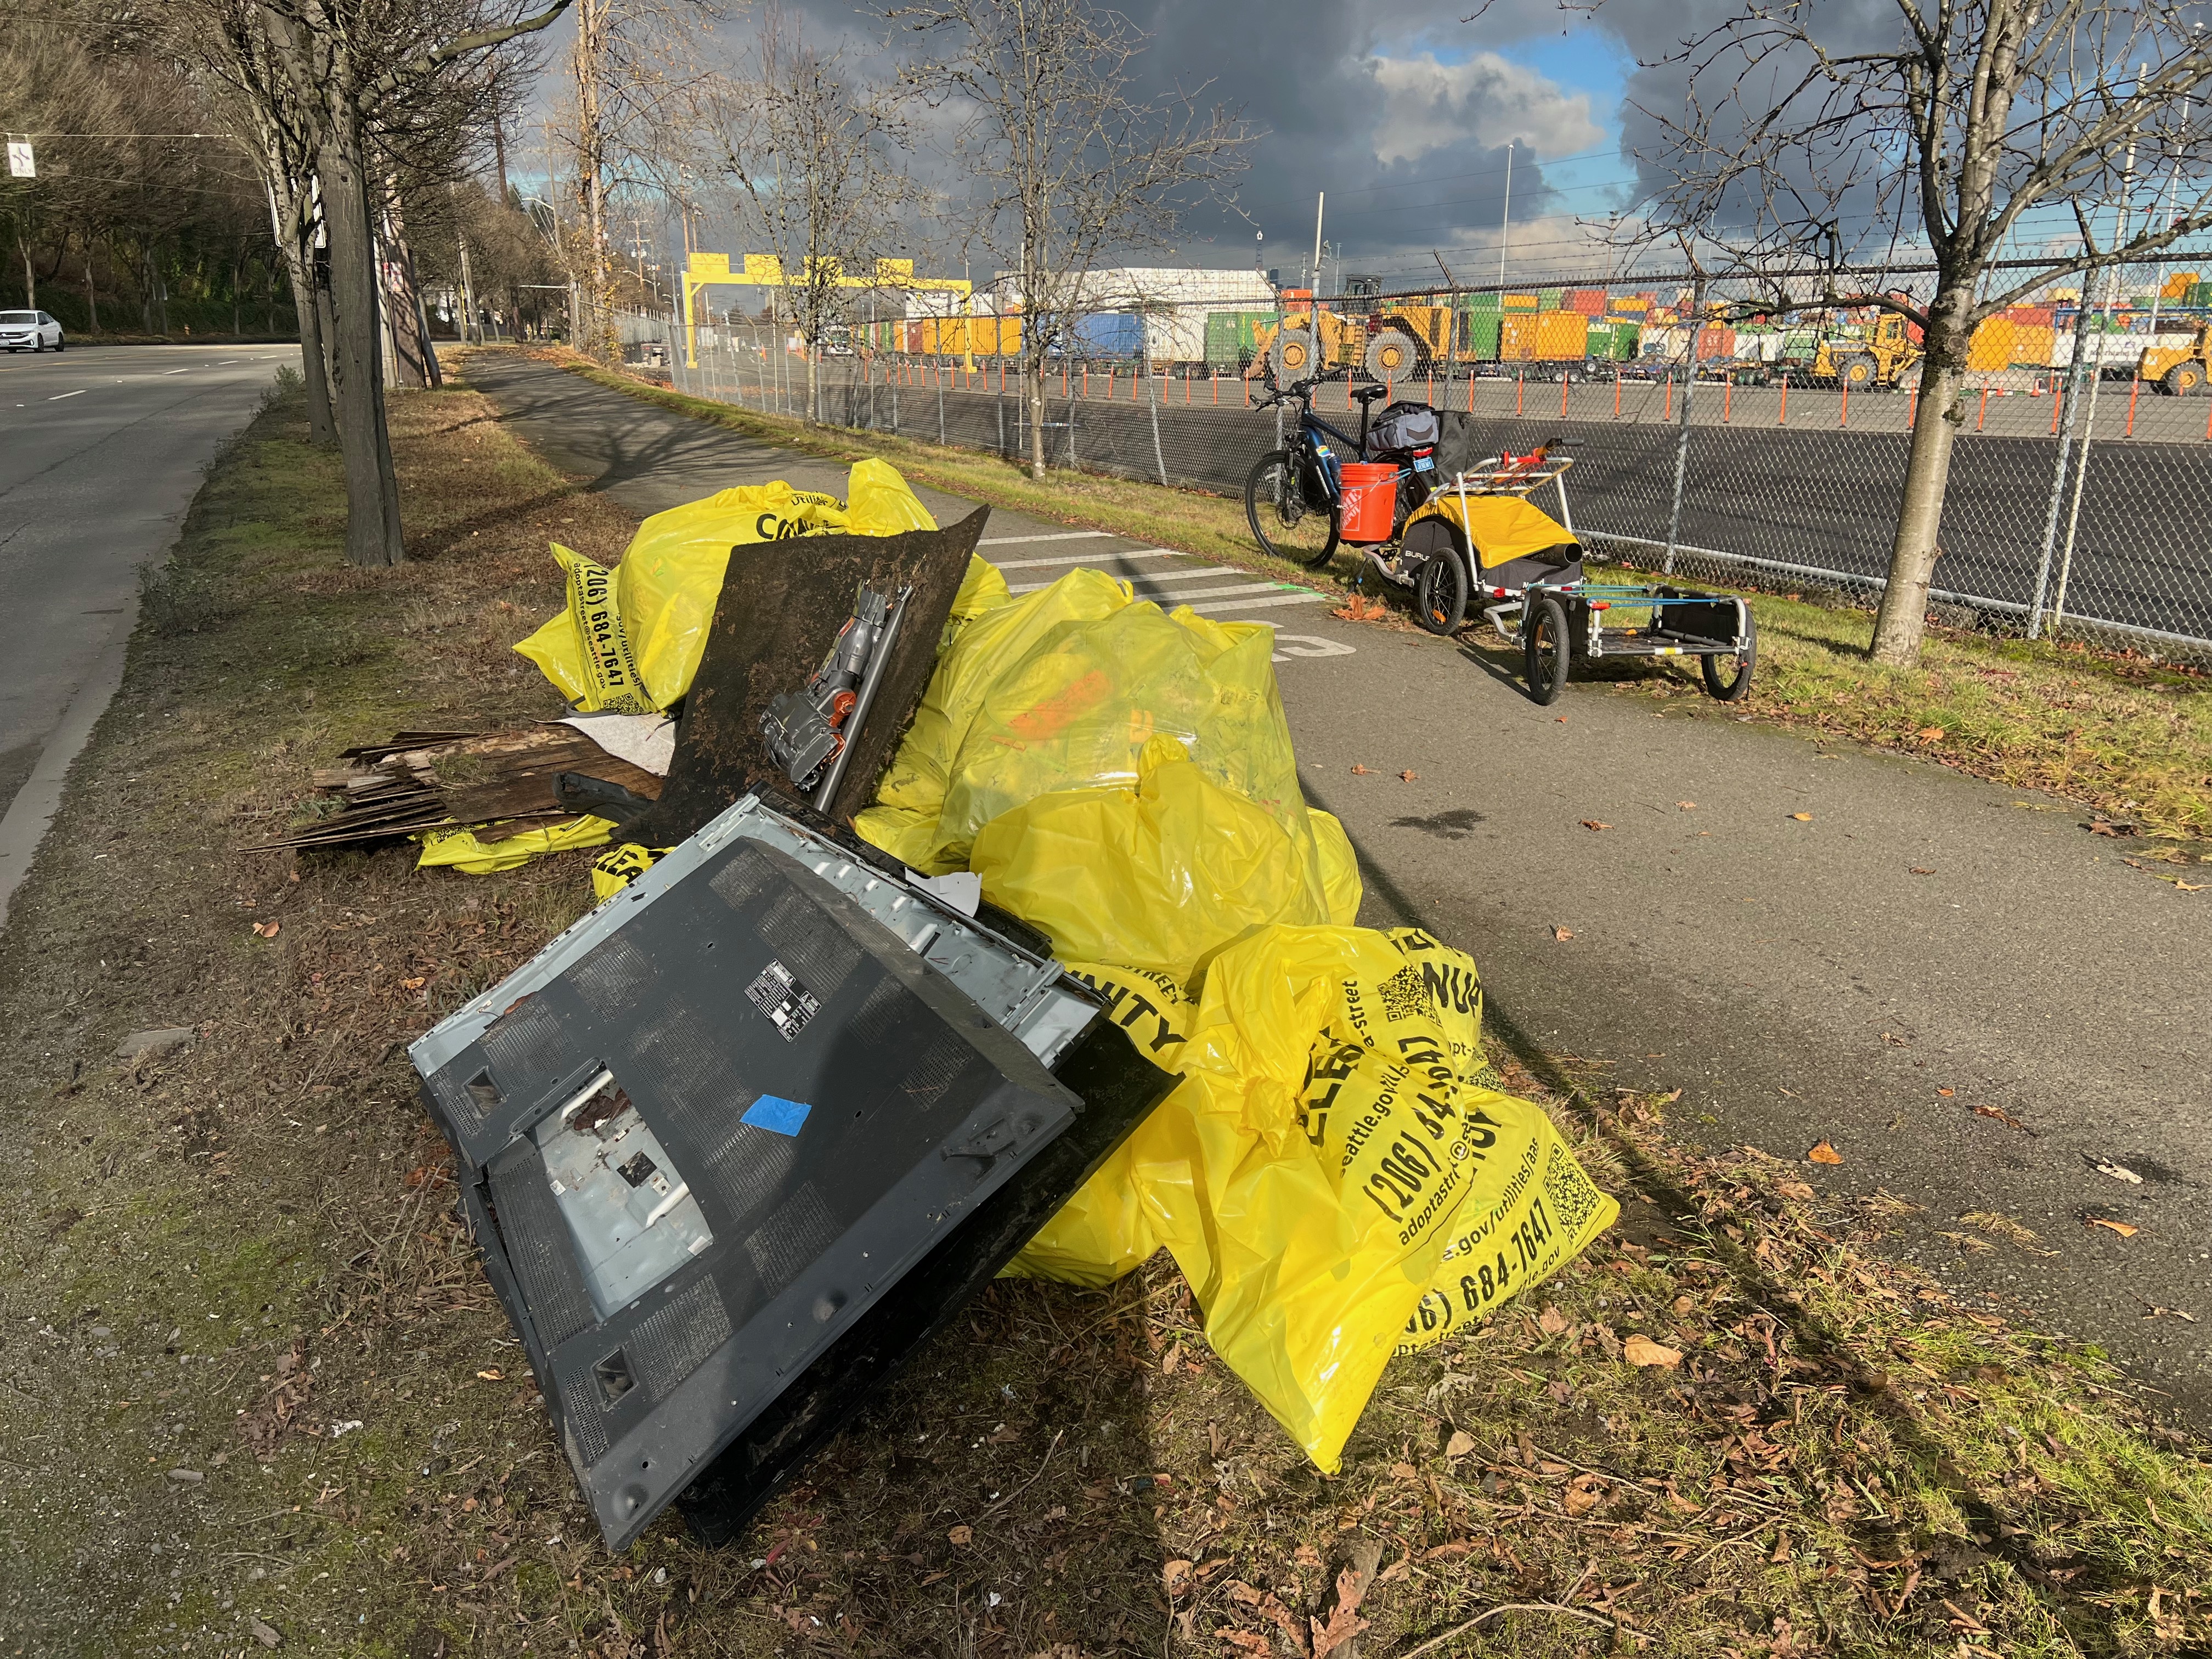
Cleanup work with Adopt-a-Street and/or A Cleaner Alki
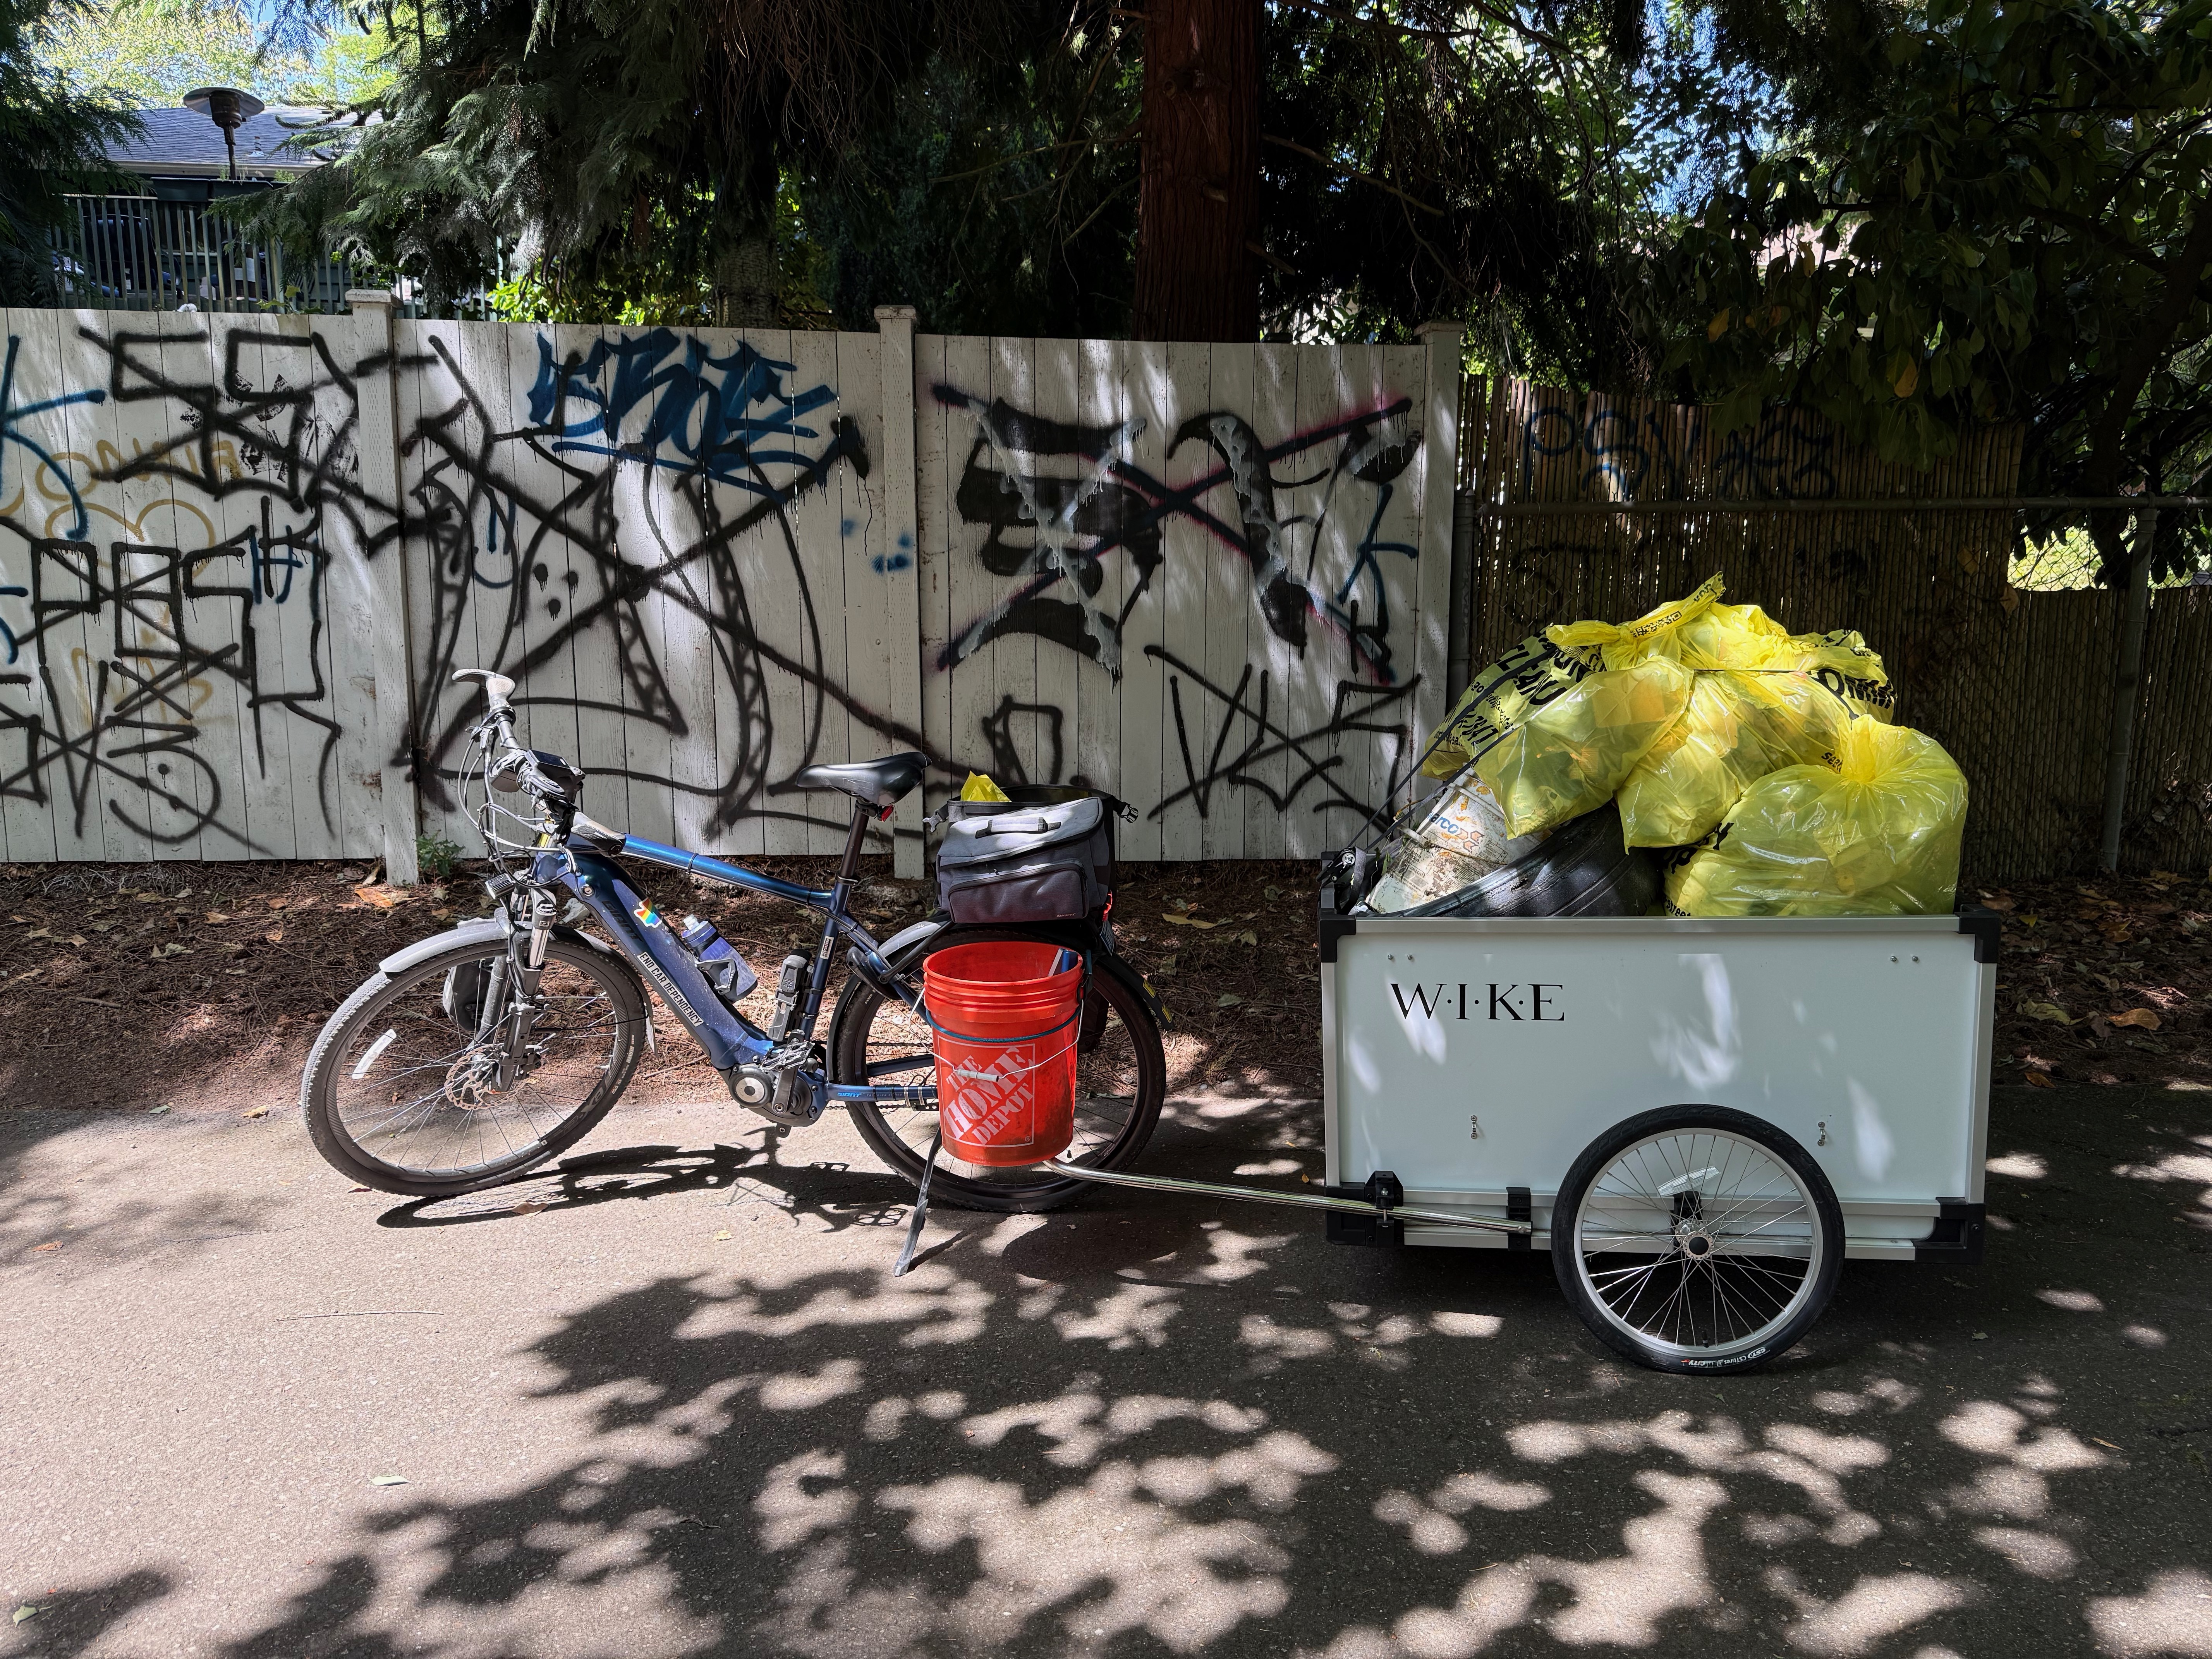
I didn’t do quite as much cleanup work this year as previous years (and I didn’t keep very good records, either), but I was out there quite a bit, especially in the spring. I went out on at least 30 different days and spent a total of around 130 hours doing various cleanup work by bike, picking up litter, removing/taming vegetation, cleaning up leaves, and otherwise making Seattle better. Many of these days I went out on my own to clean something up (working with Adopt-a-Street for supplies and disposal), but I also joined many cleanup events run by A Cleaner Alki. I collected at least 164 bags of litter myself, and transported several tons of illegally dumped materials and others’ collected bags by bike trailer.
Recurring group rides
Critical Mass Seattle
Critical Mass Seattle is, as with with the other global Critical Mass events, held on the last Friday of every month. It is a loosely-organized protest ride starting in the core of downtown at Westlake Park (4th and Pine) and riding wherever the rider leader takes us, as a rolling roadblock. I generally participate by helping the ride move safely through the city, often acting as a sweeper or “tail gunner”. I rode in 10 of the 12 monthly rides, missing April and September’s rides due to travel conflicts.
Strava Rides:
January, February, March, April, May, June, July, August, September, October, November, December
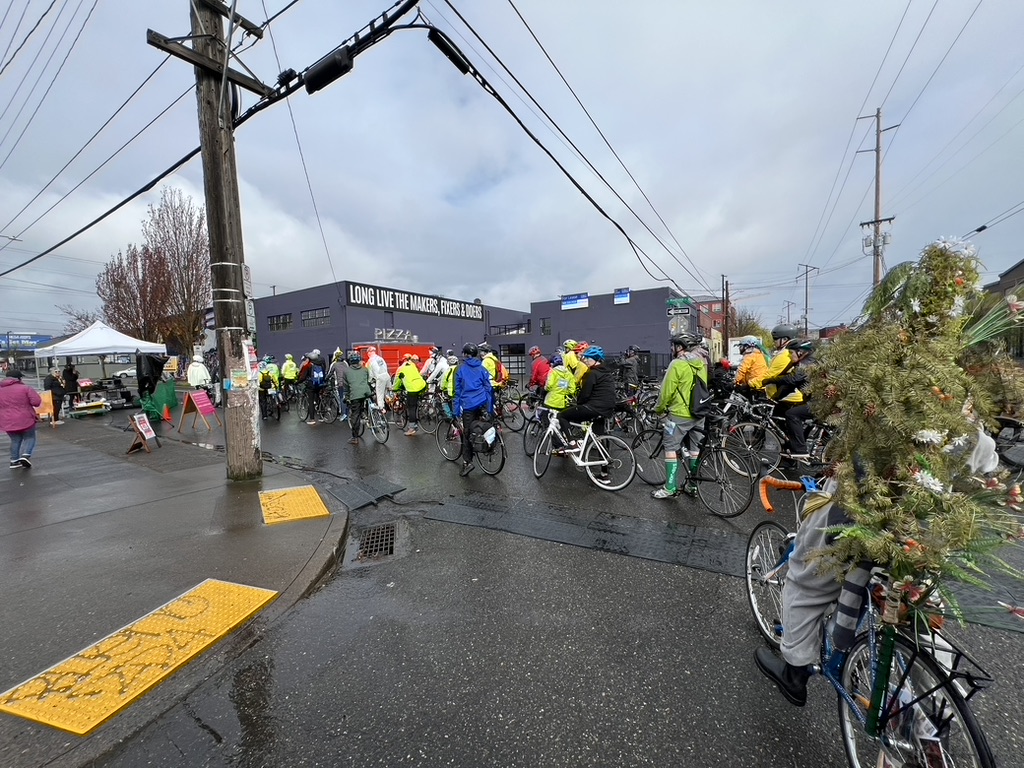
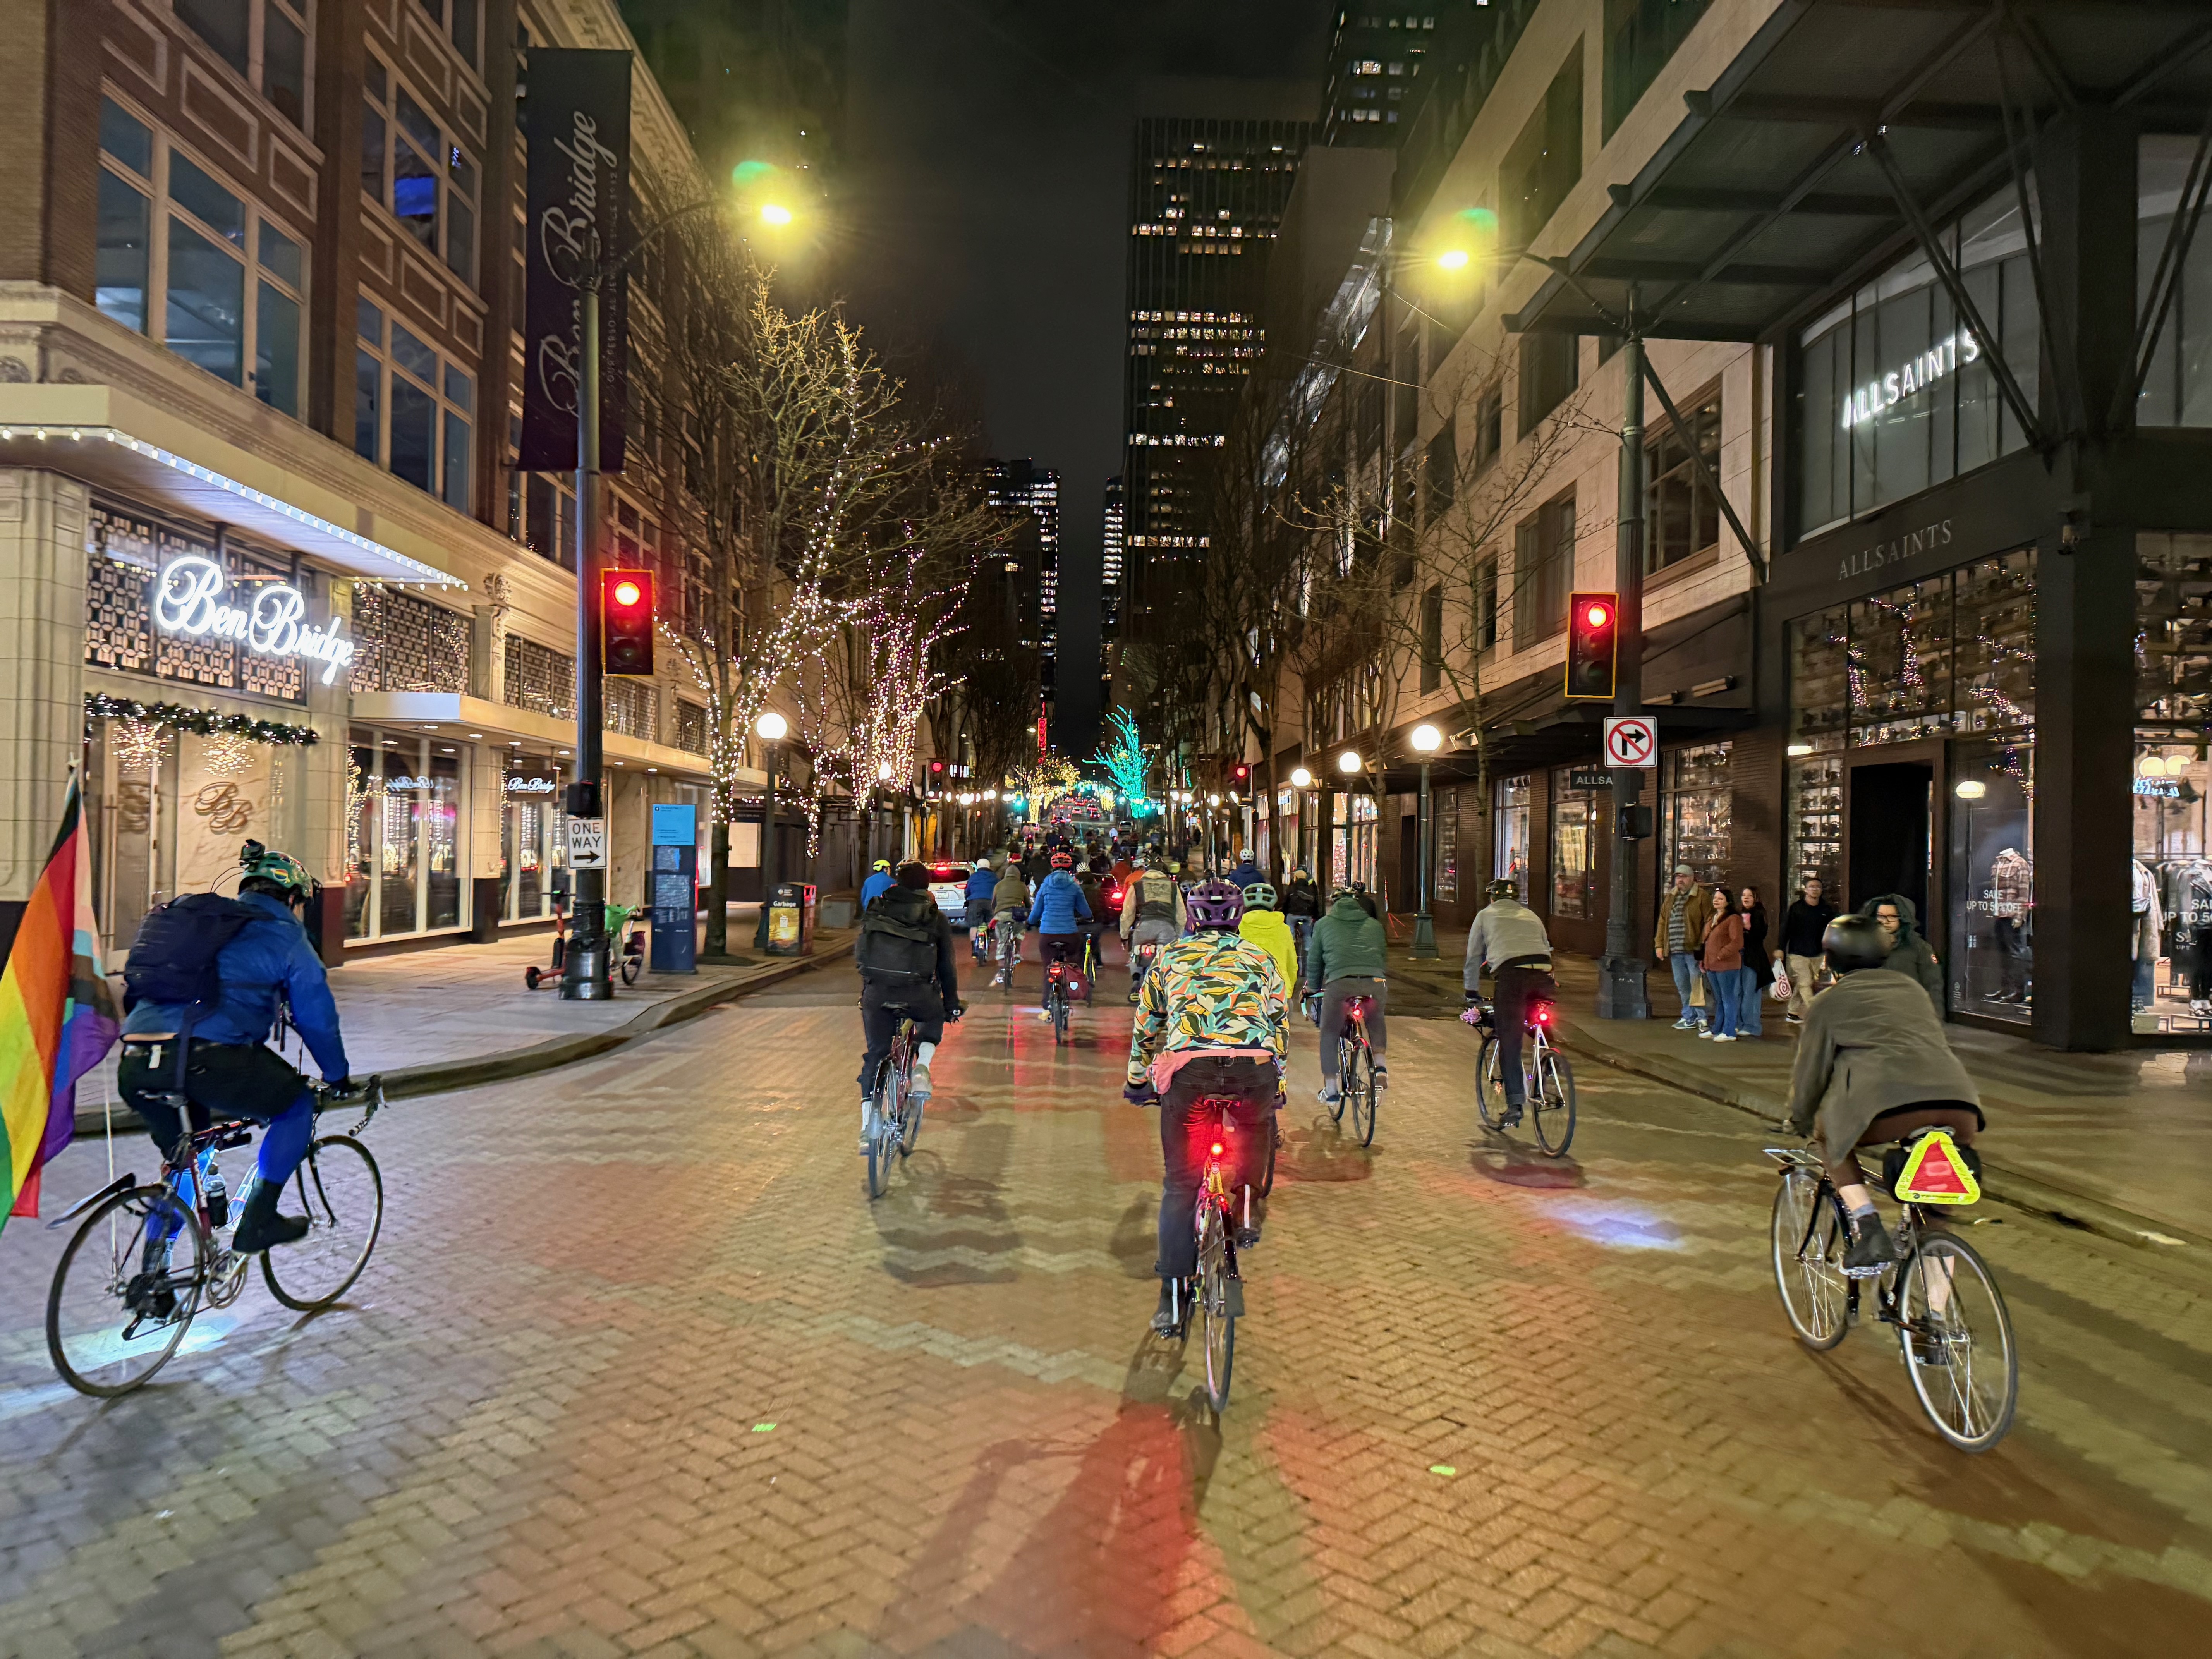
Seattle Bike Disco
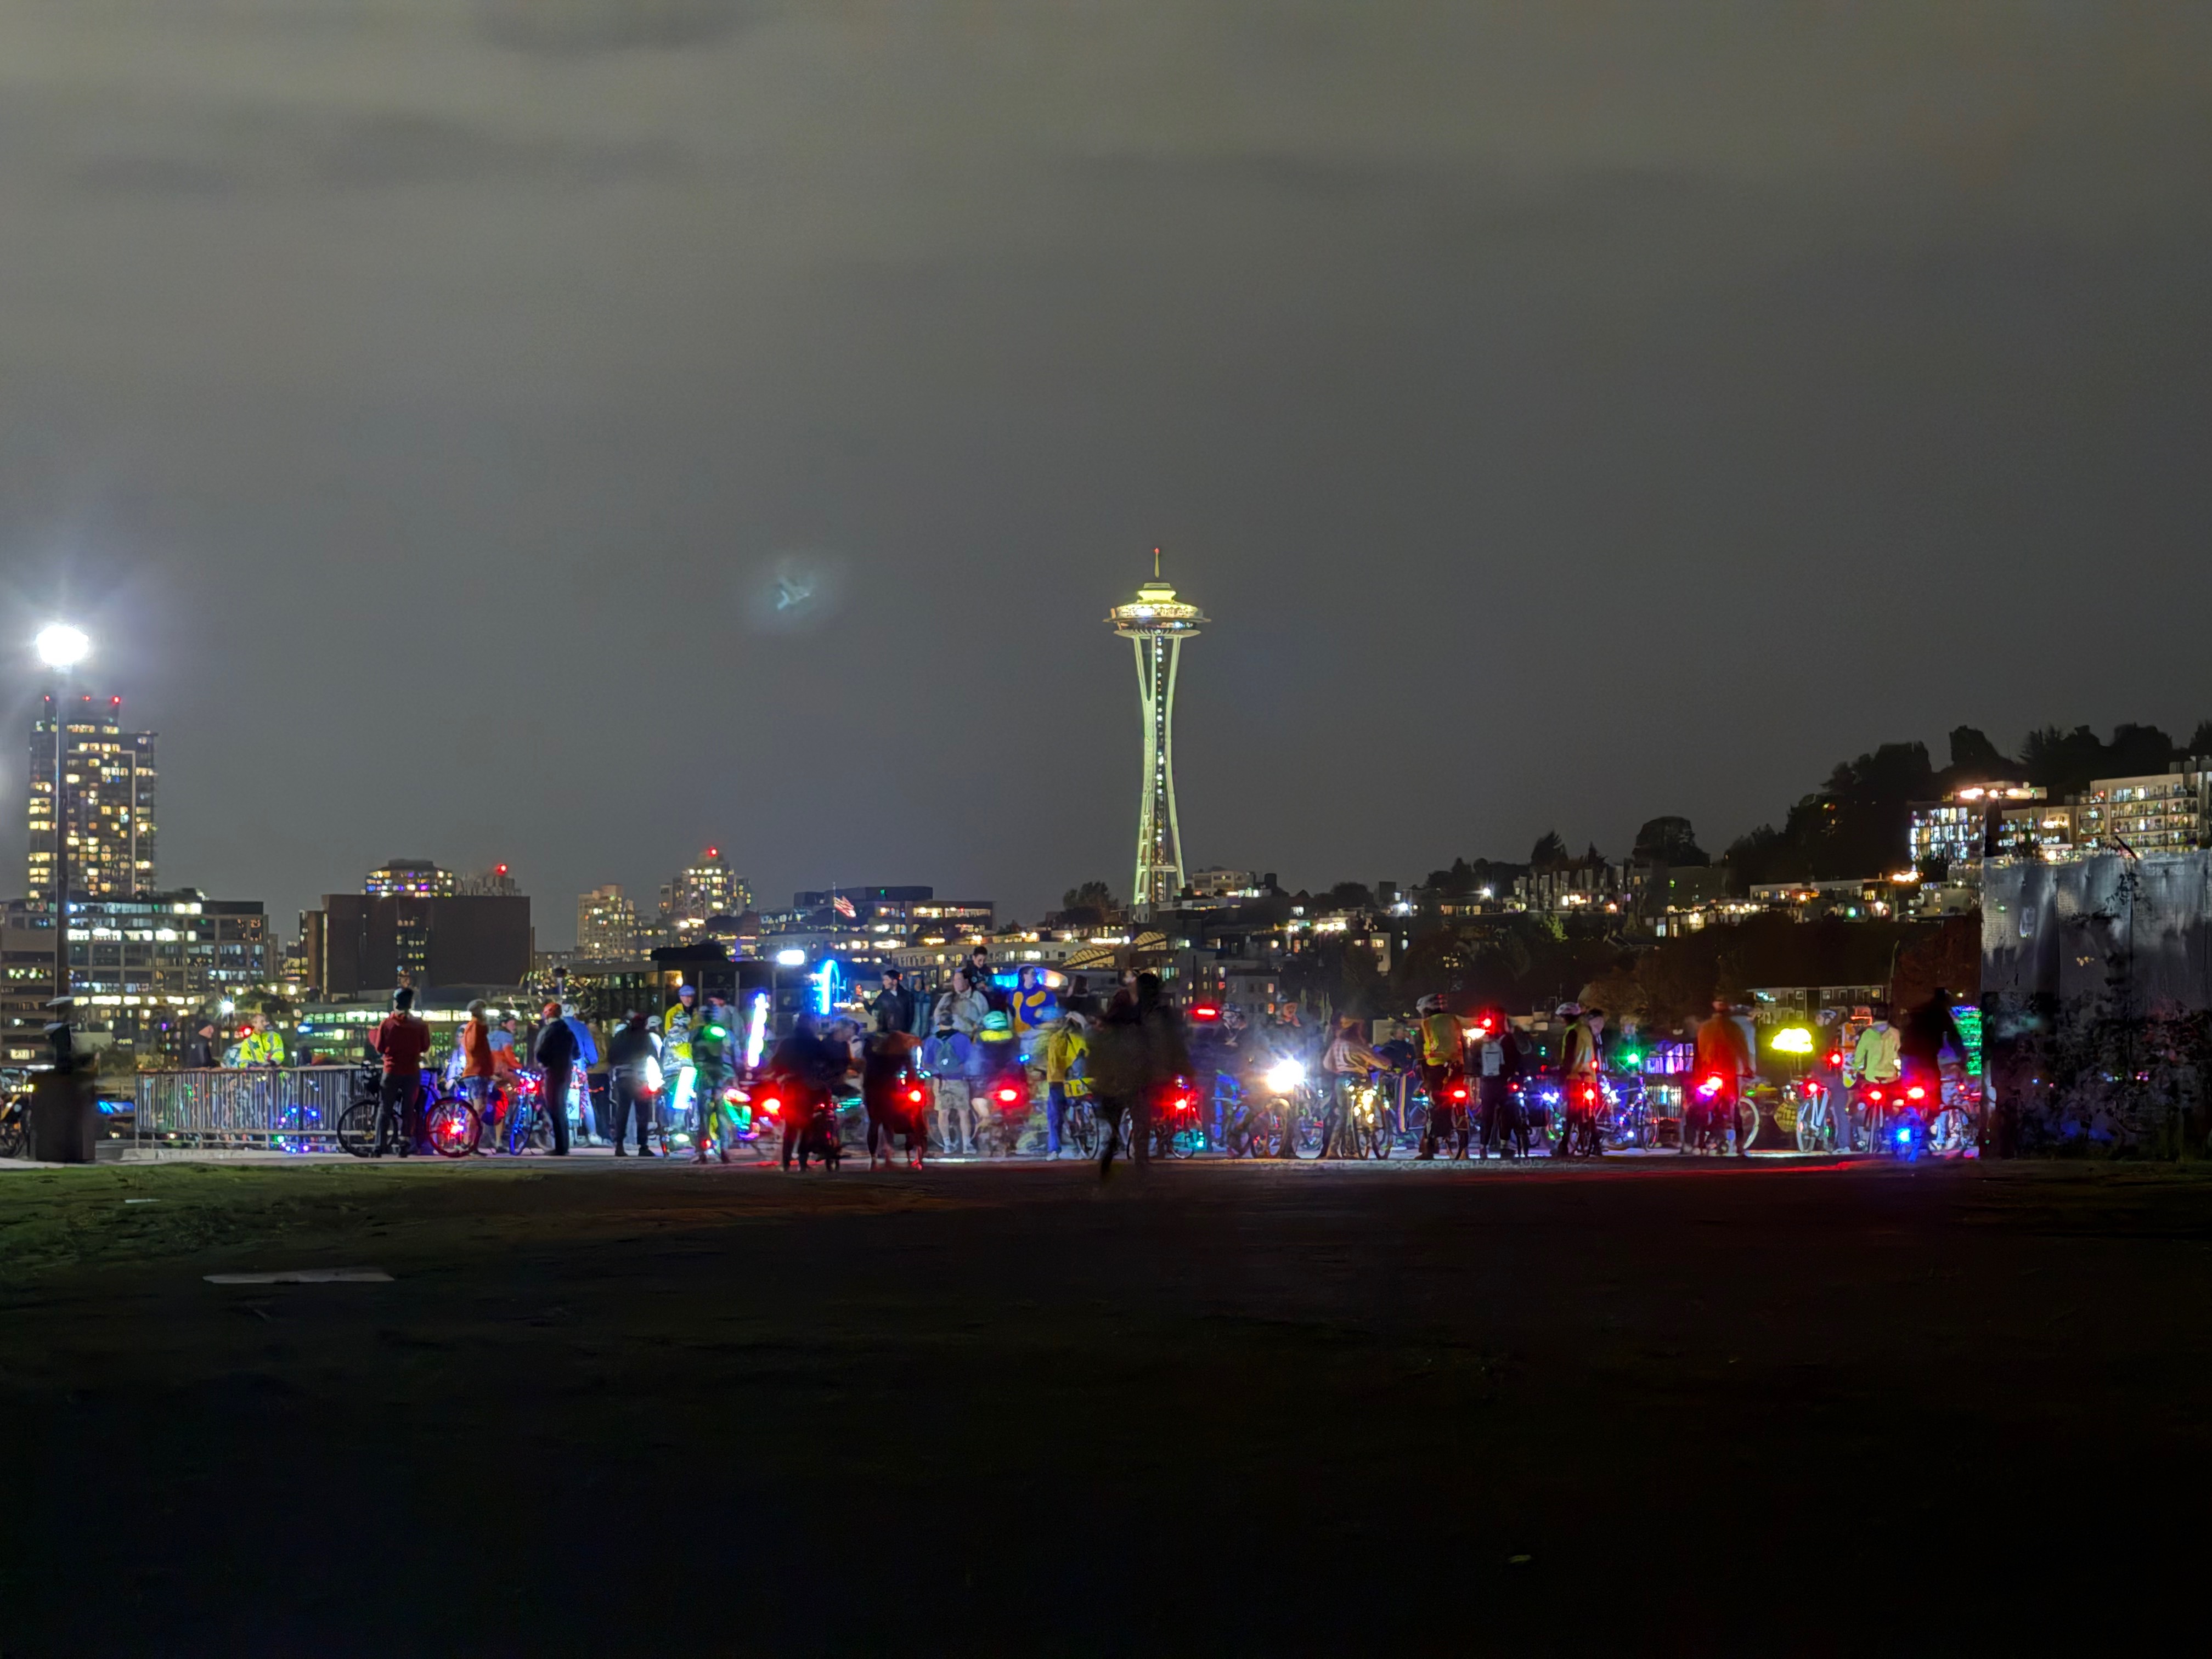
Seattle Bike Disco is like Critical Mass, but “more party, less protest”, and many riders have colorful lights, music, and costumes. It is held one one of the middle Fridays of each month (often two weeks before Critical Mass, but the schedule is published on Instagram) starting at various locations around Seattle (usually near a light rail station) and riding a route planned and tested by organizers. The ride always features stops for music/dancing and socializing, and often ends with a bonfire somewhere. Several rides this year also had a live DJ at the last stop.
This year, I joined the Bike Disco organizers’ group where I helped plan rides, test routes with pre-rides, as well as often having an official role in the ride (I usually prefer to be the caboose/sweeper). For the first time, I was also the ride leader for December’s ride. I rode in 9 of the 12 monthly rides, missing May, June, and September’s rides due to travel conflicts. I rode in 4 of the 12 monthly pre-rides.
Strava Rides:
January, February, March, April, May, June, July, August, September, October, November, December
Pre-rides:
July, August, November, December
Critical Mass Hamburg

As part of a planned trip through Europe in September (see below), and inspired by attending Masse Critique Montréal last year, I attended Critical Mass Hamburg in Hamburg, Germany. While planning the trip, I reached out to the organizers to confirm that it is definitely happening and get an idea of the expected size. They informed me that they expected 2,000-3,000 riders… and whew, they were not kidding. I can’t count that high, but by my estimation, we easily exceeded 3,000. The ride was well-supported (and hands-off) by the Hamburg Polizei, with at least a dozen motorcycle cops, two police cars, and a van at the rear of the ride.
One takeaway from Hamburg that I brought back to Seattle is: big audacious things are possible, and plenty of people are itching for some free and good spirited fun in the city. Seattle PD could support Critical Mass Seattle in the same way.
Strava Ride: September
Organized ride events
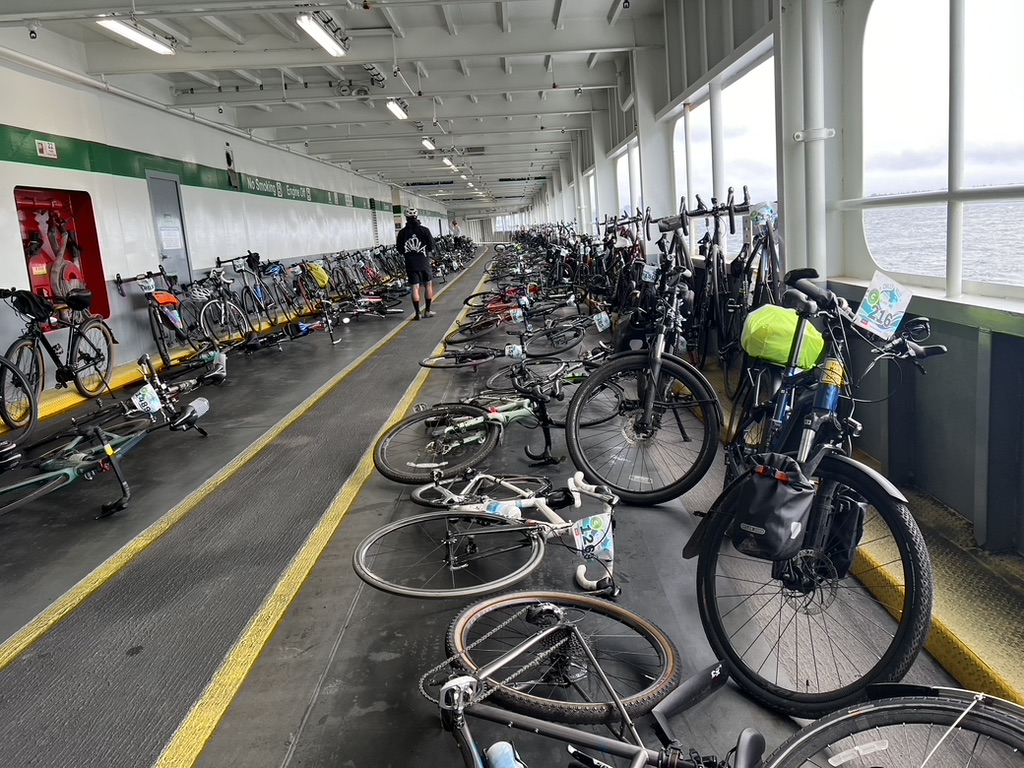
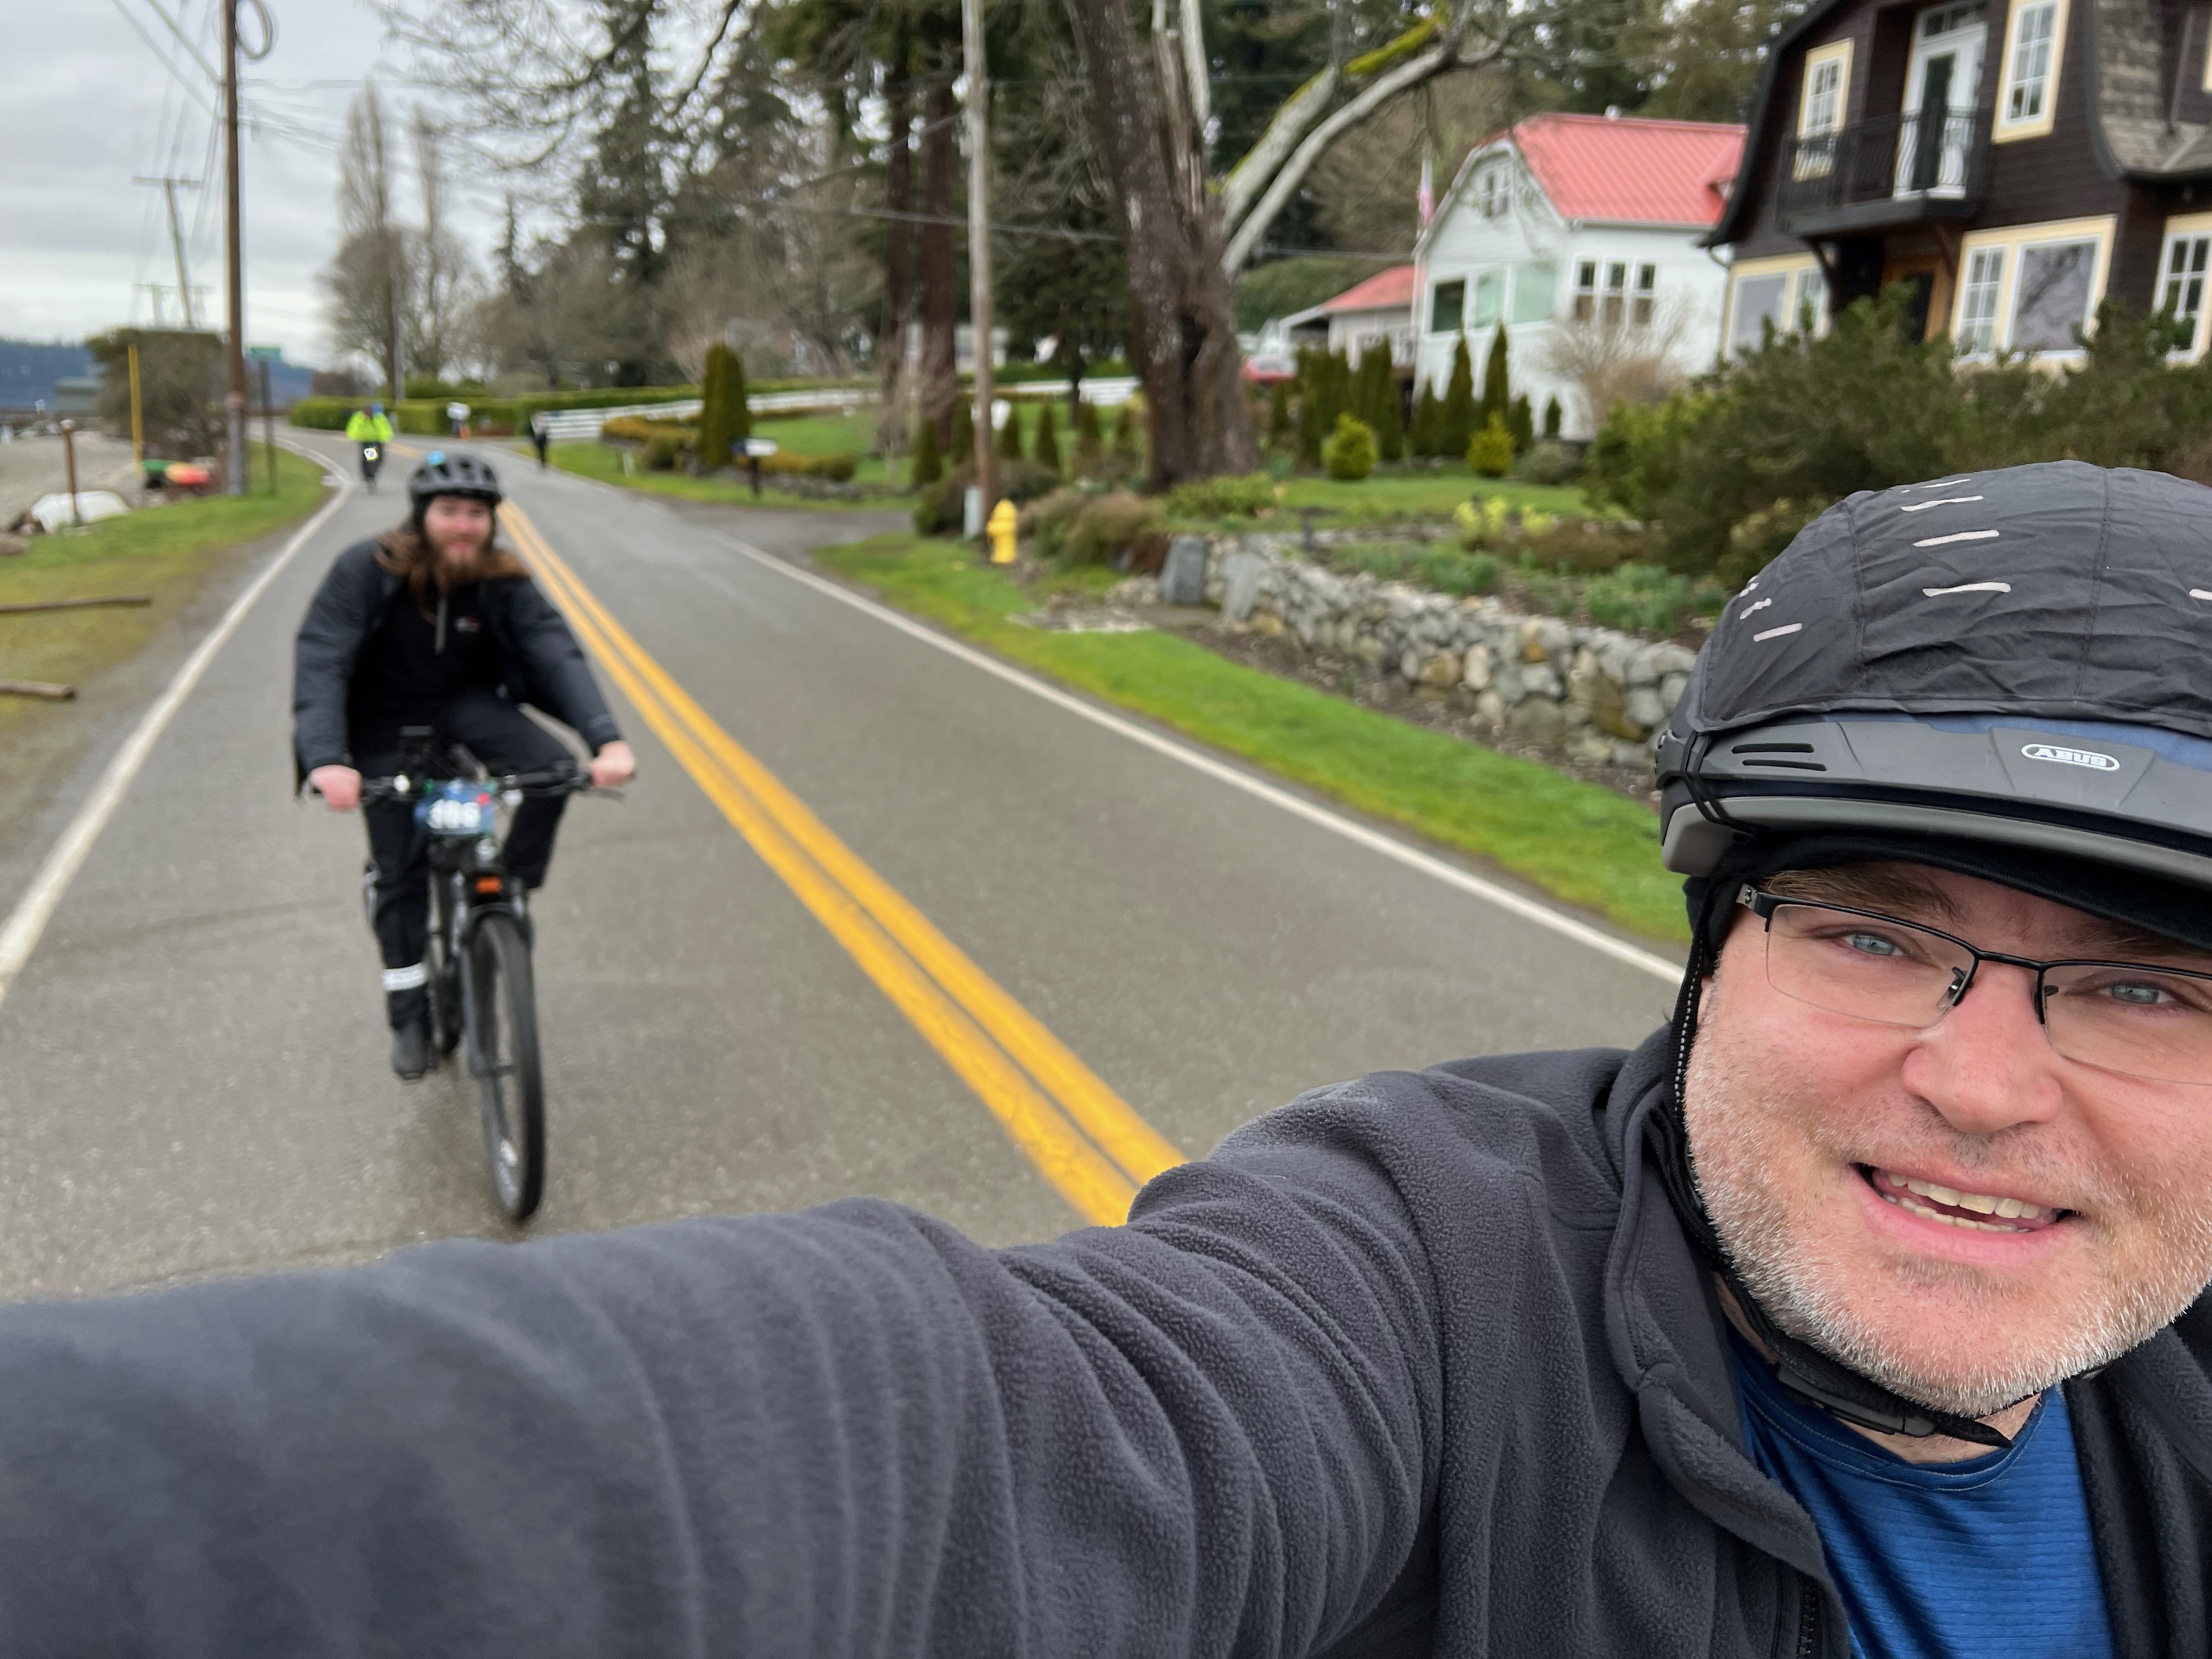
Chilly Hilly
- February 23, 2025
- Bainbridge Island, WA (ferry from Seattle, WA)
- Cascade Bicycle Club
- 32.5 mi / 2,618 ft
- Strava Ride
- With: Liam Cole
I rode Cascade’s Chilly Hilly for the third time, and the first time on a non-e-bike, helping open Cascade’s “riding season” with an indeed chilly ride. We managed to stay dry, somehow.
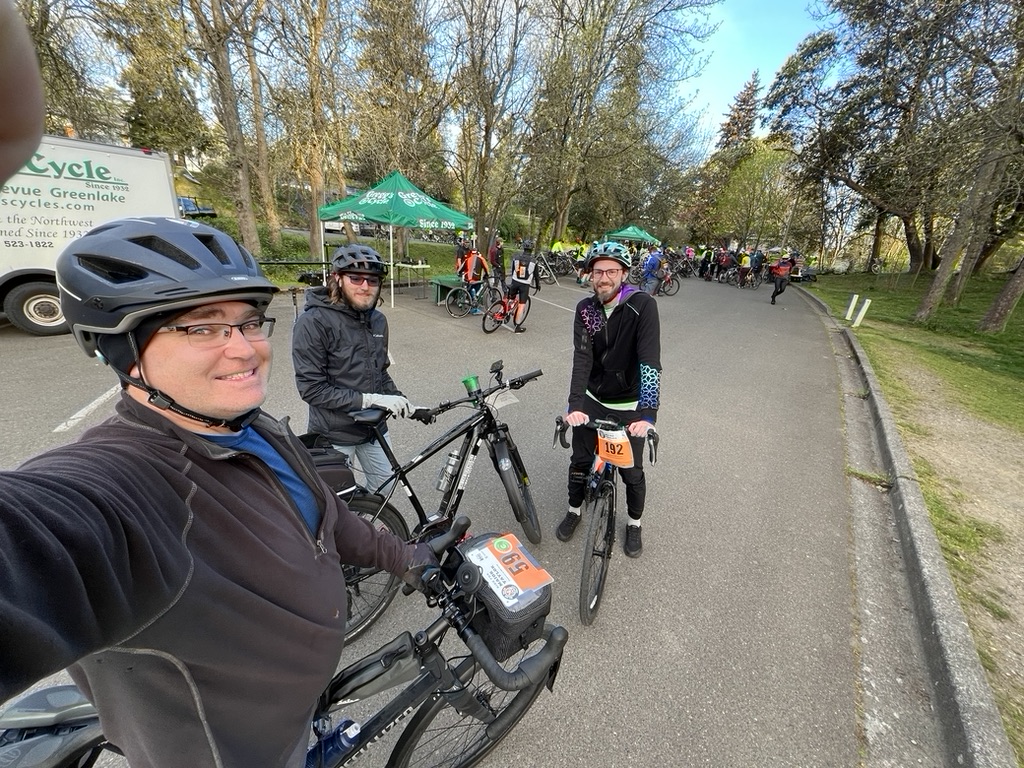
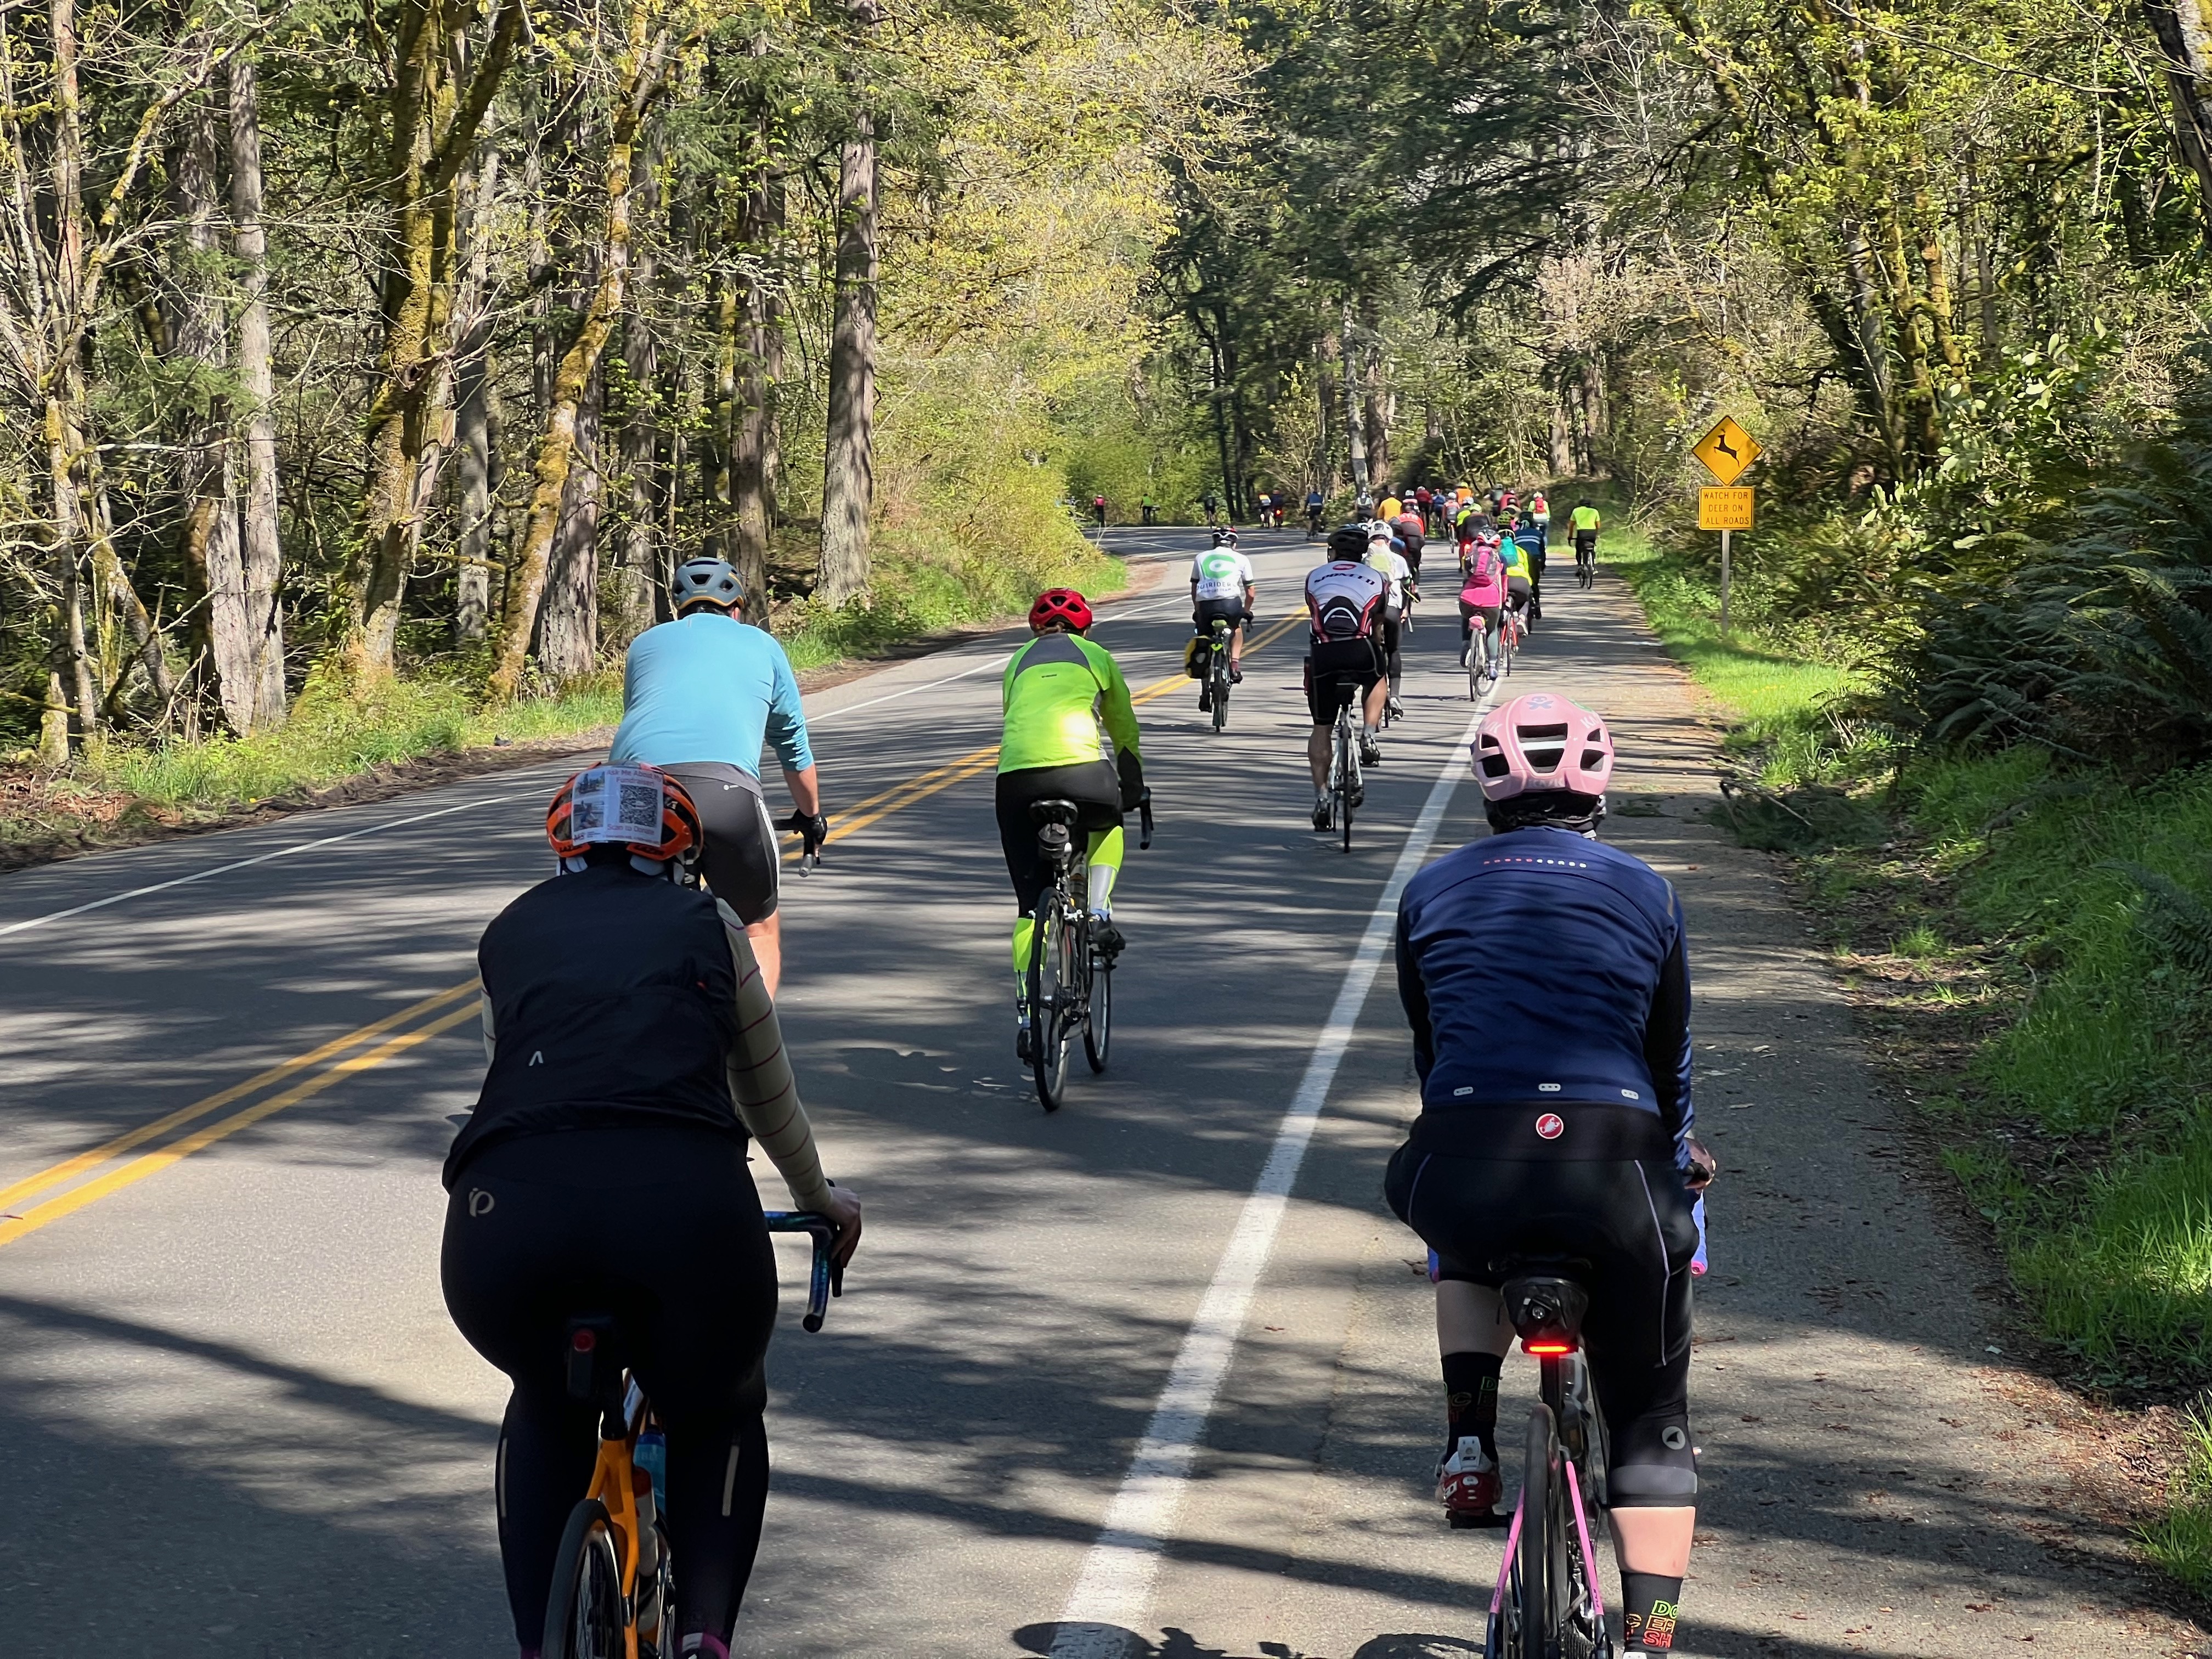
Ride for Major Taylor (63 mi)
- April 13, 2025
- White Center, WA and Vashon Island, WA
- Cascade Bicycle Club
- 56.7 mi / 3,894 ft
- Strava Ride
Cascade’s Ride for Major Taylor is a fundraising ride for the Major Taylor Project with a choice between a shorter and a longer route.
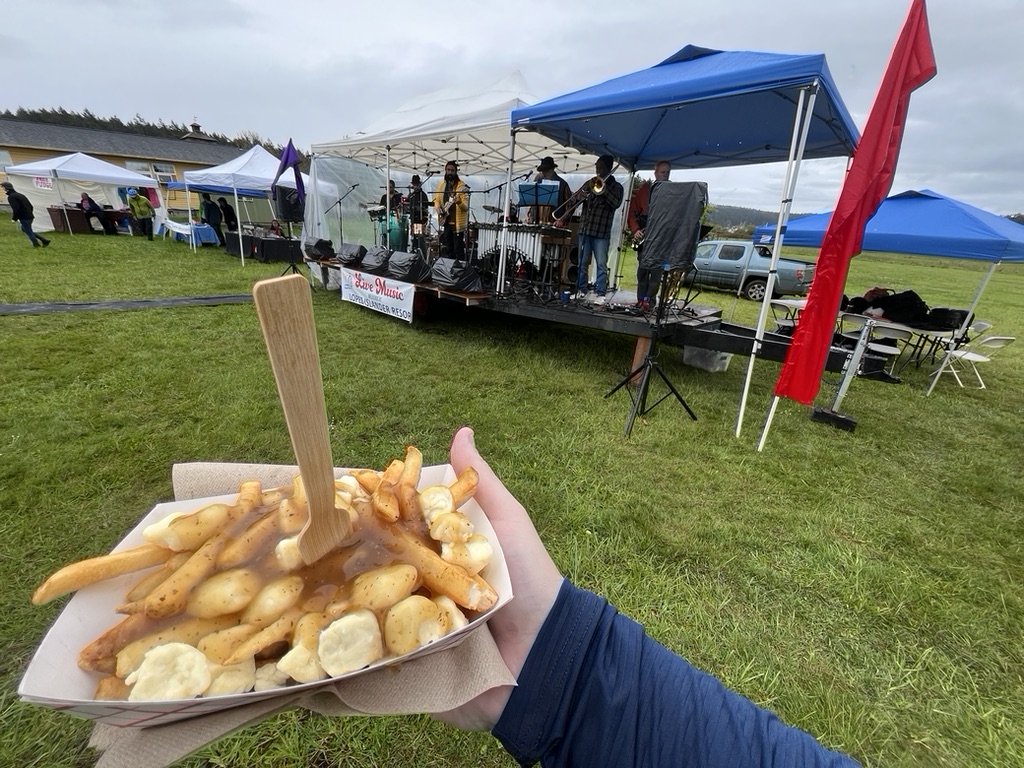
Tour de Lopez
- April 26, 2025
- Lopez Island, WA
- Lopez Island Chamber of Commerce
- 29.9 mi / 1,841 ft
- Strava Ride
- With: Liam Cole
The Tour de Lopez is organized by the Lopez Island Chamber of Commerce to drive tourism and awareness of the island and its amenities, so it has a bit different vibe than rides organized by bike clubs. Liam and I arrived in Anacortes the day before (see the trip description below!), visited Guemes Island, and stayed overnight at Salish Inn. The next morning, we took the ferry over to Lopez Island, rode in the Tour de Lopez, and settled in at The Edenwild right across the street from the Tour de Lopez start/finish. The next day, we explored San Juan Island before heading back to Lopez Island for another night. Then, we biked back to Anacortes to return to Seattle.
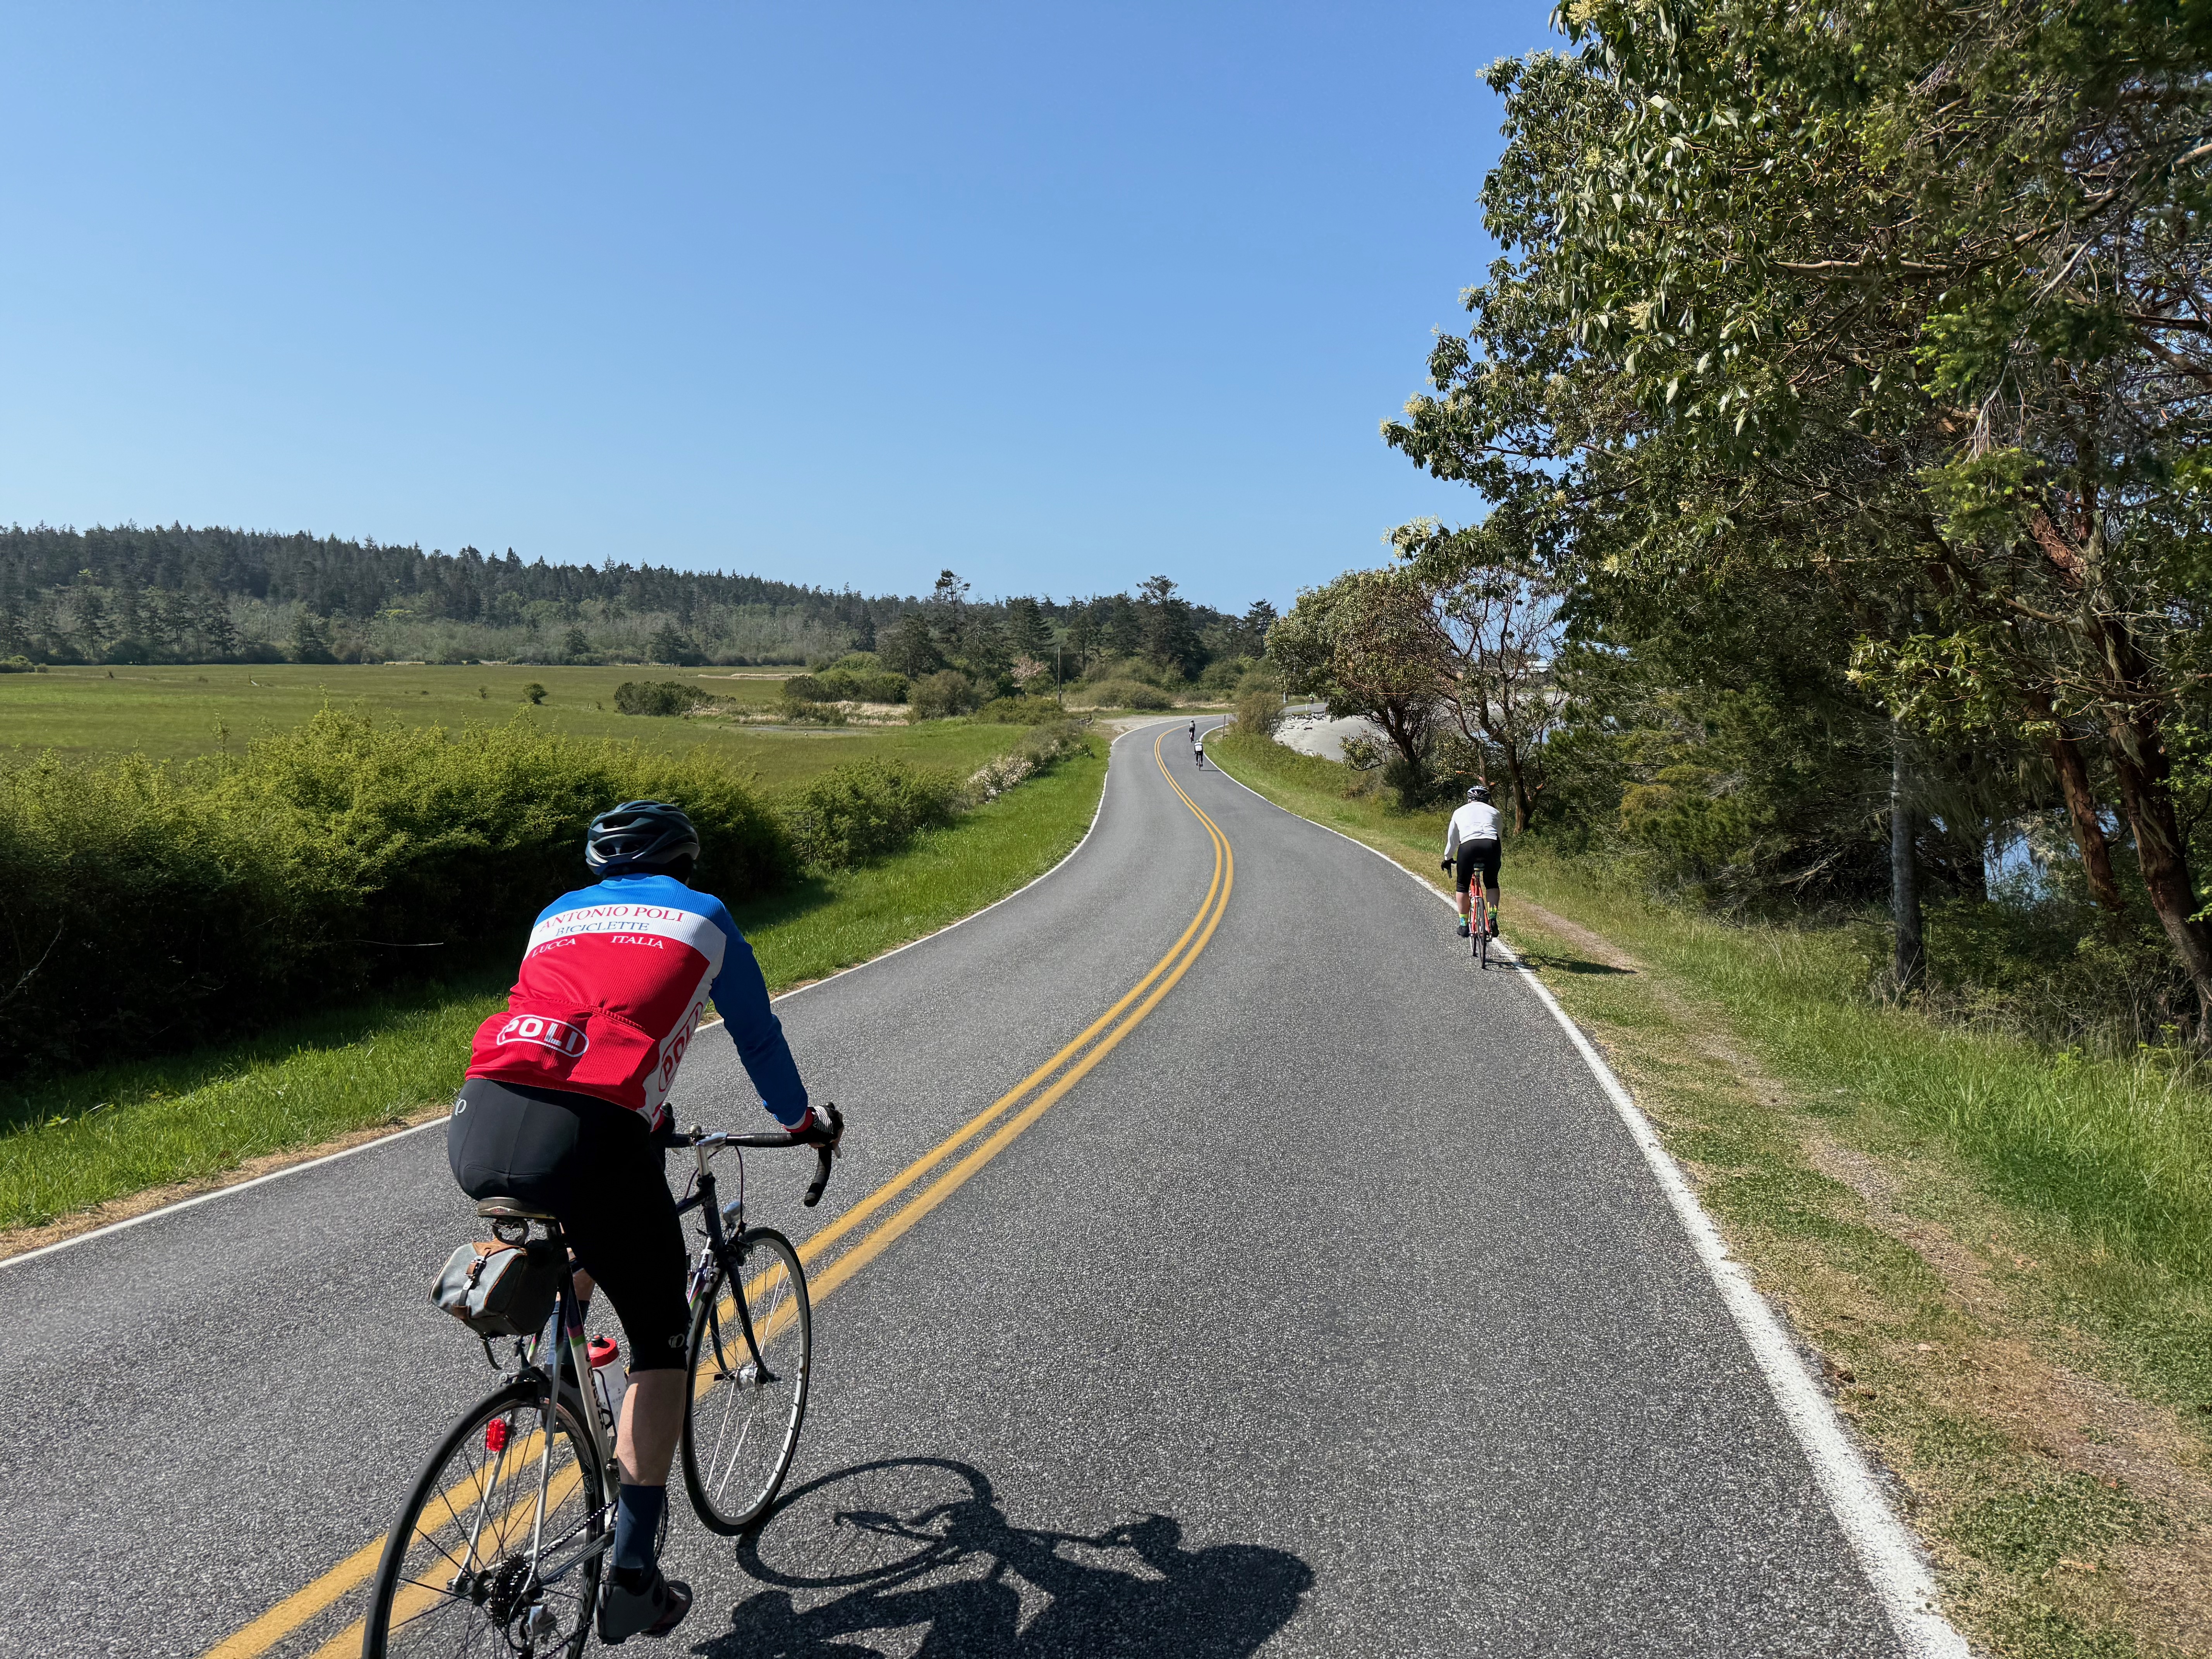
Tour de Cure: Pacific Northwest
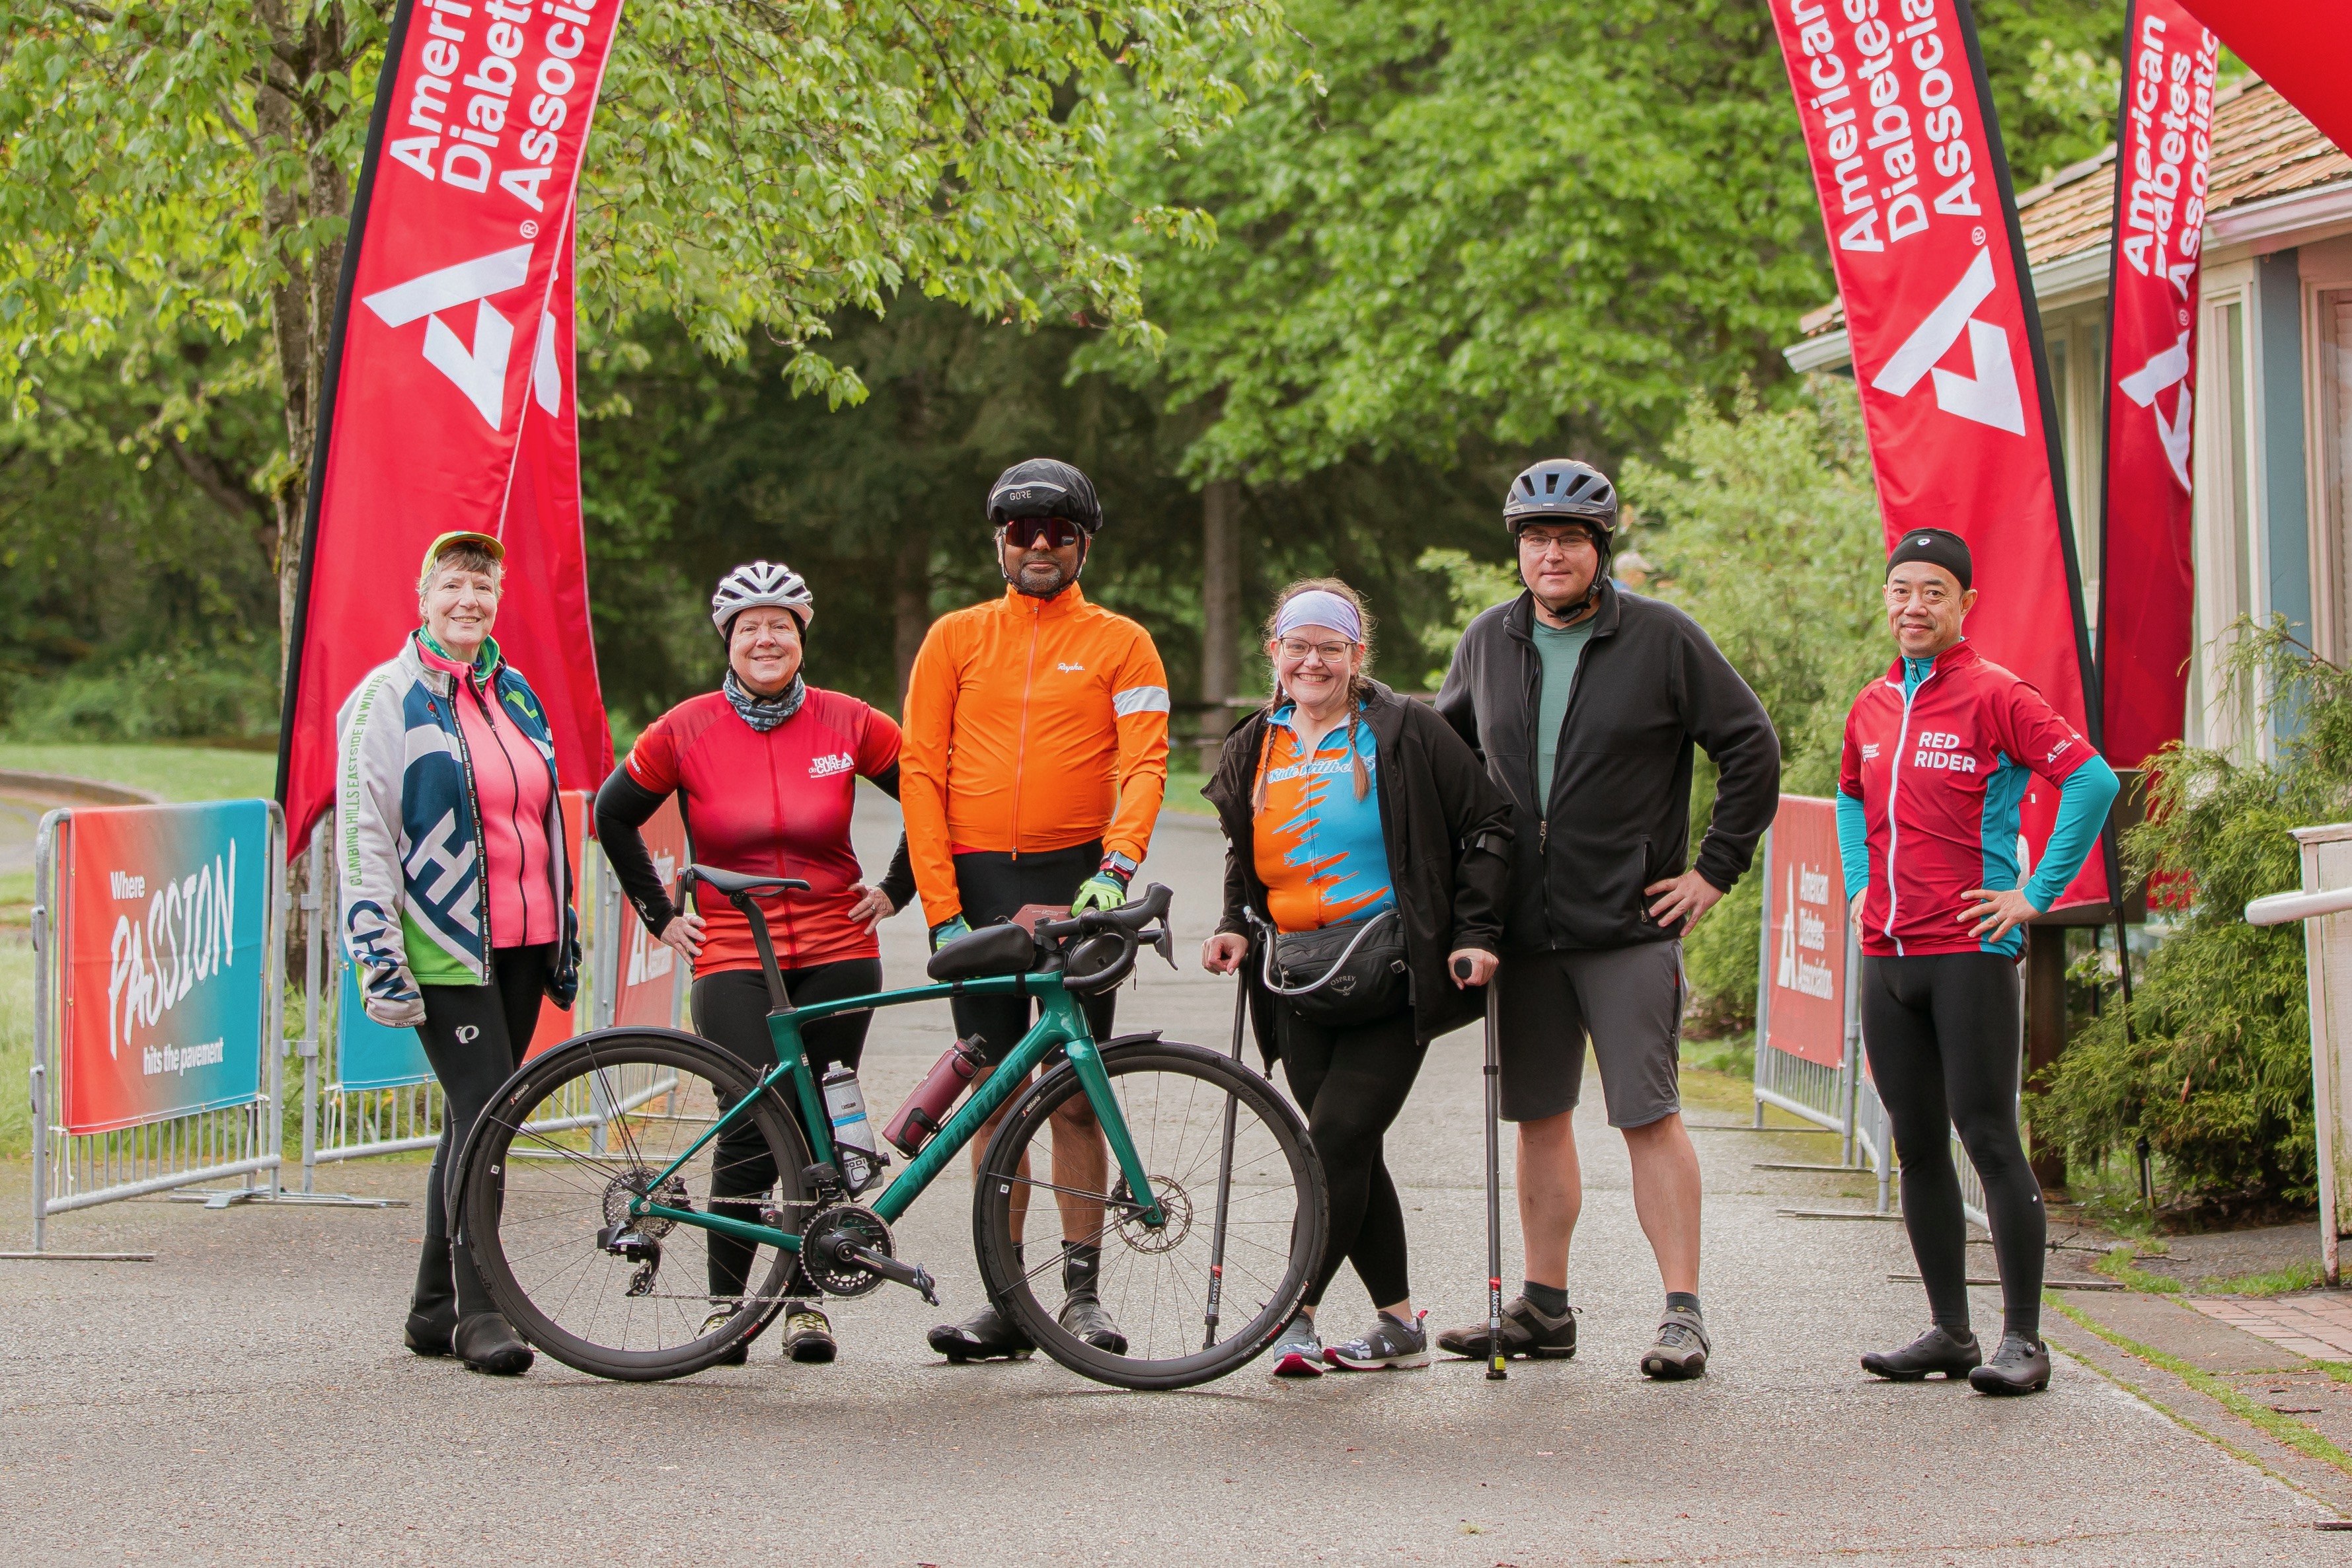
- May 3, 2025
- Bothell, WA
- American Diabetes Association
- 54.9 mi / 2,710 ft
- Strava Ride
- With: Anita Elder and team
I joined Anita Elder’s fundraising team for the American Diabetes Association’s Tour de Cure, riding a ~55 mile loop out of Bothell, WA.
Reach the Beach Oregon (Sauvie Island start)
- May 17, 2025
- Sauvie Island (Portland), OR to Fort Stevens (Astoria), OR
- American Lung Association
- 106.0 mi / 4,049 ft
- Strava Ride
I rode in American Lung Association’s Reach the Beach Oregon, starting from Sauvie Island near Portland and riding to Fort Stevens near Astoria. I took the train to Portland, and rode back to Seattle from Fort Stevens. See the major cycling trip below for more about that.
STP: Seattle to Portland (two days)
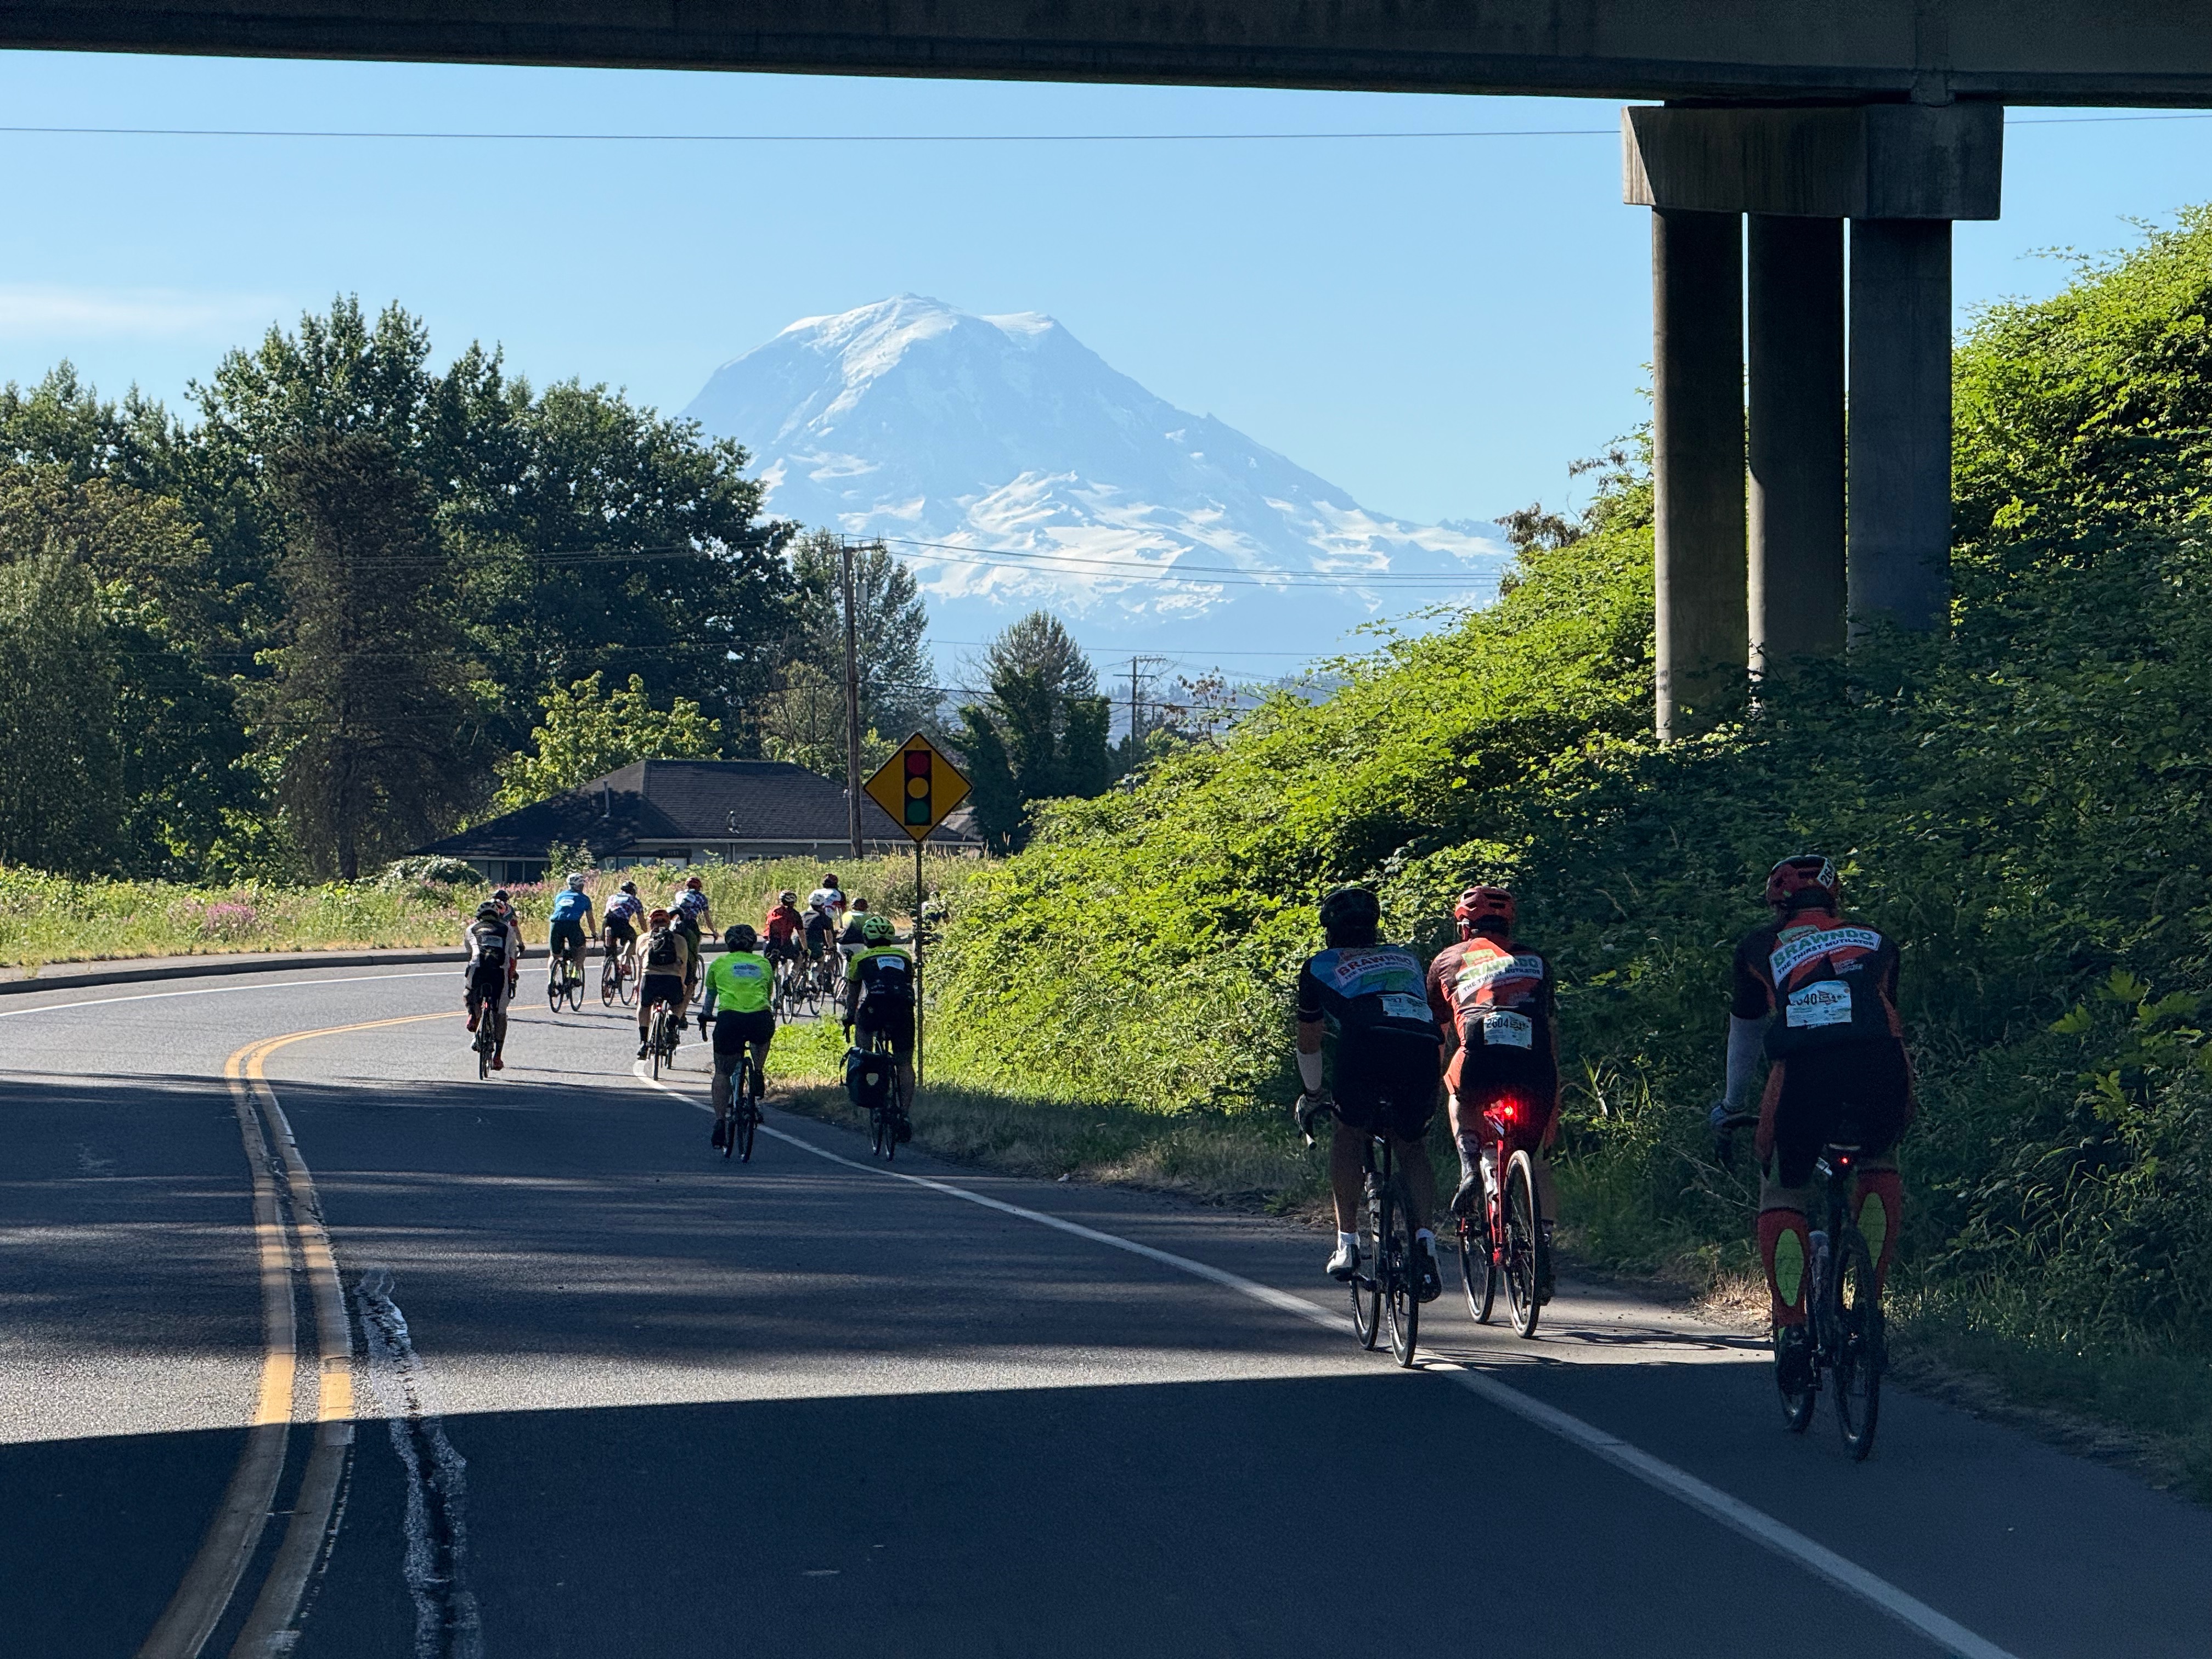
- July 12-13, 2025
- Seattle, WA to Centralia, WA to Portland, OR
- Cascade Bicycle Club
- 207.5 mi / 4,373 ft
- Strava Rides:
I once again rode in Cascade’s Seattle to Portland (STP), but as an STP Ambassador this year. It was hot, hot, hot! After the ride I stayed in Portland for Seb’s social ride the next day, and returned to Seattle by Amtrak.
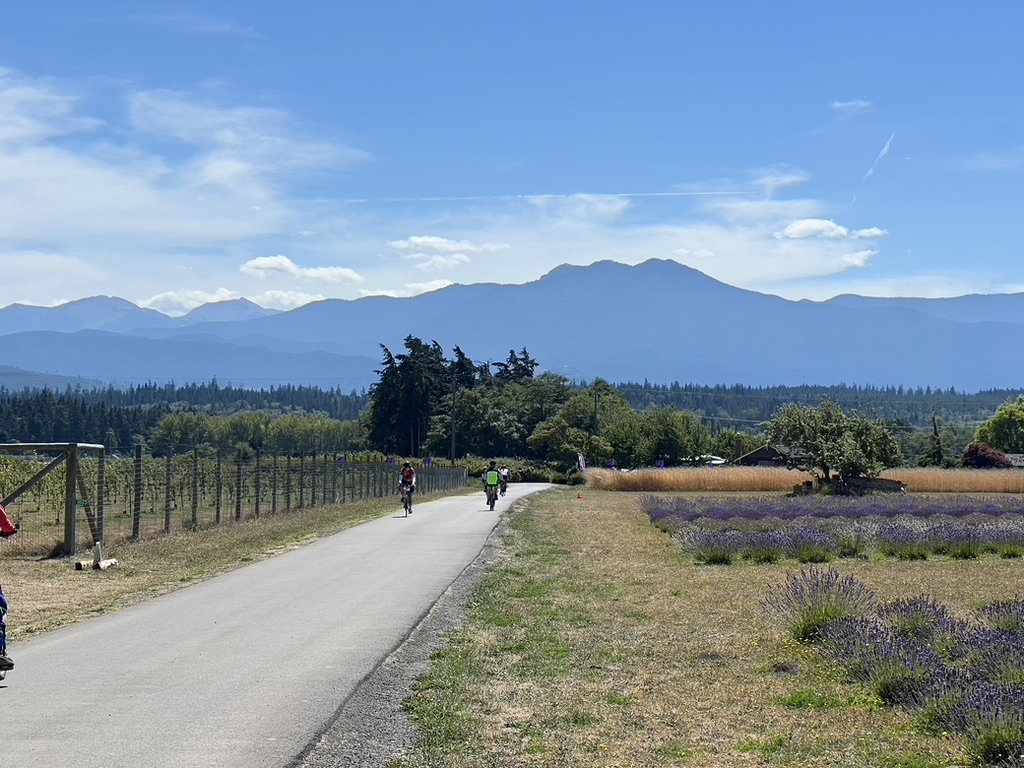
Tour de Lavender (“Metric Century”)

- August 2, 2025
- Sequim, WA
- Peninsula Trails Coalition
- 64.2 mi / 2,280 ft
- Strava Ride
I kinda loved Tour de Lavender last year, so I wanted to ride again this year. It’s very chill and visiting all the lavender farms is fun. Smelling all the lavender in bloom is divine. Hotels are extremely expensive in Sequim and all surrounding areas in August, so after arriving on the Strait Shot bus, I camped at Sequim Bay State Park the night before the ride.
Ride the Hurricane
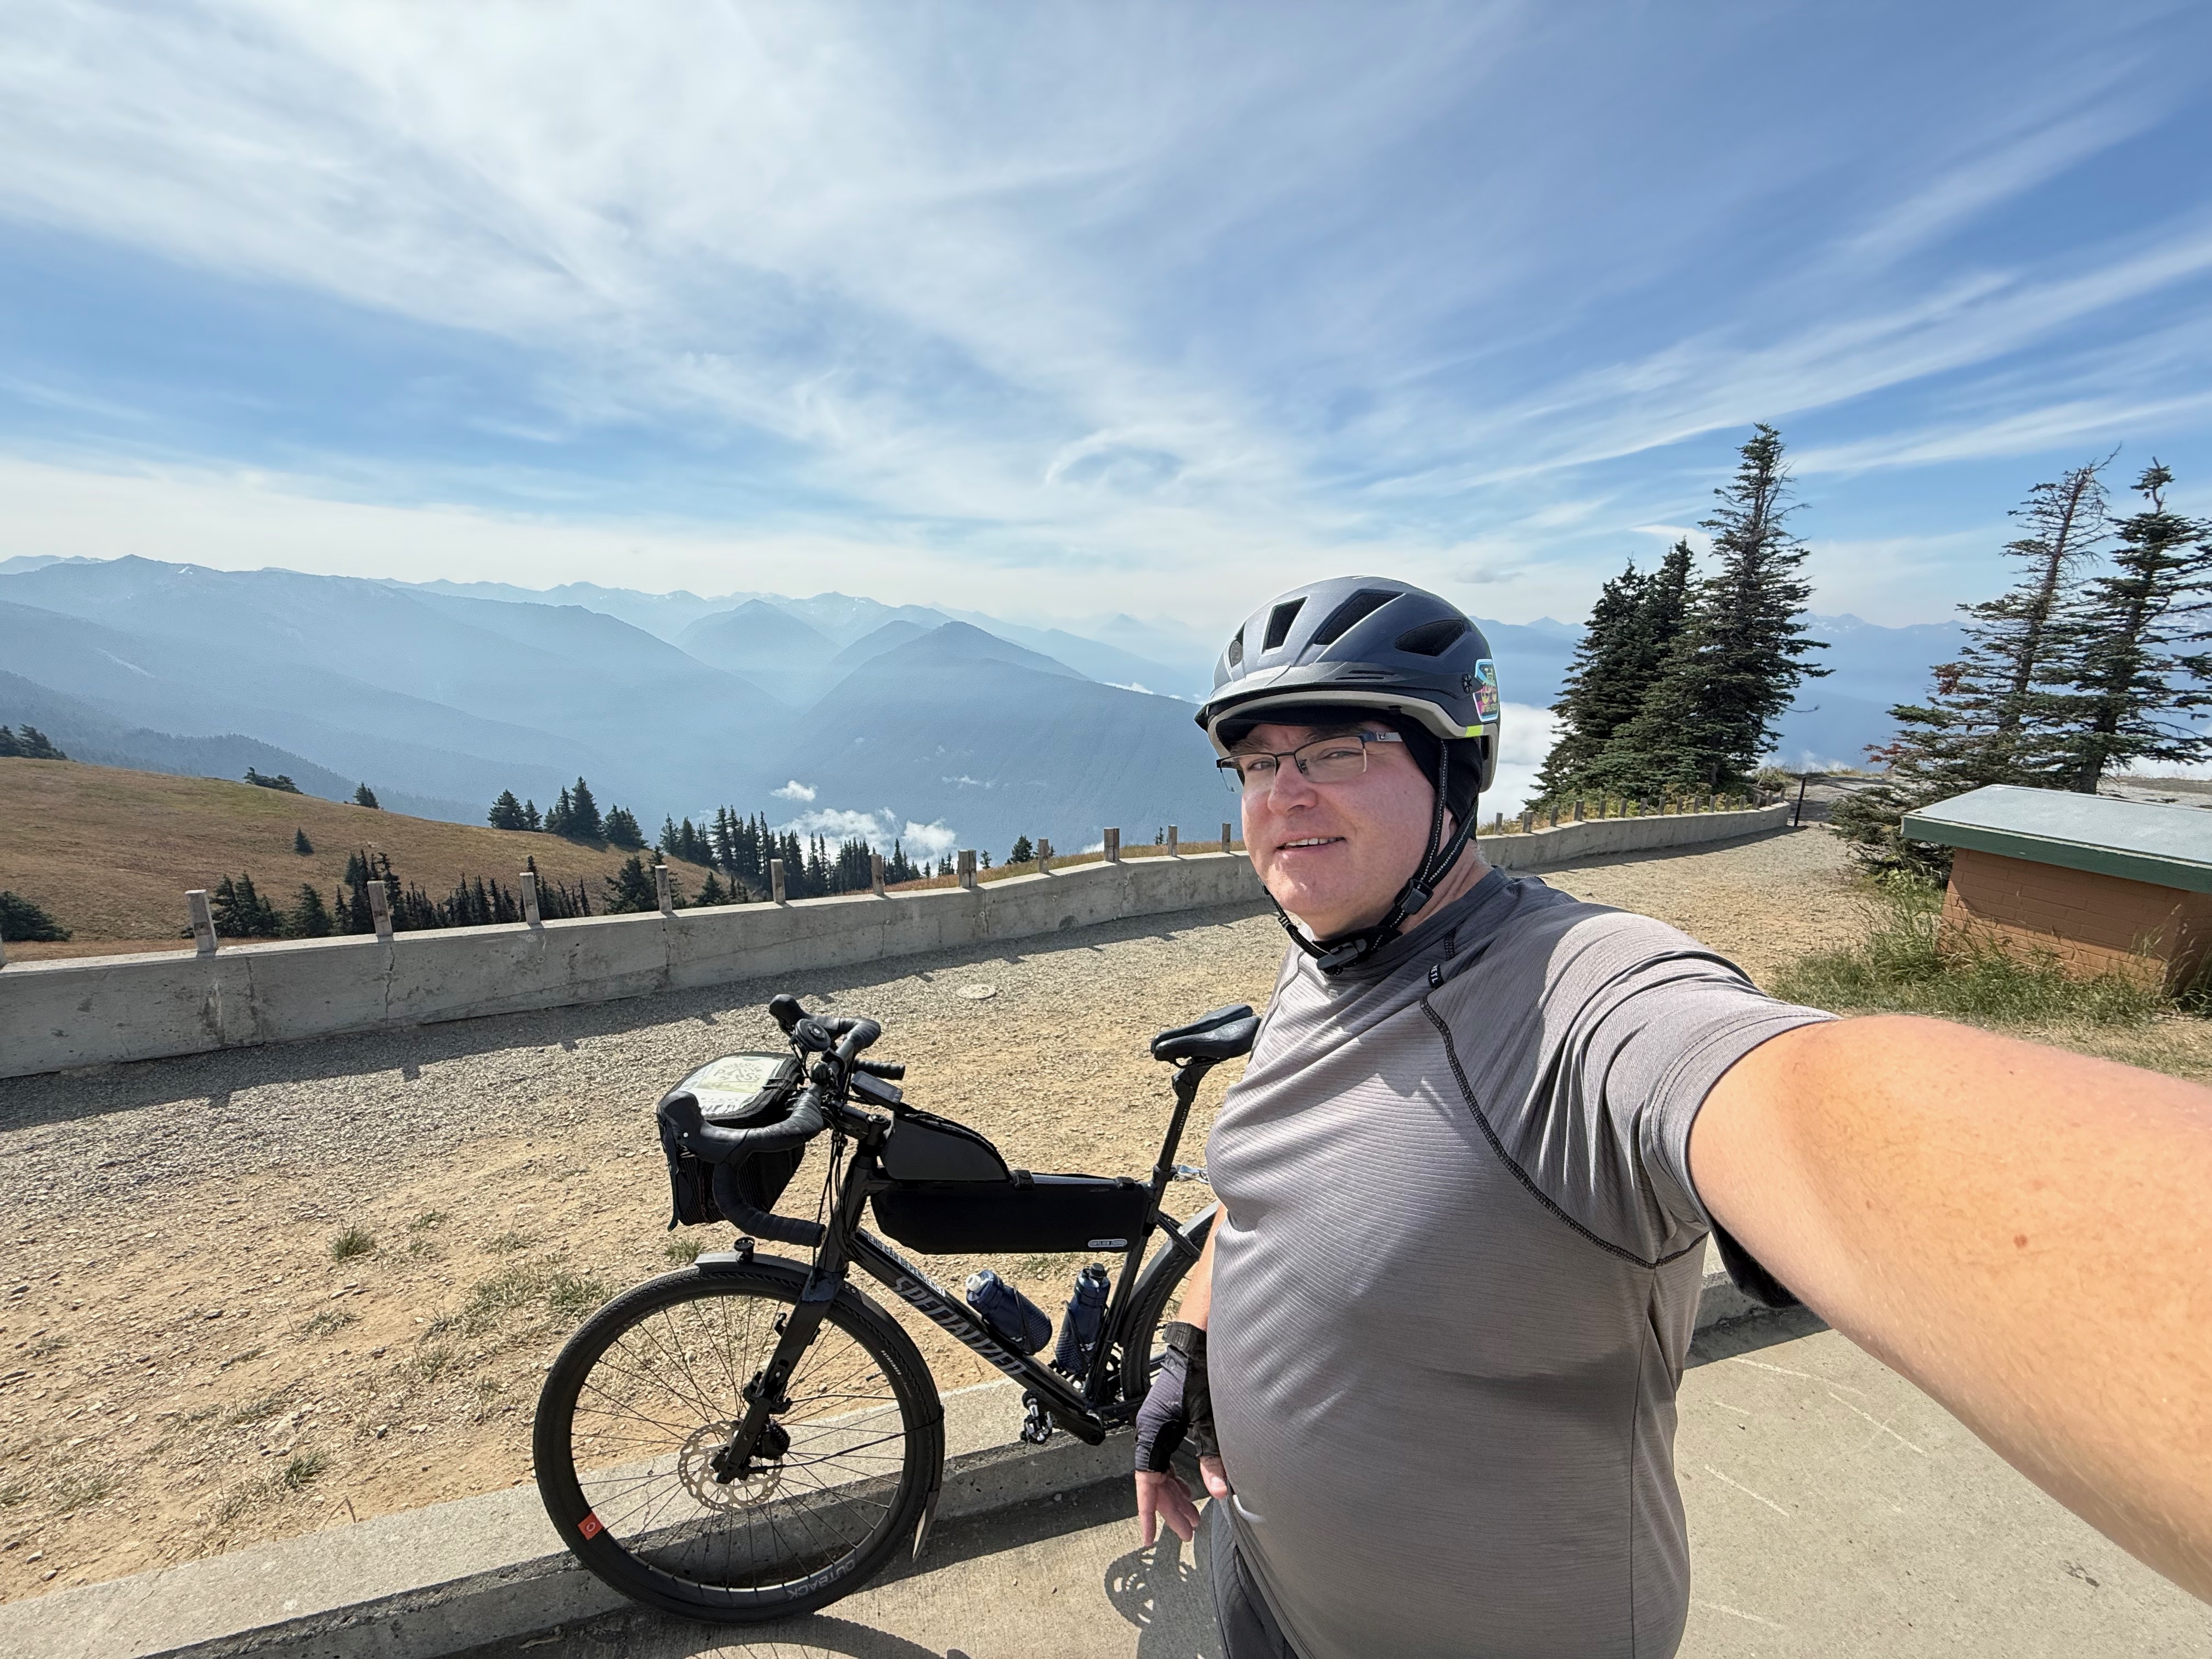
- August 3, 2025
- Port Angeles, WA
- Port Angeles Chamber of Commerce
- 20.0 mi / 5,230 ft climb, 20.0 mi / ~0 ft descent
- Strava Rides:
Last year while in Sequim for Tour de Lavender, I heard about Ride the Hurricane out of Port Angeles, climbing up and then descending from Hurricane Ridge car-free. I thought I’d try it this year despite being a ride focused on a big climb, which I’m usually not seeking out. I managed to finish, in decent time, and actually had some fun. The descent was amazing.
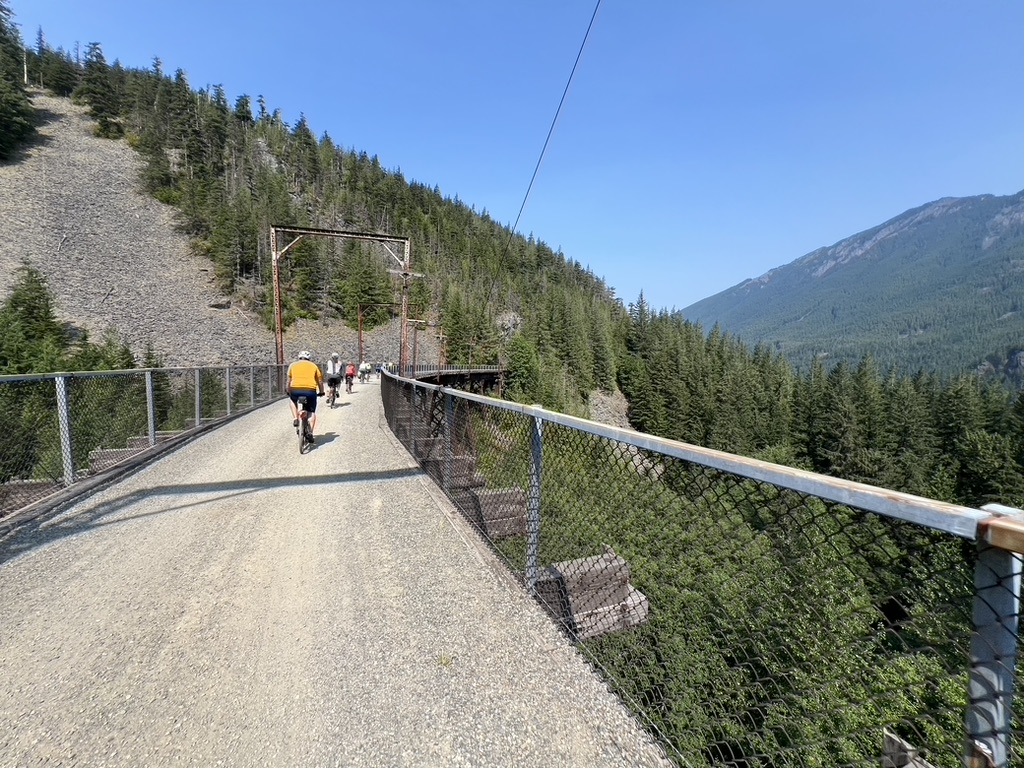
Iron Horse Gravel Ride (two days)

- August 11-12, 2025
- Snoqualmie, WA to Cle Elum, WA and back
- Cascade Bicycle Club
- 124.5 mi / 2,451 ft
- Strava Rides:
A new Cascade ride for this year was Iron Horse Gravel Ride, a two-day out and back gravel ride on the Palouse-to-Cascades Trail, camping in Cle Elum. I decided to bike out to Snoqualmie the day before and stayed overnight in Snoqualmie Falls. The first day was climbing most of the day, capped by riding through the Snoqualmie Tunnel, and a bit of descent into Cle Elum. It was extremely hot, and climbing all day took a toll. The second day was mostly the same route in reverse, and another tunnel passage. Descending from the tunnel down to North Bend was quite exciting!
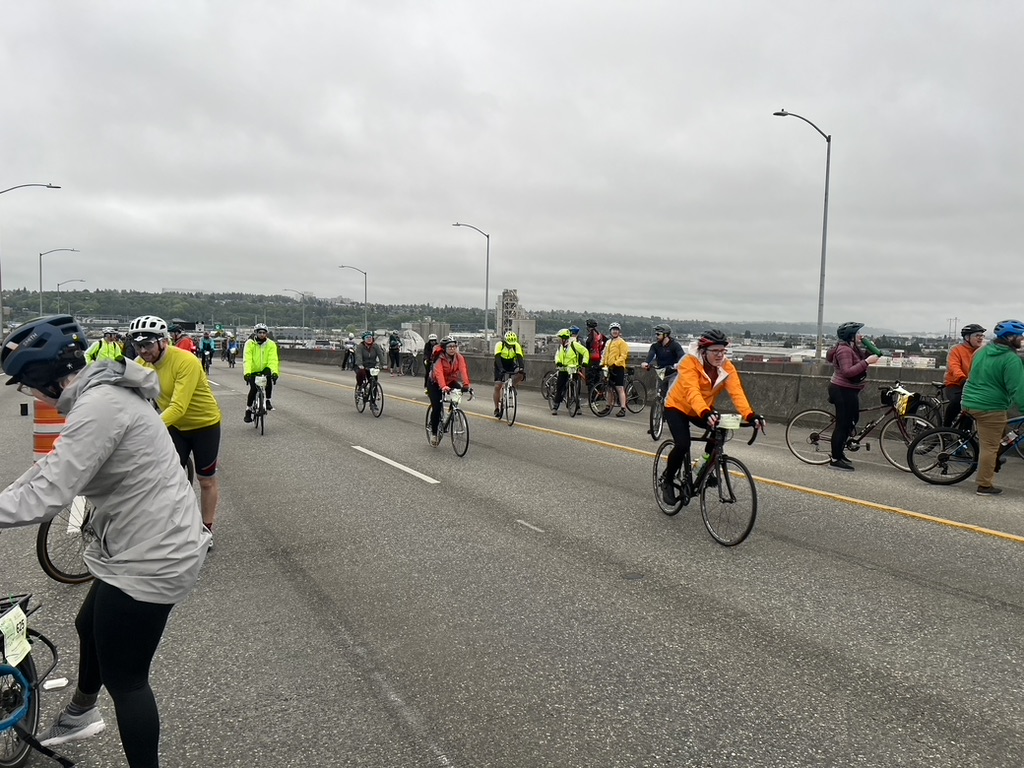
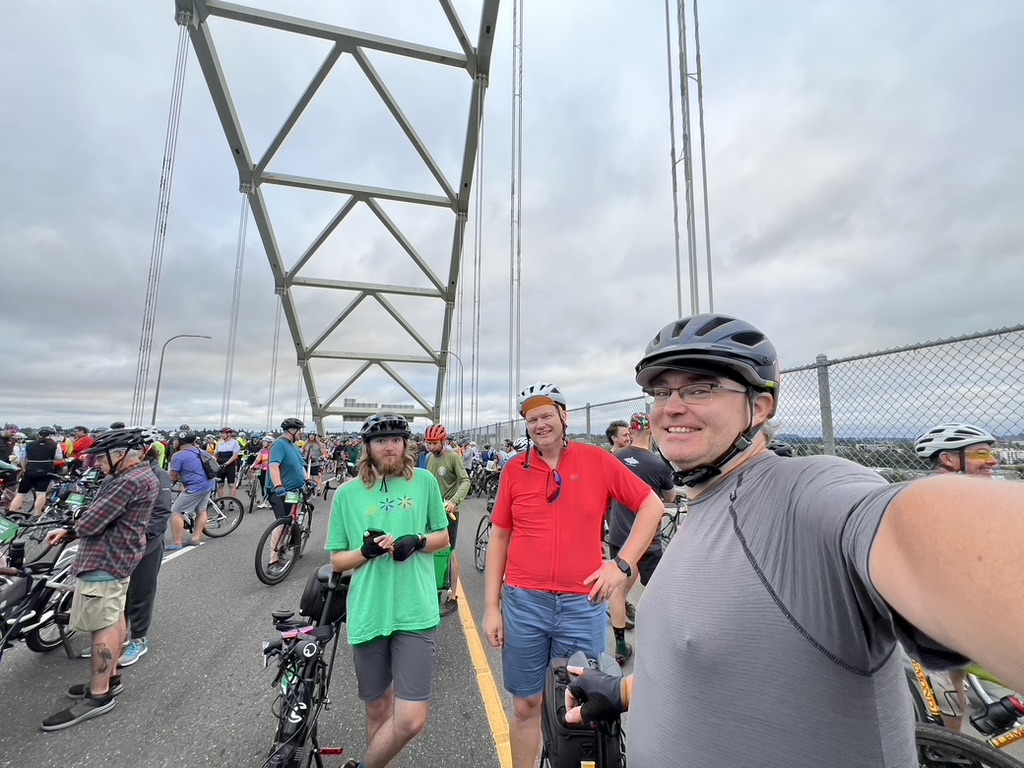
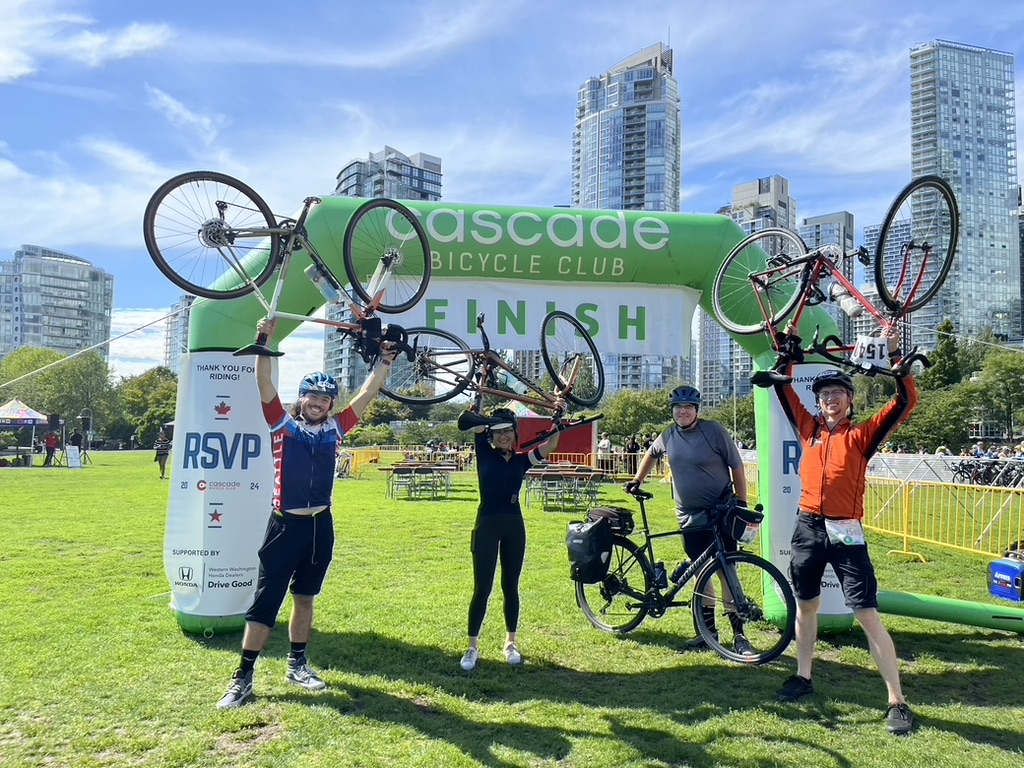
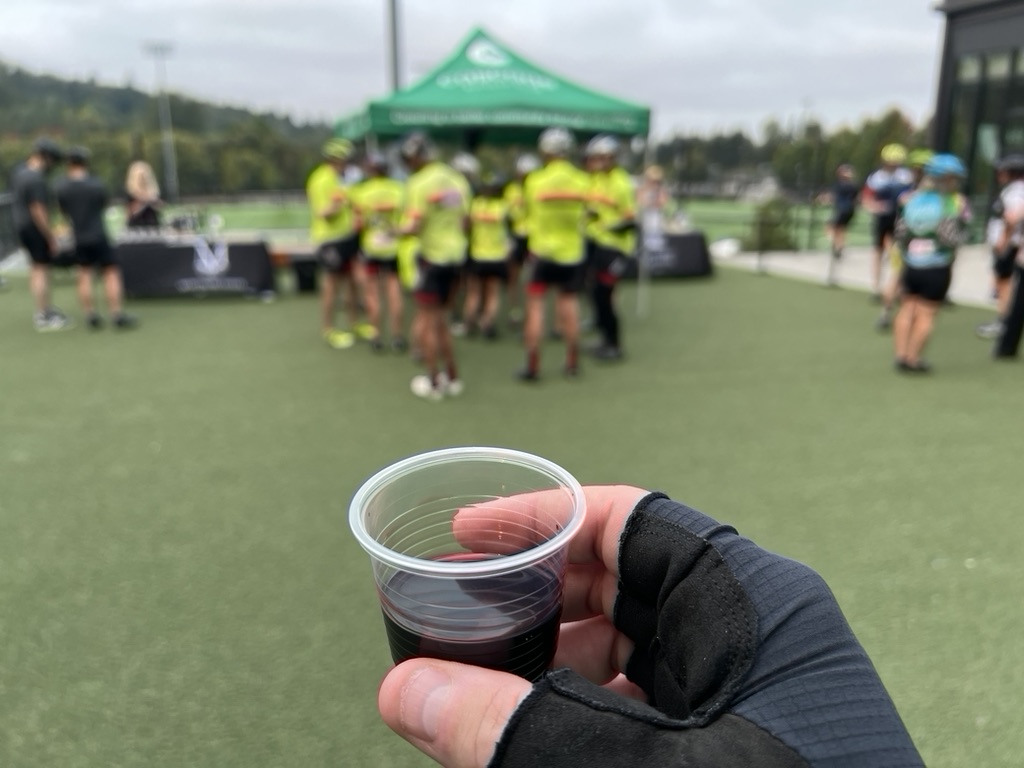
RSVP: Ride from Seattle to Vancouver and Party (two days)
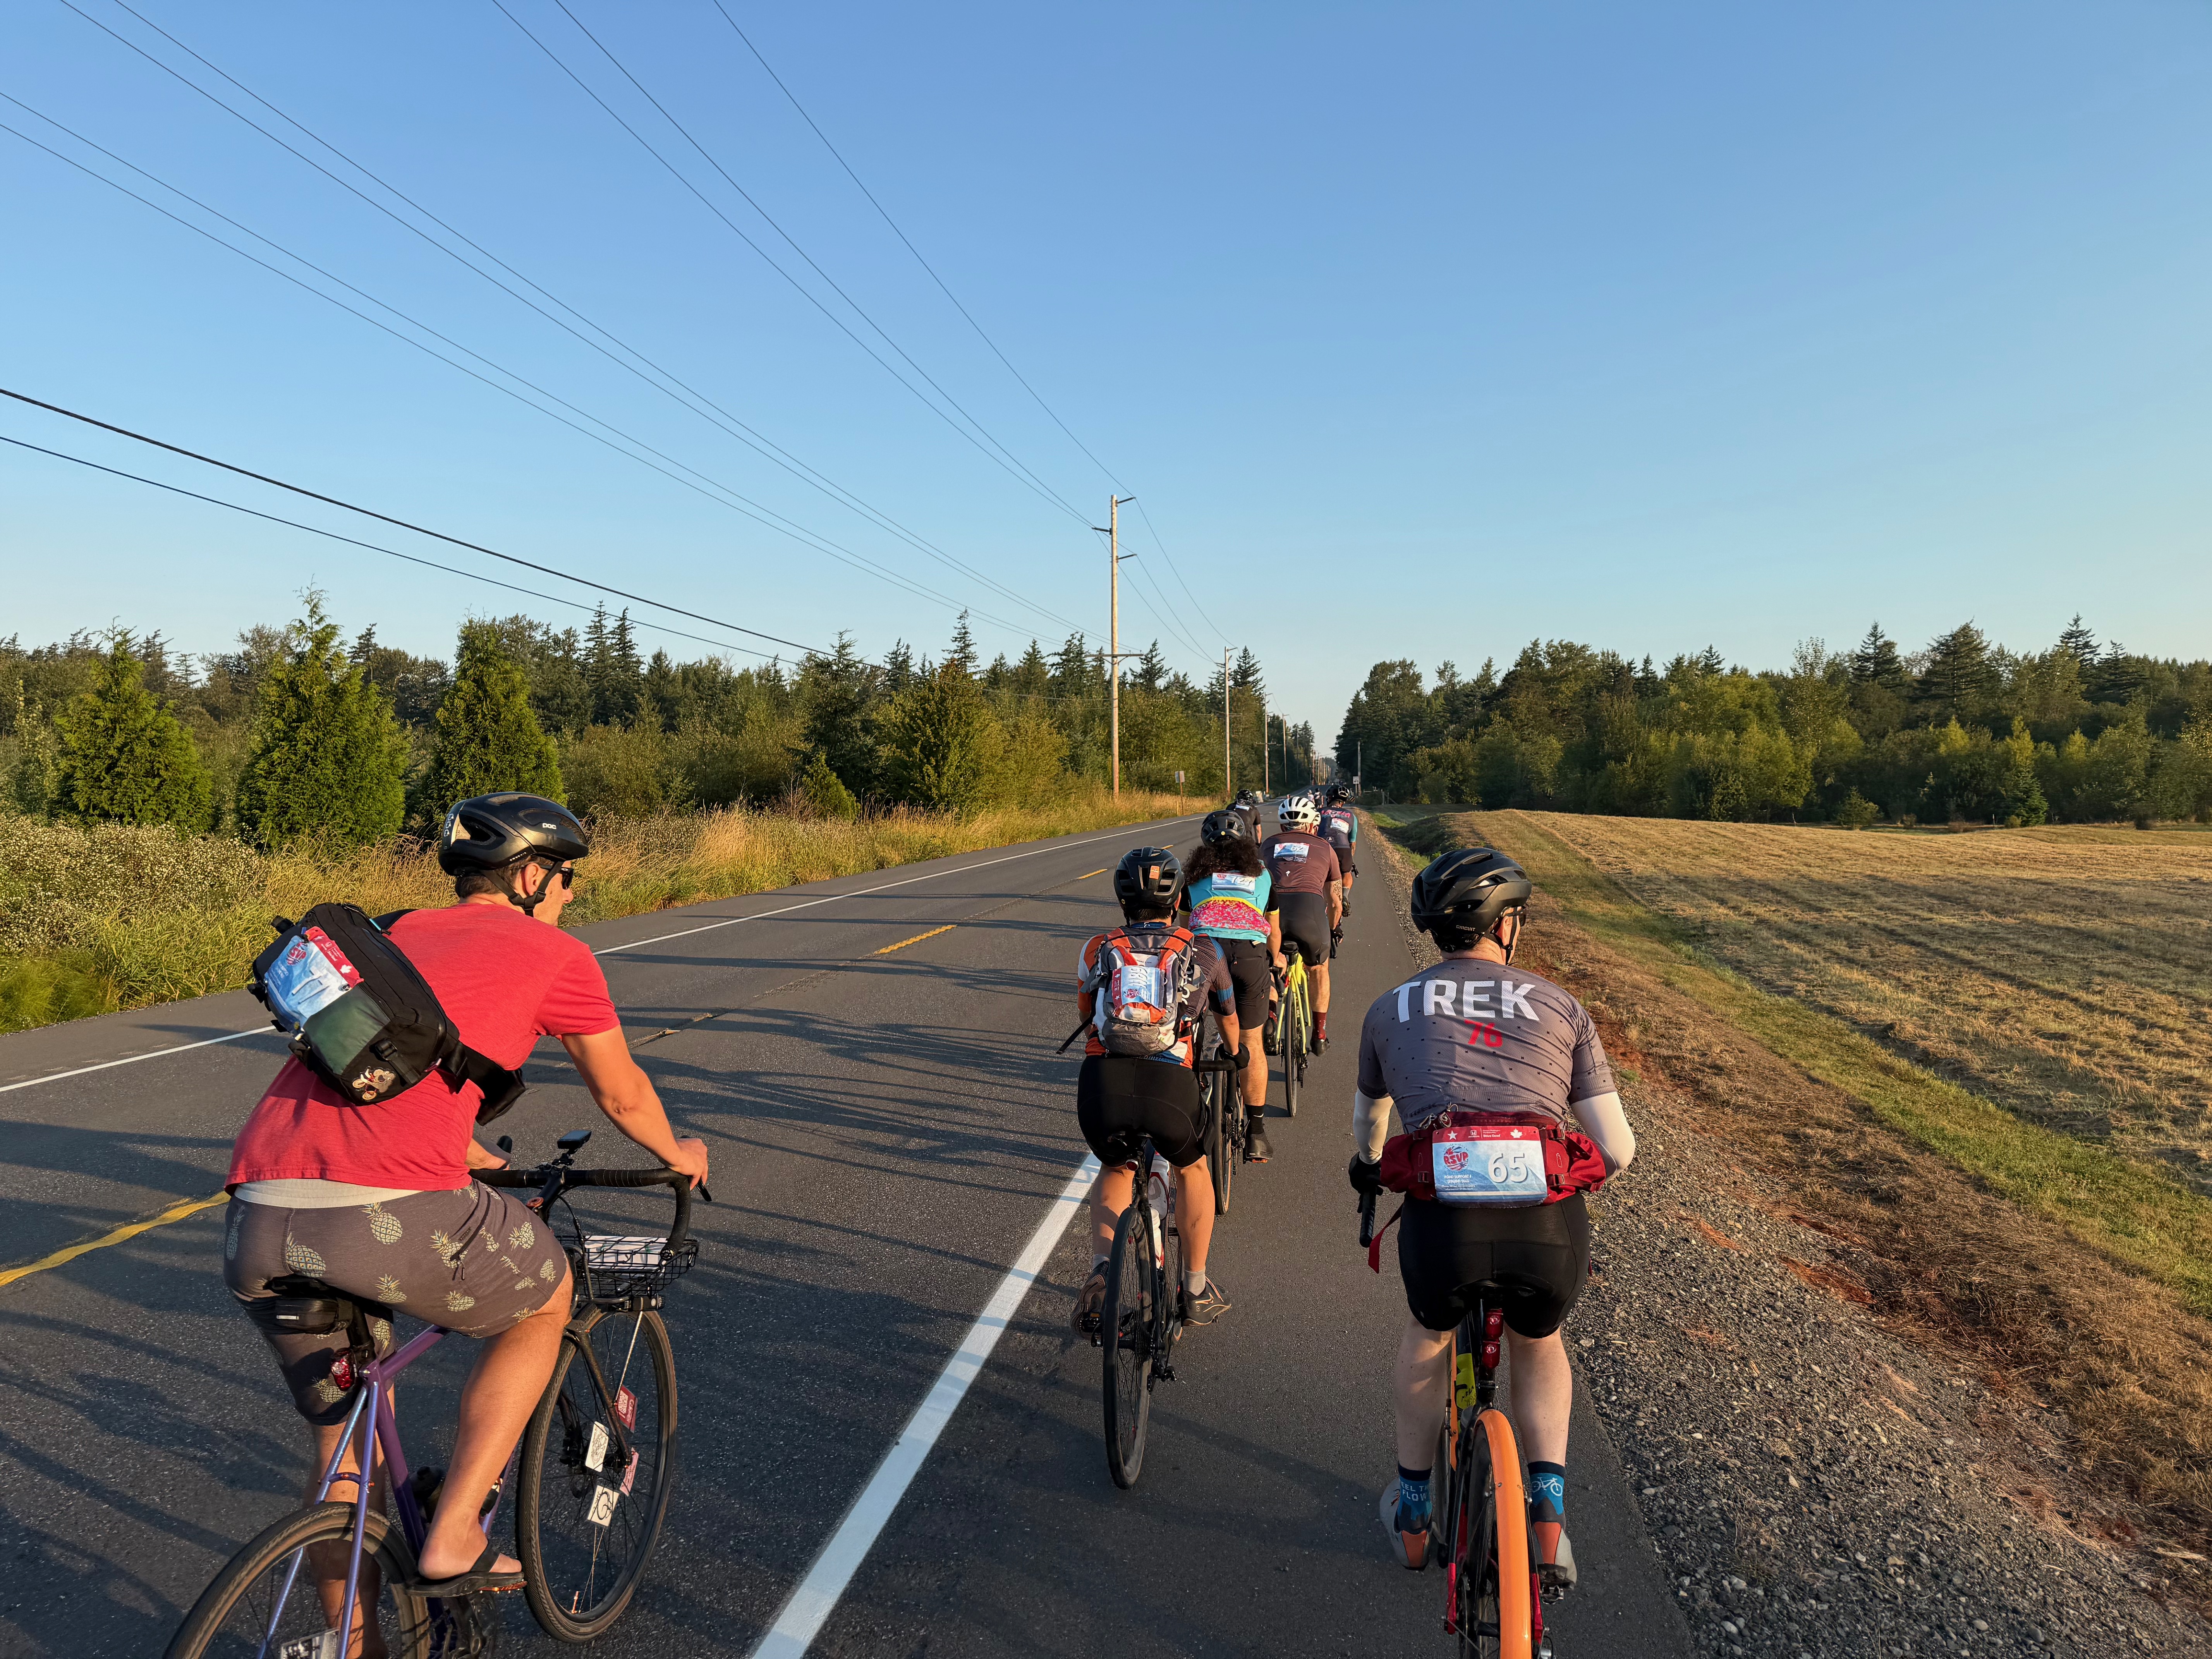
- August 23-24, 2025
- Seattle, WA to Bellingham, WA to Vancouver, BC
- Cascade Bicycle Club
- 193.8 mi / 5,781 ft
- Strava Rides:
I rode Cascade’s Ride from Seattle to Vancouver and Party (RSVP) for the second time this year. Despite being in late August, it was HOT, and arriving into Vancouver felt a lot like arriving into Portland on STP. Especially on day two, I rode with Seb’s group quite a bit.
Kitsap Color Classic (Hansville and Poulsbo loops)

- October 12, 2025
- Kingston, WA (ferry from Edmonds, WA)
- Cascade Bicycle Club
- 50.8 mi / 3,287 ft
- Strava Ride
The Kitsap Color Classic marks the end of Cascade’s “riding season”, and in theory should have good fall foliage colors. In practice, every time I’ve ridden it, there hasn’t been much in the way of colors.
A few major cycling trips
Guemes, Lopez and San Juan Islands (4 days, April 25-28, X mi)
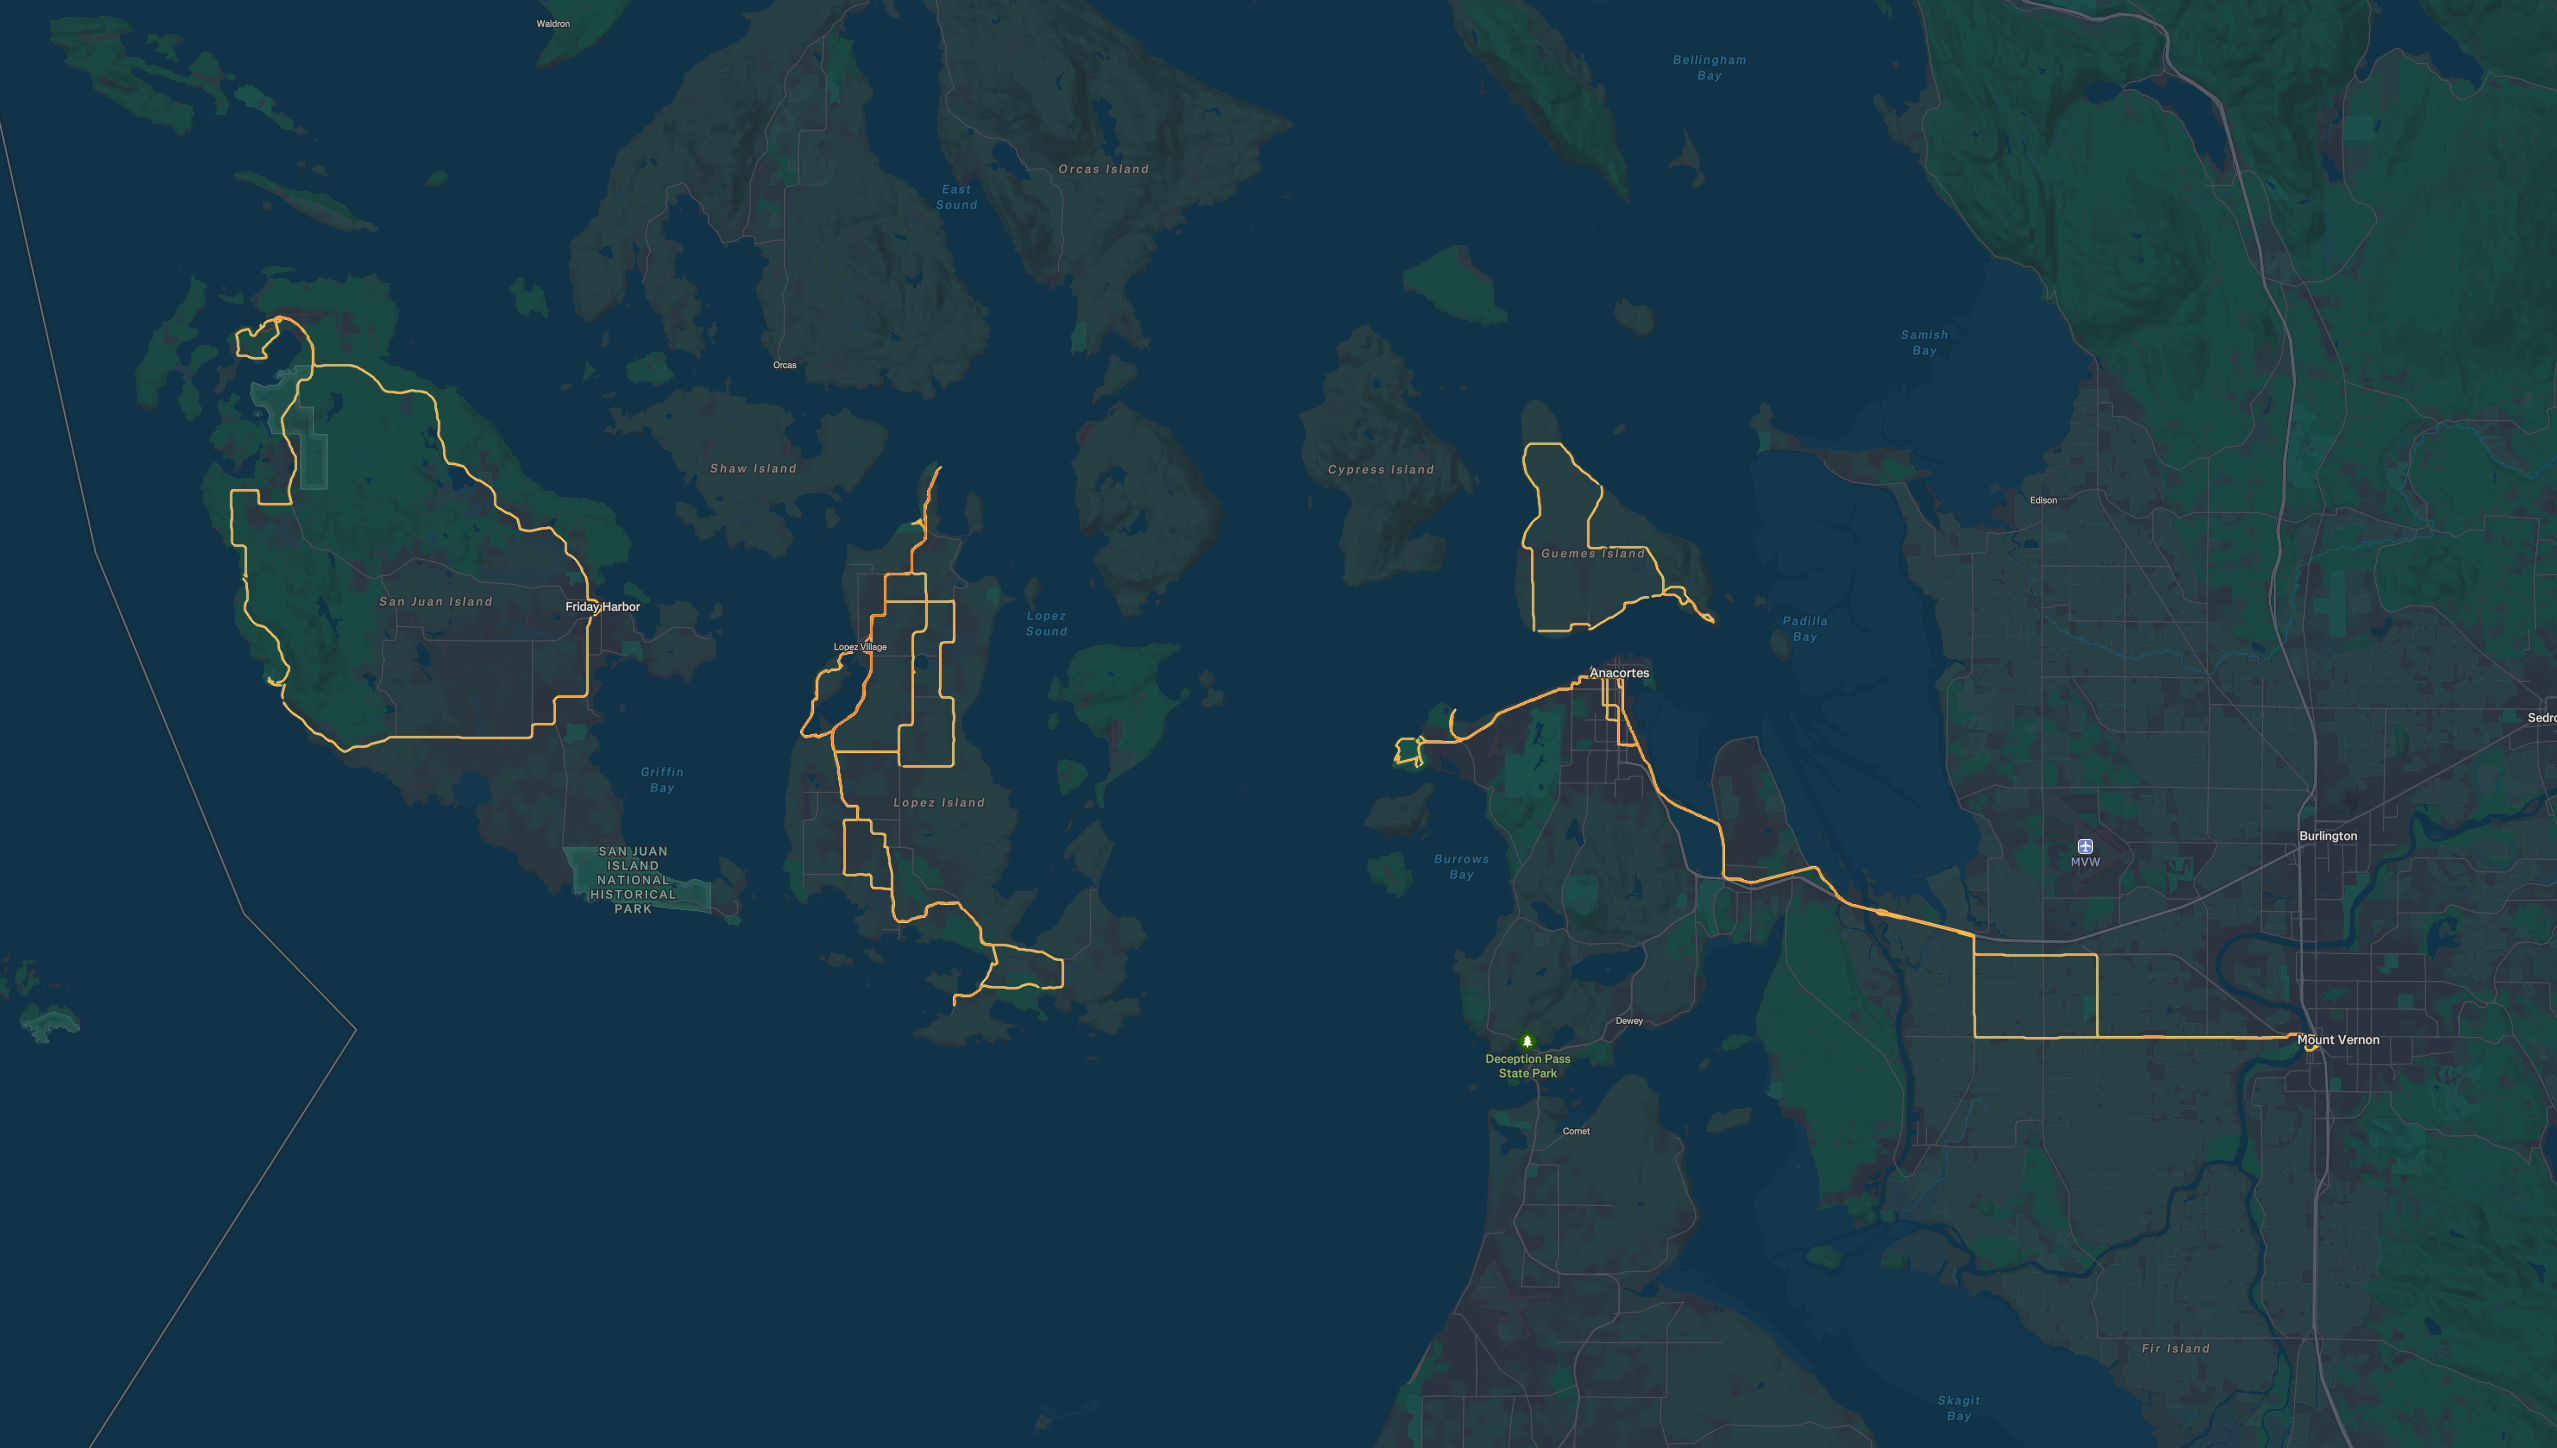
Since traveling to the Tour de Lopez takes so much effort, Liam and I wanted to see some more of the San Juan Islands. We took Amtrak to Mt Vernon, and biked to Anacortes. After arriving in Anacortes we took the ferry to Guemes Island and rode a loop around the island. We rode in the Tour de Lopez the following day, and stayed overnight. The next day we took the ferry from Lopez Island to Friday Harbor and toured San Juan Island, and the ferry back to Lopez Island. We returned home the same way, taking the ferry to Anacortes, biking to Mt Vernon, and taking Amtrak back to Seattle.
- Day 1:
- Day 2:
- Day 3:
- Day 4:
Portland to Seattle via Astoria (6 days, May 16-21, 375 mi)

Participating in Reach the Beach Oregon was new this year, and covered almost entirely new ground for me. Since it ended on the Oregon coast near Astoria, I thought I’d bike my way back to Seattle from there. I planned a 4-day route back through Astoria, the Willapa Hills Trail, Olympia, and through the “far” side into Seattle.
- Day 1:
- Day 2:
- Day 3: Hammond to Raymond via Astoria
- Day 4: Raymond to Chehalis on the Willapa Hills Trail
- Day 5: Chehalis to Union via Olympia
- Day 6: Union to Southworth ferry terminal
Spokane to Missoula to Whitefish (11 days, June 1-13, 600 mi)
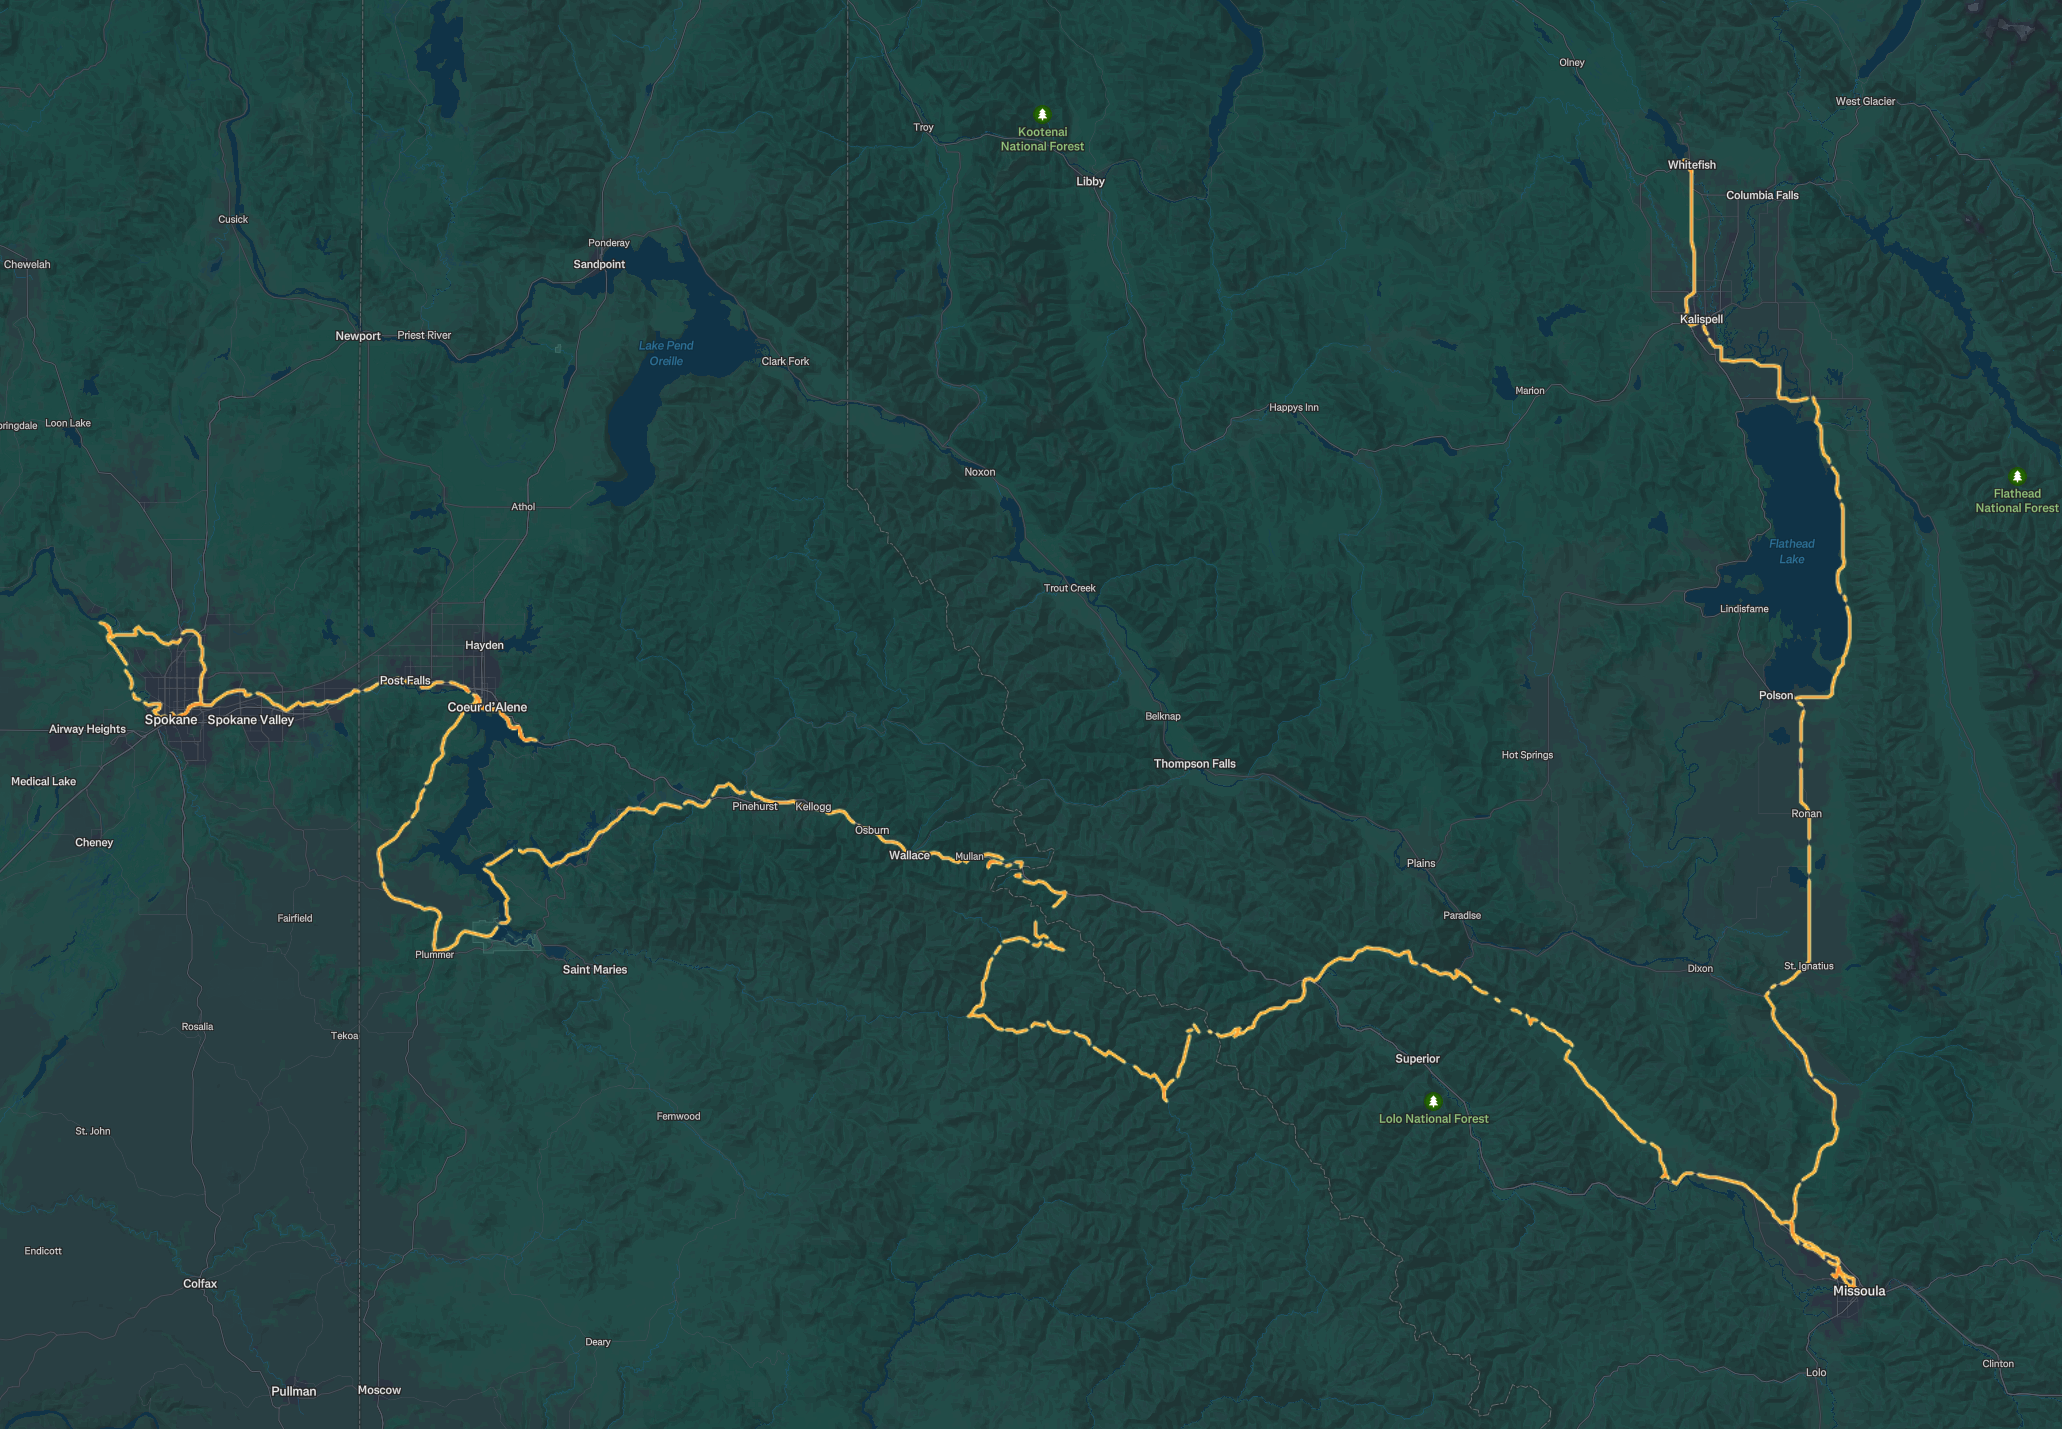
I had been eying the Trail of the Coeur d’Alenes and the Route of the Hiawatha trails for some time, and wanted to make a transit-trekking bikepacking trip out of visiting them. I took Amtrak to Spokane and rode the Spokane River Centennial Trail and Children of the Sun Trail. I headed to Coeur d’Alene, ID and on to Plummer, ID. I rode the Trail of the Coeur d’Alenes over two days. I connected to the NorPac Trail and on to the Route of the Hiawatha. Reaching the “end” of the trail, I continued to Avery on the Saint Joe River, and followed the river for a few days. I rode on the Missoula and then up to Whitefish. I took Amtrak back to Seattle from Whitefish.
- Day 1: Spokane River Centennial Trail and Children of the Sun Trail
- Day 2: Spokane to Coeur d’Alene
- Day 3: Higgins Point to Plummer and the Trail of the Coeur d’Alenes
- Day 4:
- Day 5:
- Day 6: Packsaddle Campground to Gold Creek
- Day 7: Gold Creek to St Regis
- Day 8: St Regis to Missoula over Siegler Pass
- Day 9: Missoula to St Ignatius
- Day 10: St Ignatius to Kalispell
- Day 11: Kalispell to Whitefish
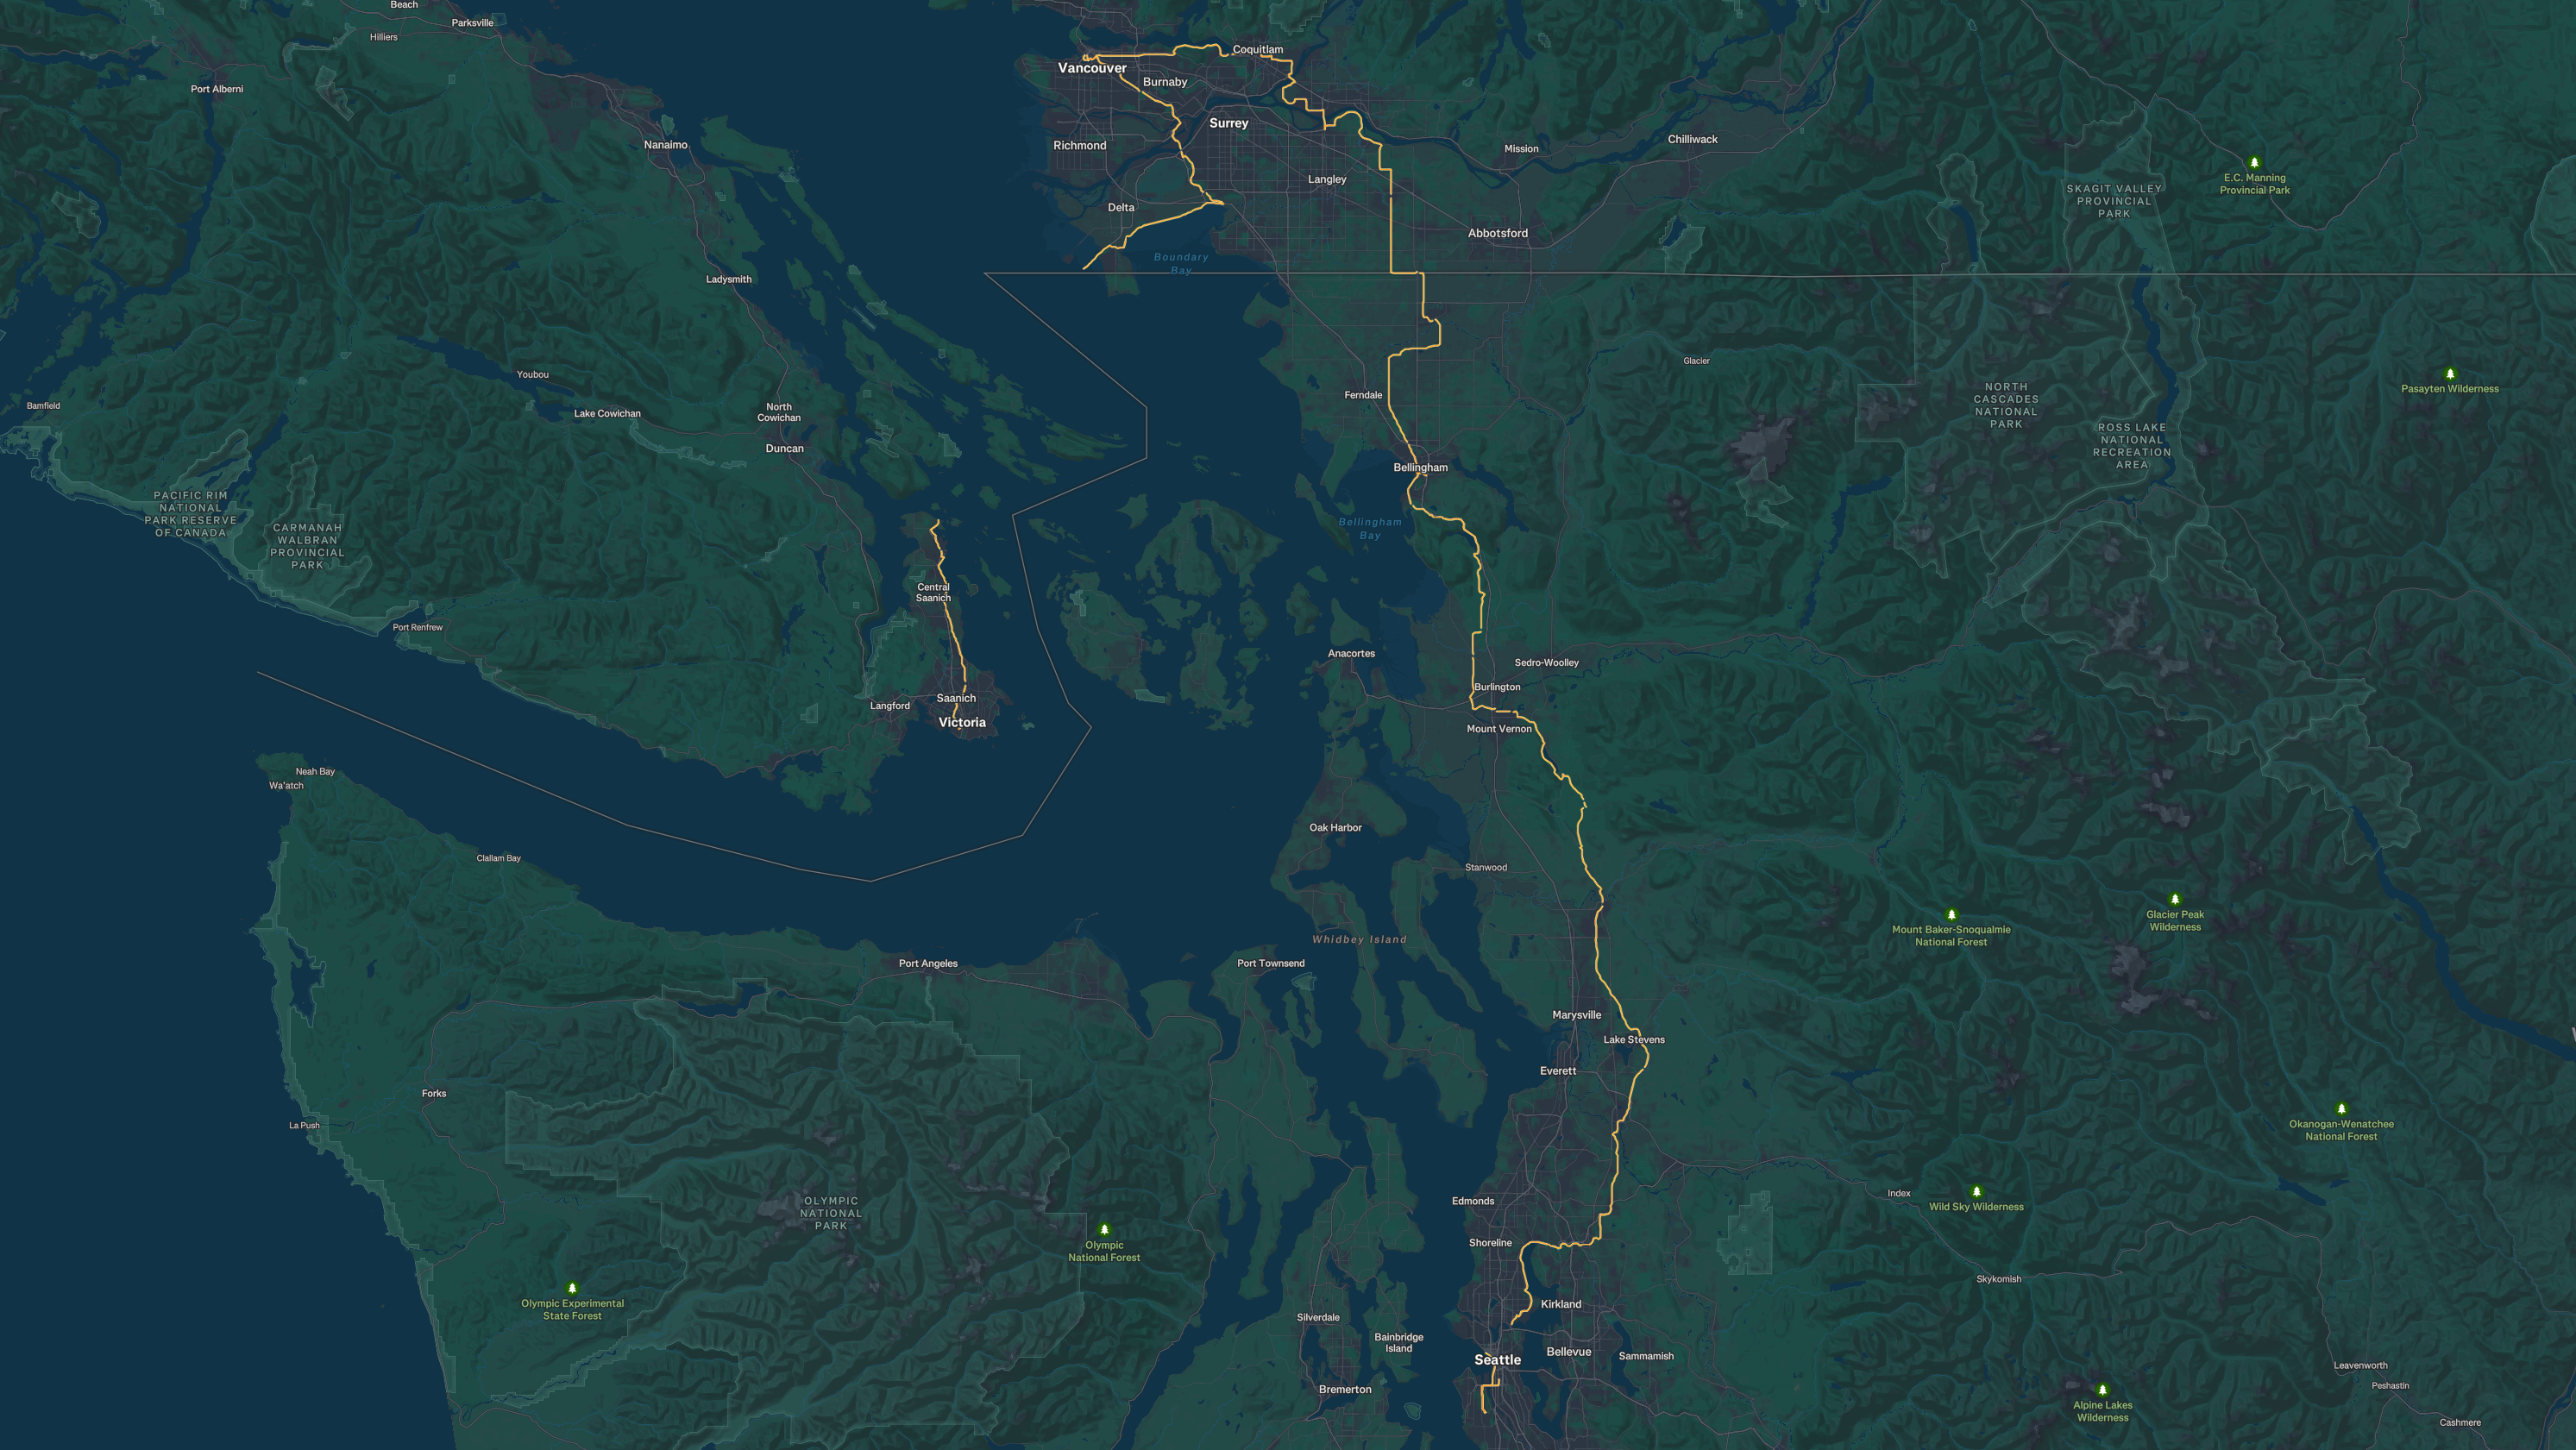
Seattle, Vancouver, and Victoria (5 days, August 23-27, 355 mi)
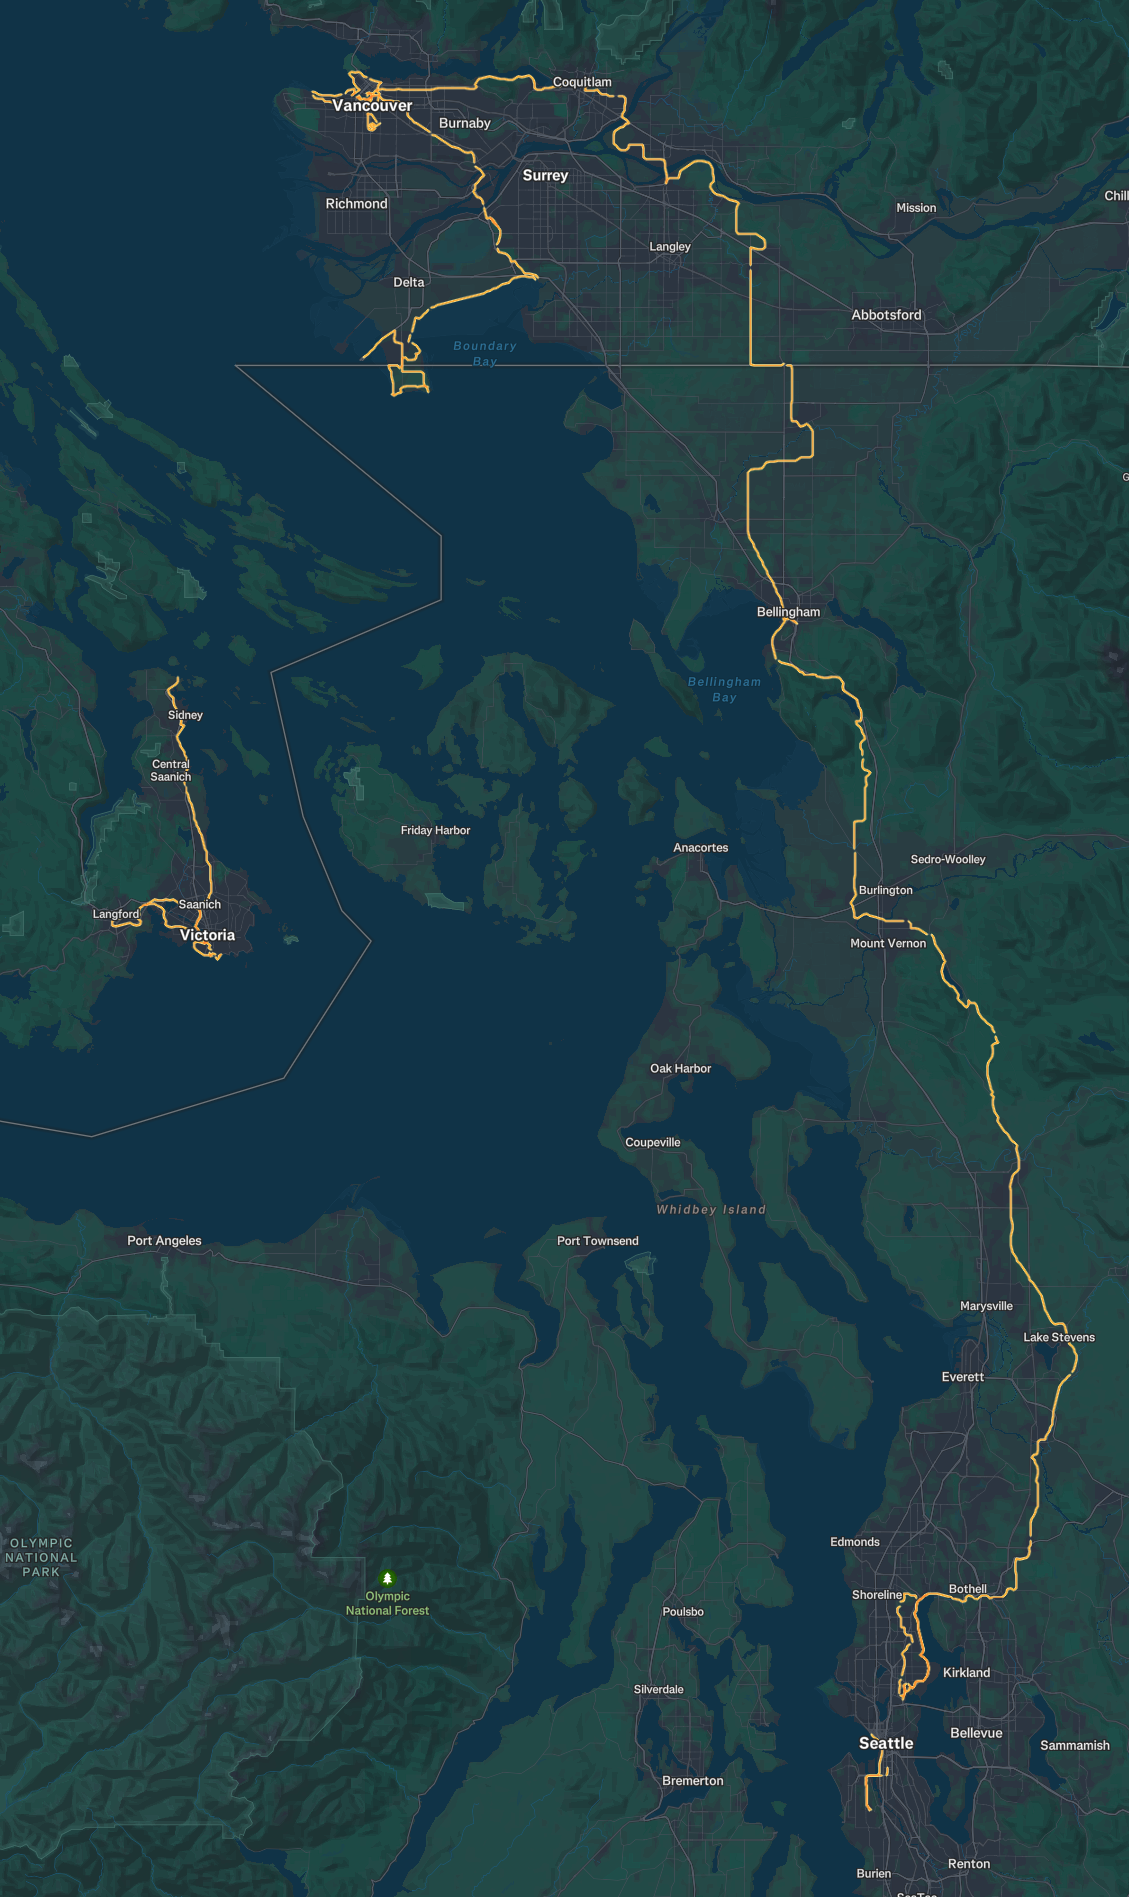
Last year after RSVP, I rode down to Victoria and caught the ferry back to Seattle. I wanted to do the same this year, but also wanted stay in Vancouver for a couple nights to join Seb’s social ride the following day, and to stay overnight after arriving in Victoria to have a more leisurely ride, rather than racing to catch the 5:30pm ferry. I was also very much hoping to visit Point Roberts. I managed to connect with Corey Burger in Victoria for a local-led tour of the bike infrastructure as well!
- Day 1: Seattle to Bellingham (RSVP Day 1)
- Day 2: Bellingham to Vancouver (RSVP Day 2)
- Day 3: Seb’s Social Ride
- Day 4: Vancouver to Tsawwassen via Point Roberts, Swartz Bay to Victoria
- Day 5: Victoria
Belgium, Netherlands, Germany, Denmark, Sweden (21 days, September 4-28, 1245 mi)
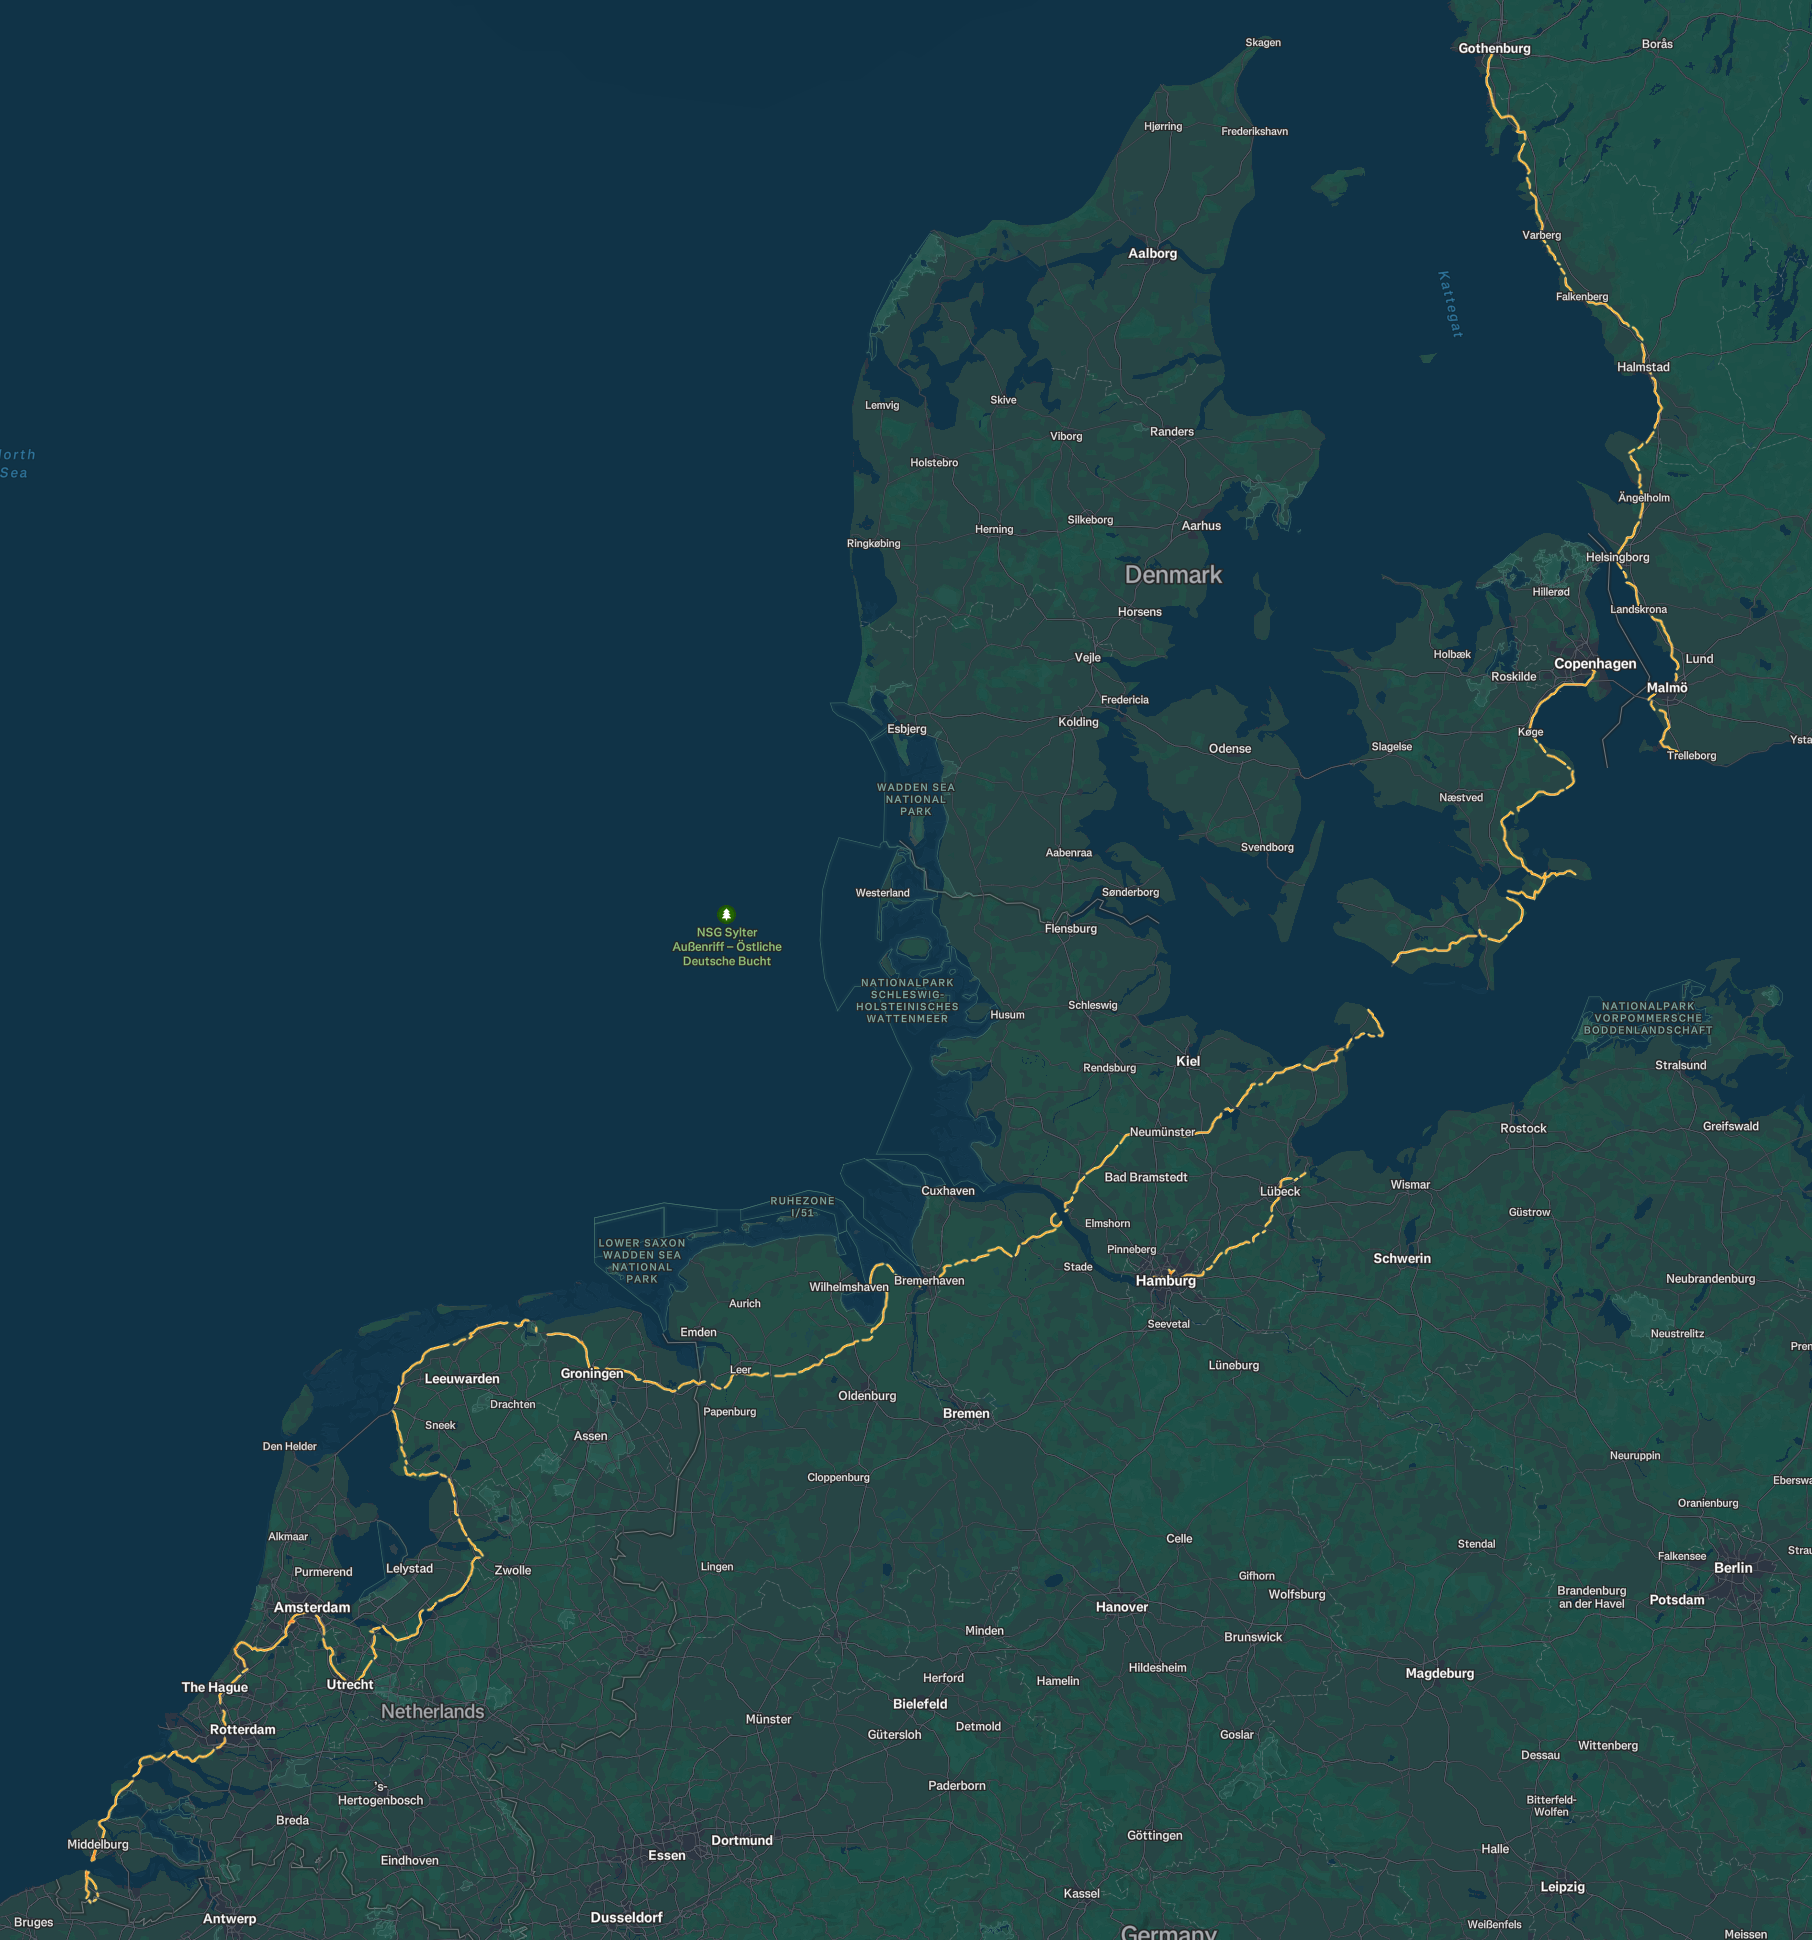
To be honest my initial plan was a bit smaller: Amsterdam to Copenhagen. My brother recently moved to the Netherlands, so visiting him in Middelburg (near the Belgian border) was an obvious addition. After arriving in Amsterdam, I took a train to Middelburg. I rode with my brother’s family to the border so that I’d have completed the Netherlands border-to-border. I rode solo from Middelburg to Amsterdam where I met up with a couple of friends. We rode together from Amsterdam to southern Denmark, where they left. I continued on solo up to Göteborg, Sweden. I took a train back to Malmö, a ferry to Travemünde, Germany, and then rode to Hamburg. I joined Critical Mass Hamburg, which was amazing. I took a train from Hamburg back to Amsterdam and flew back to Seattle.
- Day 1: Middelburg to Belgium and back
- Day 2: Middelburg to Oudenhoorn
- Day 3: Oudenhoorn to Noordwijk via Delft and Leiden
- Day 4: Noordwijk to Schiphol Airport, Schiphol Airport to Amsterdam
- Day 5: Amsterdam to Eemhof via Utrecht
- Day 6: Eemhof to Zeewolde
- Day 7: Zeewolde to Ferwert
- Day 8: Ferwert to Winsum
- Day 9: Winsum to Bingum
- Day 10: Bingum to Bremerhaven via the Blexen ferry
- Day 11: Bremerhaven to Krautsand
- Day 12: Krautsand to Ascheberg via the Wischhafen ferry
- Day 13: Ascheberg to Puttgarden
- Day 14: Rødby to Slotshaven via the Stubbekøbing ferry
- Day 15:
- Day 16: Feddet Strand to København
- Day 17: Malmö to Ängelholm
- Day 18: Ängelholm to Falkenberg
- Day 19: Falkenberg to Göteborg
- Day 20: Malmö to Trelleborg
- Day 21: